


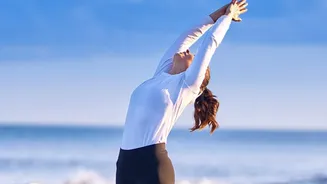
A Complete Workout in One Flow
Surya Namaskar is often called a complete workout, and for good reason. The sequence is designed to engage every major muscle group, from your arms and shoulders to your core and legs. It combines strength training, cardiovascular exercise, and flexibility
in a single, flowing routine. When practiced at a brisk pace, it can elevate your heart rate, improving cardiovascular health, while the deep stretches enhance flexibility and mobility. This blend makes it a highly efficient way to achieve full-body conditioning in just 15 to 20 minutes a day.
Accessible and Adaptable for Beginners
One of the greatest advantages of Surya Namaskar for beginners is its accessibility. It requires no special equipment—only a small amount of floor space. The movements rely on your own body weight for resistance. Furthermore, the poses can be modified to suit individual fitness levels. For example, beginners can bend their knees during forward folds to reduce strain on the lower back or place their knees on the ground in plank pose for extra support. This adaptability ensures that anyone can start the practice safely and progress at their own pace.
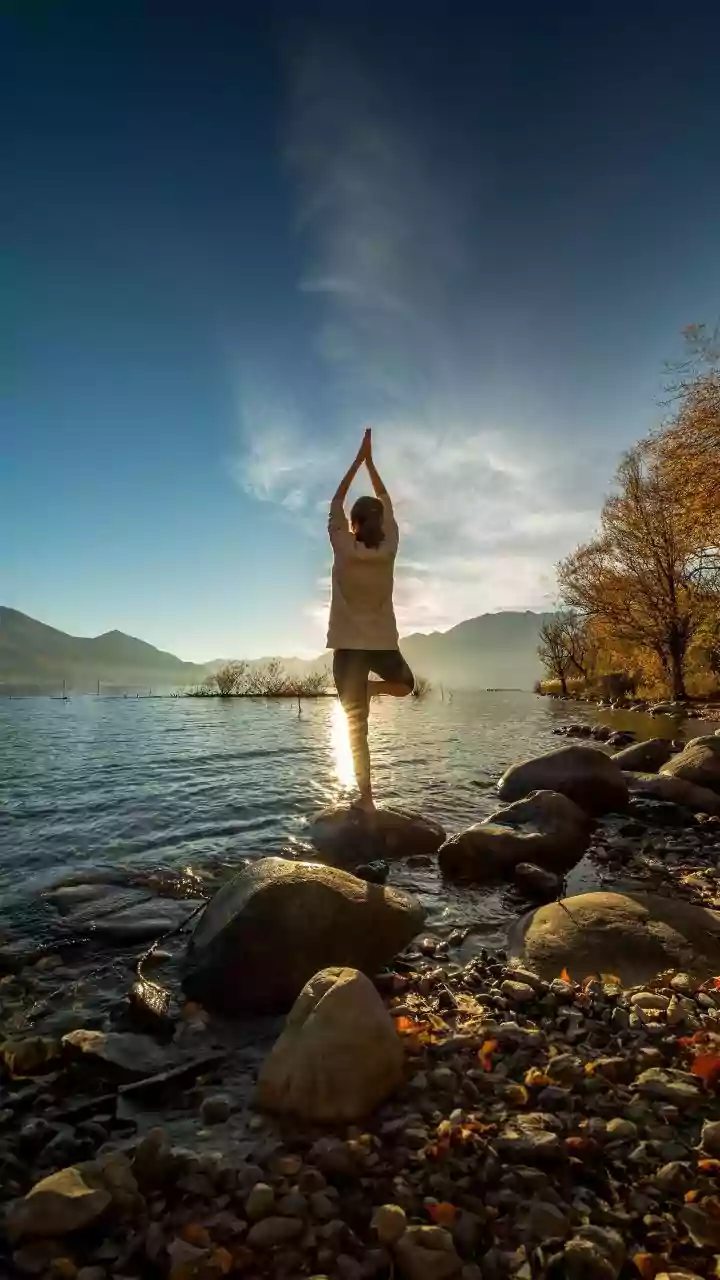
Step 1: Pranamasana (Prayer Pose)
Begin by standing tall with your feet together and palms joined at your chest in a prayer position. This starting pose helps center your mind and establish a sense of calm and balance before you begin the physical flow. It sets a tone of respect and mindfulness for the practice to come.
Step 2: Hasta Uttanasana (Raised Arms Pose)
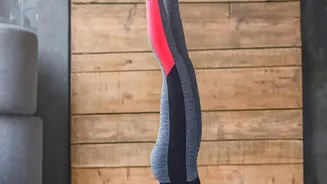
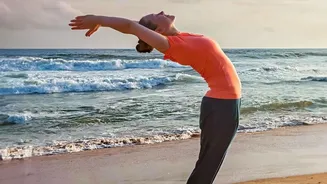
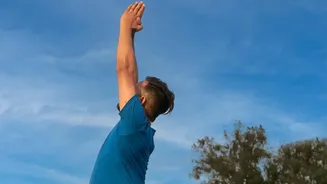
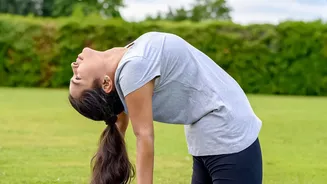
Inhaling, lift your arms up and arch your back gently, stretching the entire front of your body. This pose helps to lengthen the spine, open up the chest, and improve lung capacity. It also stimulates the nervous system, providing a natural energy boost.
Step 3: Hasta Padasana (Hand to Foot Pose)
Exhaling, bend forward from your hips, bringing your hands down towards your feet. This intense forward stretch targets the hamstrings and the spine. Beginners can bend their knees to make the pose more accessible and avoid straining the lower back.
Step 4: Ashwa Sanchalanasana (Equestrian Pose)
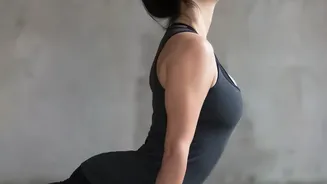
Inhaling, step your right leg back as far as you can, bringing your right knee to the floor and looking up. This lunge position provides a deep stretch for the hips and quadriceps while building strength in the legs.
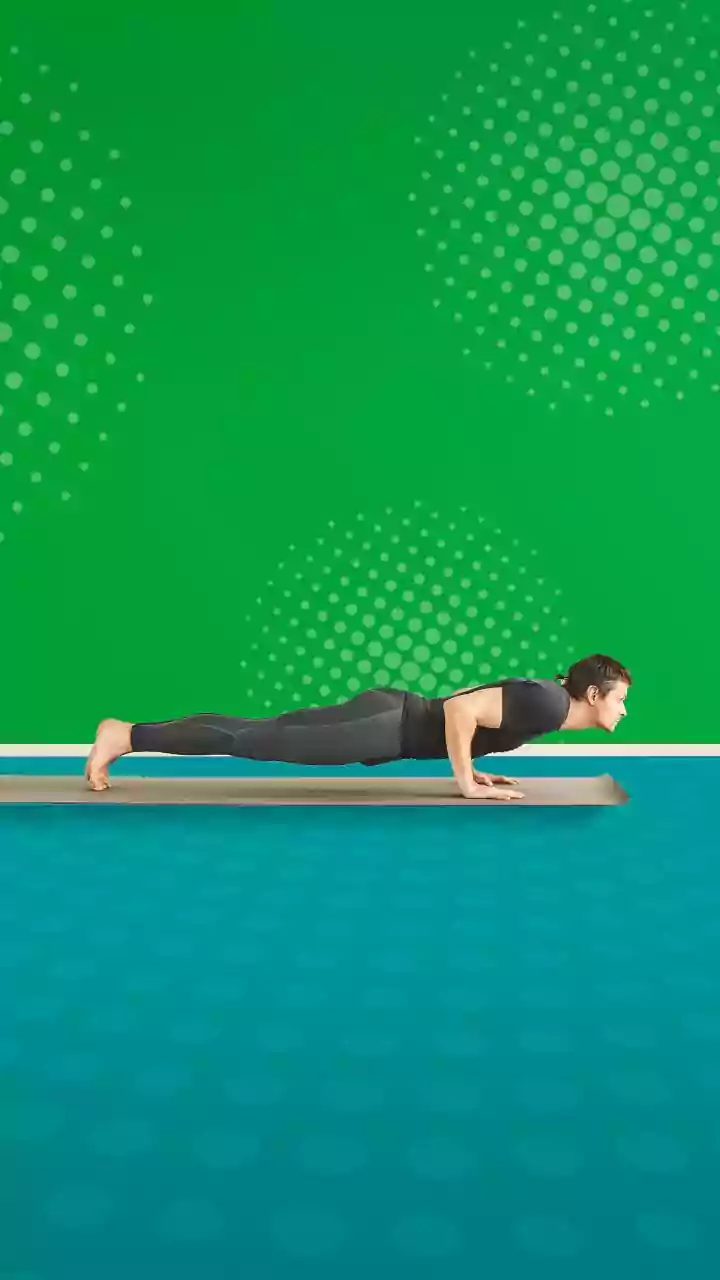
Step 5: Dandasana (Stick Pose)
Exhaling, step your left leg back to join the right, aligning your body in a straight line like a plank. This pose is excellent for building core strength and toning the arms and shoulders. Ensure your wrists are directly under your shoulders to maintain proper alignment.
Step 6: Ashtanga Namaskara (Eight-Limbed Pose)
Gently bring your knees, chest, and chin to the floor while keeping your hips slightly raised. This pose involves eight points of the body touching the ground. It strengthens the chest, arms, and shoulders as you prepare for the next movement.
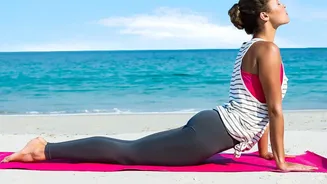
Step 7: Bhujangasana (Cobra Pose)
Inhaling, slide forward and lift your chest up into a gentle backbend, keeping your pelvis on the floor. The Cobra Pose is fantastic for strengthening the back muscles and increasing spinal flexibility. It also helps to relieve stress and fatigue.
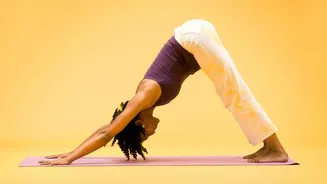
Step 8: Parvatasana (Mountain Pose)
Exhaling, lift your hips and push back to form an inverted 'V' shape with your body, also known as Downward-Facing Dog. This pose stretches the hamstrings, calves, and shoulders while strengthening the arms and legs.
Step 9: Ashwa Sanchalanasana (Equestrian Pose)
Inhaling, bring your right foot forward between your hands, returning to the lunge position. This mirrors Step 4, continuing to open the hips and prepare you to return to a standing position.
Step 10: Hasta Padasana (Hand to Foot Pose)
Exhaling, bring your left foot forward to meet the right and return to the standing forward bend. This continues to stretch the back of your legs and spine.
Step 11: Hasta Uttanasana (Raised Arms Pose)
Inhaling, slowly rise up, lifting your arms and arching your back gently, just as you did in the second step. This signifies the completion of the main flow.
Step 12: Pranamasana (Prayer Pose)
Exhaling, bring your palms back together at your chest, returning to the starting position. This completes one full round of Surya Namaskar.