

The Allure of Ageless Glamour
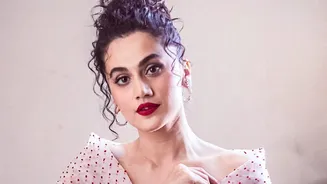
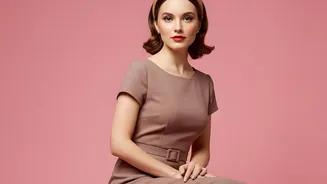
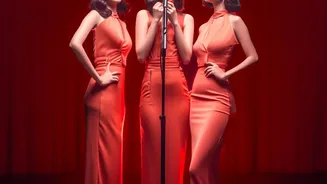
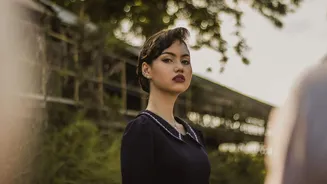
There's a reason why the polished hairstyles of the 1940s and 50s continue to capture our imagination. These looks, popularised by the film stars of Hollywood's golden age, are the epitome of structured glamour. A sharp parting combined with uniform,
soft waves creates a look that is intentional, sophisticated, and incredibly flattering. Unlike fleeting trends, this style has an enduring appeal because it focuses on creating a beautiful shape and adding a healthy, glossy finish to the hair. The best part? This high-glamour look is surprisingly achievable at home with modern tools, allowing you to channel your inner screen siren for a special occasion or just a day when you want to feel a little extra put-together.
Your Essential At-Home Toolkit
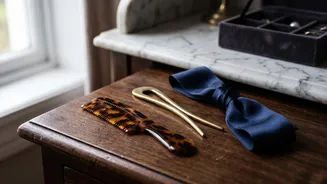
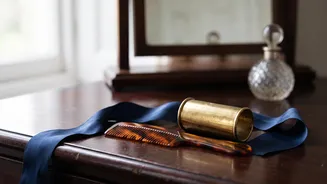
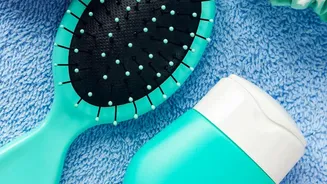
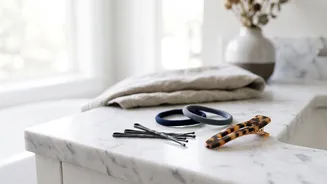
You don't need a professional styling team to achieve these looks, but having the right tools on hand is crucial. Before you begin, gather your supplies to make the process smooth and simple. You will need a heat protectant spray to shield your hair, a volumising mousse to add body, and a fine-toothed comb for creating precise parts. A 1 to 1.5-inch barrel curling iron is ideal for creating the right size of curl. You'll also want some large hair clips (like duckbill clips) to hold the curls in place as they set, and a soft bristle brush for the finishing touches. Finally, a good-quality, medium-hold hairspray will ensure your waves stay soft but defined throughout the day.
Look 1: The Deep Side Part and Structured Waves
This iconic 1940s look is all about drama and polish. Start with clean, dry hair. The first step is creating a deep, clean side part. Use the tail end of a comb to draw a straight line from your hairline back. Apply a light mist of heat protectant all over. Working in two-inch sections, curl your hair with the curling iron, ensuring you curl every section in the same direction, away from your face. As you release each curl, roll it back up and secure it against your scalp with a clip while it's still warm. This step is vital for creating a lasting wave pattern. Once all your hair is clipped up, give it a light mist of hairspray and let it cool completely for at least ten minutes.
The Grand Reveal: Brushing Out Your Waves
Once your pinned curls are completely cool to the touch, it's time for the most important step: the brush-out. Gently remove all the clips. At first, you will have tight, separate curls. Don't panic! Take your soft bristle brush and begin to gently brush through the curls. As you brush, you will see the individual curls start to merge and form a uniform 'S' wave pattern. Be patient and keep brushing until the waves are as soft and blended as you'd like. The more you brush, the softer the look becomes. You can use your fingers to help guide the hair into shape. For that authentic Old Hollywood finish, place a couple of long clips into the deep grooves of the waves to help define them further as you apply a final mist of hairspray.
Look 2: The Softer, Modern Vintage Wave
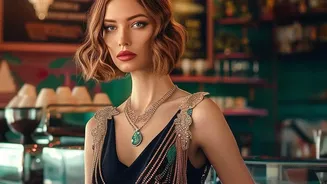
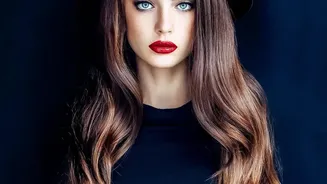
For a less structured but equally beautiful look, you can adapt the technique for a softer, more modern feel. Start with a middle or a less severe side part. When curling your hair, alternate the direction of each curl. This will create a less uniform, more 'undone' texture. Instead of pinning each curl tightly, you can simply let them cool in your hand for a few seconds before releasing. When you brush this set out, the waves will be looser and more separated, giving a nod to vintage glamour without feeling like a costume. This approach is perfect for everyday wear and works wonderfully on both long and medium-length hair, offering a touch of elegance that feels effortless and chic.