

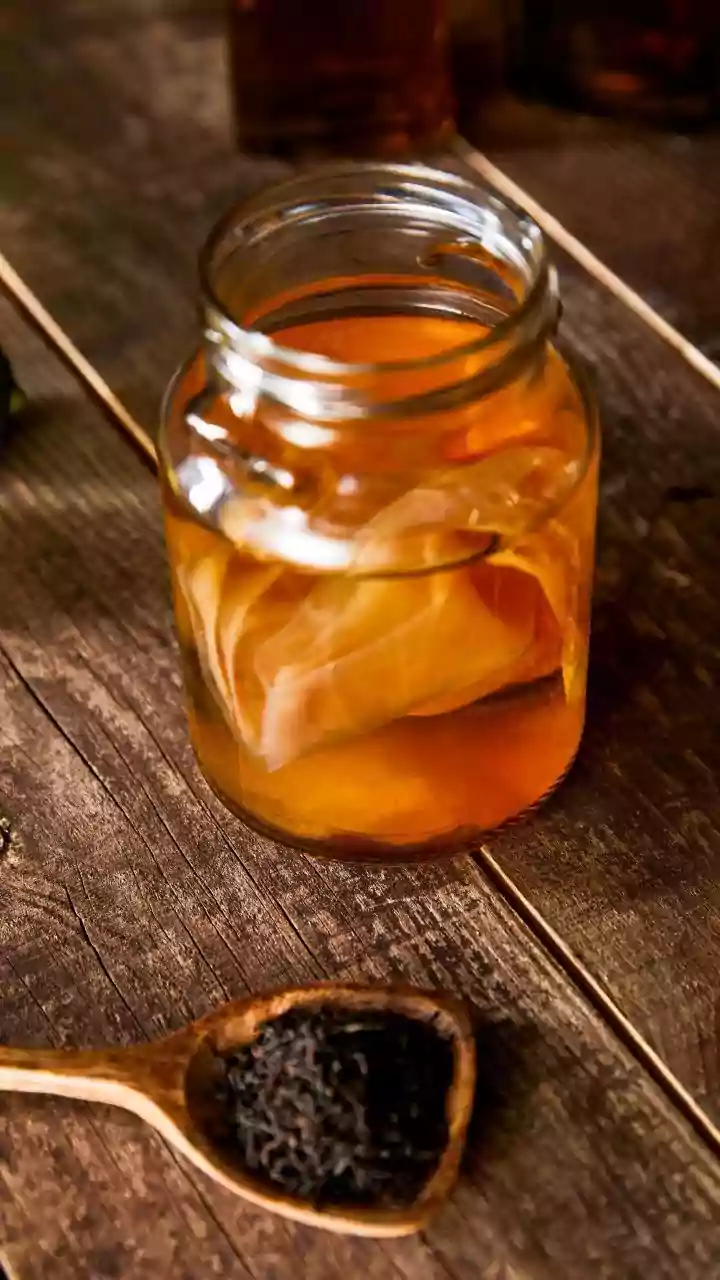



First, What Is a Healthy SCOBY?
SCOBY stands for Symbiotic Culture of Bacteria and Yeast. This gelatinous, pancake-like disc is the engine of your kombucha brew, turning sweet tea into a fizzy, tangy, probiotic beverage. A healthy SCOBY is your primary measure of a successful brew.
Look for one that is a creamy white or light tan colour and feels resilient, not easily torn. It should smell slightly sweet and vinegary, a sign of active fermentation. Don't be alarmed by brown, stringy bits hanging off it; those are simply strands of yeast and a normal sign of an active culture. The SCOBY might float on top, sink to the bottom, or hover in the middle of its liquid—all are perfectly fine. A new, thin layer will often form on the surface of the brew, which is a baby SCOBY and a great sign of a healthy culture.
Option 1: Buy From a Reputable Online Retailer
The most straightforward way to get started is by purchasing a SCOBY online. Reputable sellers provide lab-grown, healthy cultures that are ready to brew. Look for SCOBYs that are sold live and packaged in a generous amount of starter liquid—at least one to two cups. This liquid is actually mature kombucha from a previous batch, and it's just as important as the physical SCOBY itself, as it contains the bulk of the microorganisms needed for fermentation and helps lower the pH of your new brew to a safe level. Avoid dehydrated SCOBYs, which can be difficult to rehydrate and are more prone to failure or mould. Trusted online retailers often provide detailed instructions and support, making this a great option for beginners who want to ensure a strong start.
Option 2: Get a SCOBY From a Friend
Kombucha brewers often find themselves with an abundance of SCOBYs, as a new layer, or 'baby', is created with each batch. Because of this, the home-brewing community is known for sharing. Asking a friend who already brews is one of the best ways to source a culture. You'll get a fresh, active SCOBY that's already proven to make good kombucha. When you receive it, make sure it comes in a clean glass jar with at least a cup or two of their starter tea. This ensures the culture stays healthy and has enough acidic liquid to protect your first batch from contamination. An added bonus of this method is having a friend you can ask for tips and taste-test with along the way.
Option 3: Grow Your Own From Scratch
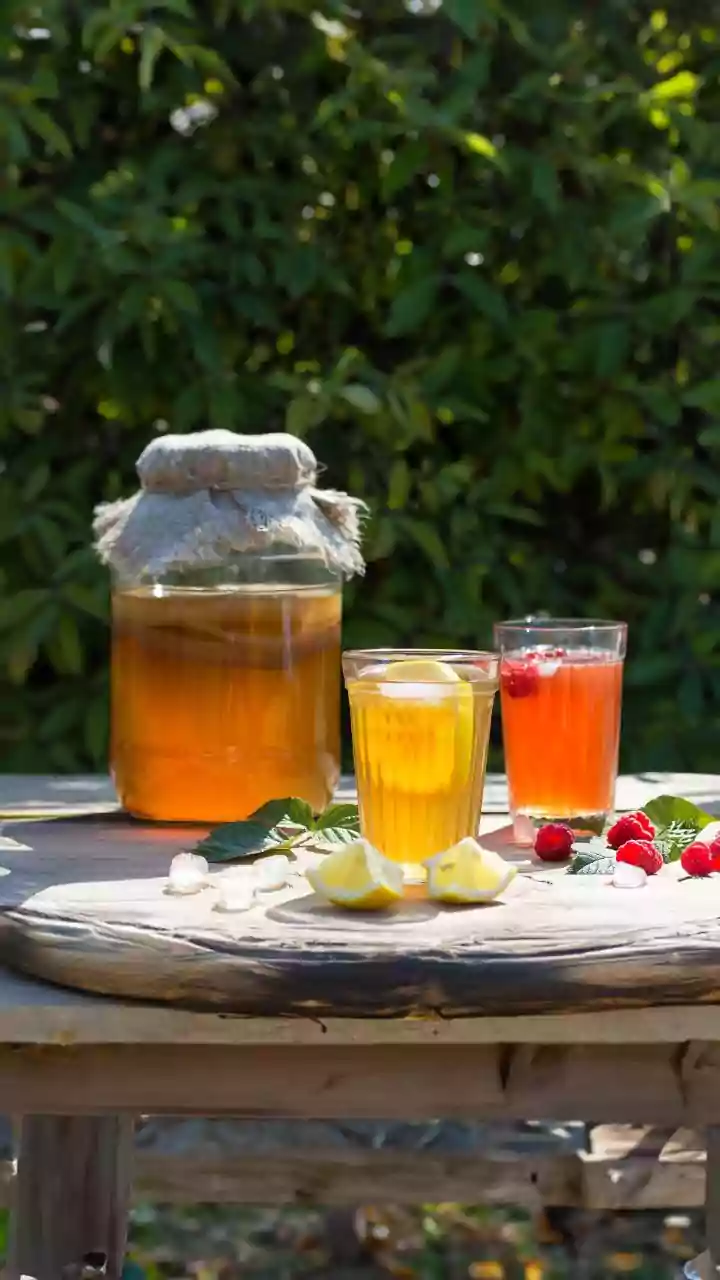
If you're feeling patient and a bit adventurous, you can grow your own SCOBY from a bottle of store-bought kombucha. This method takes a few weeks but is incredibly rewarding. First, you'll need to find a bottle of raw, unpasteurized, and unflavored kombucha. Flavoured varieties can contain oils or other ingredients that may hinder SCOBY growth. Pour the kombucha into a clean glass jar, cover it with a tightly woven cloth (like a clean t-shirt scrap, not cheesecloth) secured with a rubber band, and leave it in a warm, dark place. In about one to three weeks, a thin, translucent film will form on the surface. This is your new baby SCOBY. Let it grow until it's about a quarter-inch thick before using it for your first full-sized batch.
What to Absolutely Avoid
Your SCOBY's health is paramount to brewing safety. The biggest red flag is mould, which will appear as fuzzy, dry spots of green, black, white, or blue on the surface of the SCOBY. If you see any mould, the entire batch and the SCOBY must be discarded. Also, trust your nose. A healthy brew smells vinegary and slightly sweet; a culture that smells cheesy, foul, or otherwise unpleasant has likely been compromised and should be thrown out. Finally, use proper equipment. Brew only in glass jars, as the acidity of kombucha can leach harmful chemicals from ceramic or metal containers. And never use antibacterial soap to clean your brewing equipment, as the residue can harm your culture; hot water is sufficient.