


The Sacred Sweet of Mathura
The connection between Mathura and Peda is legendary. As the birthplace of Lord Krishna, the city's culinary identity is deeply intertwined with its spiritual heritage. Peda is not just a sweet; it's the primary 'prasad'—a sacred food offering made to
the deity and then shared among devotees. Legend holds that this milk-based delicacy was a favourite of a young Krishna, and for centuries, it has been prepared as an offering to him, especially during Janmashtami. This gives the sweet a significance that transcends its ingredients, transforming it from a simple dessert into an act of devotion.
What Makes Mathura Peda Special?
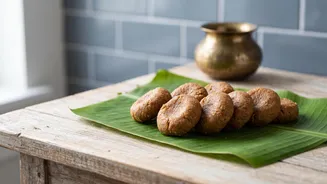
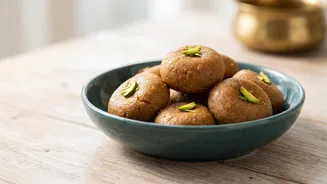
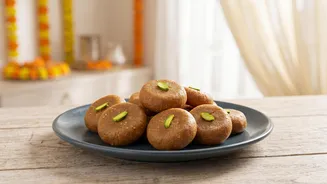
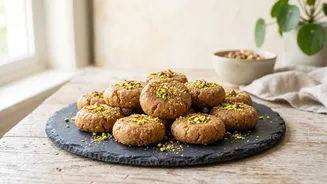
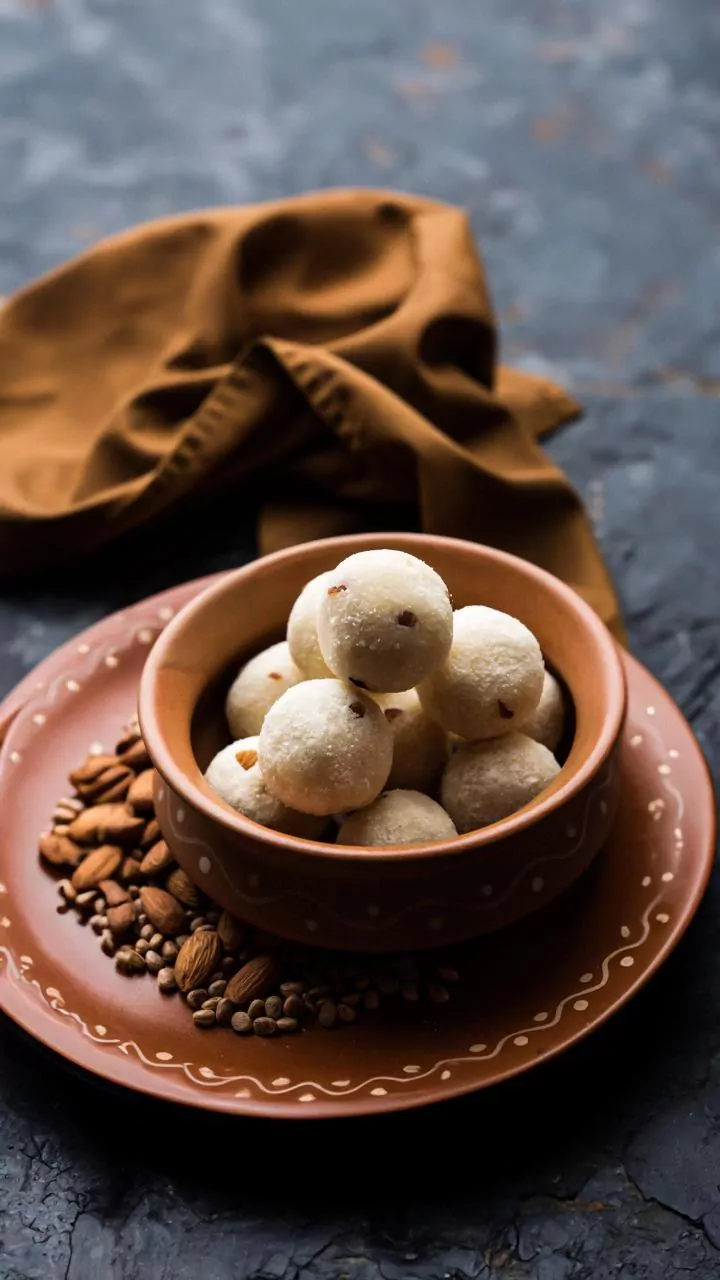
Unlike the smooth, white pedas found elsewhere, the authentic Mathura Peda has a distinct character. Its signature is a grainy texture and a beautiful brownish, caramelized colour. This comes from the process of slowly roasting 'khoya' (milk solids) until it darkens and develops a rich, nutty aroma. The other key element is the use of 'tagar' or 'boora', a special type of porous, unrefined powdered sugar. While regular powdered sugar works, 'tagar' gives the peda its classic granular mouthfeel that makes it so unique and beloved. This combination of browned milk solids and coarse sugar creates a flavour that is deeply milky and perfectly sweet, without being overwhelming.
Your Ingredients List
This recipe offers a simpler, quicker path using milk powder to create fresh 'khoya' at home. Here’s what you’ll need: Milk Powder: 2 cups Ghee (Clarified Butter): 3-4 tablespoons Milk: ½ to 1 cup (as needed) Powdered Sugar or Boora/Tagar: ½ to ¾ cup (adjust to taste) Cardamom Powder: ½ teaspoon Nutmeg Powder: ¼ teaspoon (optional) * Extra Powdered or Granulated Sugar: For coating
Step-by-Step Guide to Making Peda
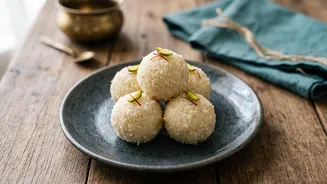
Follow these steps carefully for a perfect result. Patience is key, especially during the roasting process. 1. Create the Khoya Base: In a heavy-bottomed, non-stick pan, add 1 tablespoon of ghee and the milk powder. On low heat, mix them together. Slowly add ½ cup of milk, stirring continuously to break up any lumps and form a smooth, thick paste. 2. Roast the Khoya: Continue cooking this mixture on low heat, stirring constantly. The mixture will start to thicken and pull away from the sides of the pan, forming a single lump. This is your instant khoya. 3. Develop the Colour and Texture: Now, the crucial part begins. Continue roasting this khoya on low to medium heat. Add another tablespoon of ghee. Keep stirring and breaking up the khoya. It will gradually become drier, crumbly, and start changing colour. This process can take 15-20 minutes. Keep going until it reaches a rich, golden-brown hue. 4. Cool the Mixture: Once you achieve the desired brown colour, turn off the heat. If the mixture seems too dry, you can add a tablespoon or two of milk. Transfer the roasted khoya to a plate or bowl and let it cool down until it's just warm to the touch. It's important not to add sugar to a hot mixture, as it will melt and become sticky. 5. Add Sugar and Flavour: Once the mixture has cooled, add the powdered sugar (or 'boora'), cardamom powder, and optional nutmeg powder. Mix everything together thoroughly with your hands until it's well combined. 6. Shape the Pedas: The mixture should be moist enough to bind. If it feels too dry, add a teaspoon of milk. Take small portions of the mixture and roll them into smooth balls. Gently flatten each ball to create the classic disc shape. 7. Coat and Garnish: Roll each peda in a bowl of powdered or granulated sugar to give it the traditional final coating. You can make a small indentation in the centre and garnish with a sliver of pistachio if you wish. Your homemade Mathura Pedas are ready.
Tips for Perfect Results
To ensure your pedas turn out just right, keep these pointers in mind. First, always use a heavy-bottomed or non-stick pan to prevent the milk powder and khoya from burning. Second, low and slow is the mantra; do not rush the roasting process, as this is where the flavour develops. Stirring continuously is non-negotiable. Third, allow the roasted khoya mixture to cool completely before adding sugar to maintain that desirable grainy texture. Finally, if you can find 'boora' sugar at an Indian grocery store, it will elevate your pedas to a professional level of authenticity.