


A Taste of Tradition and Thrift
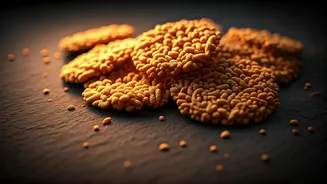
Sandige, also known as Aralu Sandige or Akki Sandige in different parts of South India, are sun-dried crisps that puff up beautifully when fried. Traditionally made in large batches during the hot summer months, they are a testament to our culinary wisdom
of preservation and zero-waste cooking. Making them at home from leftover rice is not just economical; it’s a deeply satisfying process that connects us to the thrifty genius of our grandmothers. These crunchy delights serve as a perfect accompaniment to a simple meal of rice and dal, or as a standalone snack to satisfy those evening cravings.
What You Will Need
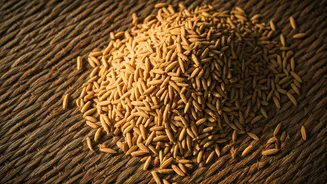
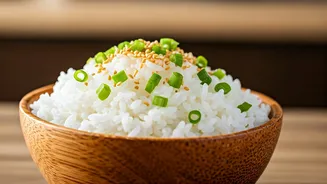
The beauty of this recipe lies in its simplicity. You don’t need fancy ingredients, just a few kitchen staples. Here’s your list: * **Leftover Cooked Rice:** About 2 cups. Any plain, cooked rice will work, but short-grain varieties are often preferred. * **Water:** As needed, for grinding and cooking. * **Green Chillies:** 2-3, depending on your spice preference. * **Jeera (Cumin Seeds):** 1 teaspoon. * **Sesame Seeds (Til):** 1 teaspoon (optional). * **Asafoetida (Hing):** A pinch. * **Salt:** To taste. * **Oil:** For deep frying. You’ll also need a sturdy plastic sheet or greased steel plates for drying the sandige.
Step 1: The Perfect Batter
The secret to a good sandige is the consistency of the batter. Start by adding the leftover cooked rice, green chillies, and a little salt to a grinder jar. Add just enough water to help it grind into a smooth, thick paste. You are looking for a consistency similar to idli batter—it should be pourable but not watery. If it’s too thin, the sandige won’t hold their shape. If it’s too thick, they will be hard and dense instead of light and crispy. Once ground, transfer the batter to a heavy-bottomed pan.
Step 2: Cooking the Mixture
To the ground batter in the pan, add the cumin seeds, sesame seeds (if using), and a pinch of asafoetida. Add about half a cup of water and mix well to ensure there are no lumps. Now, place the pan on medium heat and start stirring continuously. This step is crucial. Do not walk away, as the rice mixture can stick to the bottom and burn easily. Keep stirring until the batter thickens considerably and turns from a milky white to a glossy, translucent mass. This should take about 8-10 minutes. When you lift the spoon, the mixture should fall in a thick dollop, not pour off. Turn off the heat and let it cool slightly.
Step 3: Shaping and Drying
Now comes the patient part. Lay a clean plastic sheet in a sunny spot, like a balcony or terrace. Take small spoonfuls of the warm batter and drop them onto the sheet, leaving some space between each one. You can also use a piping bag for more uniform shapes. **The Traditional Method (Sun-Drying):** Let the sandige dry under the direct, harsh sun for 2-3 days. The timing depends on the intensity of the heat. They are ready when they are completely dry, brittle, and peel off the plastic sheet easily. You should be able to snap one in half with a crisp sound. **The Modern Method (Oven-Drying):** If you lack sun or it’s monsoon season, you can use an oven. Preheat your oven to its lowest temperature (around 80-100°C). Spread the sandige on a baking tray lined with parchment paper and bake for 4-6 hours, or until they are completely dehydrated and hard. You might need to flip them once halfway through.
Step 4: Frying and Storing
Once your sandige are bone-dry, they are ready for their final transformation. Heat oil in a kadai for deep frying. To check if the oil is hot enough, drop a small piece of sandige into it. It should sizzle and puff up almost instantly. Fry a small batch at a time, as they expand quickly. Once they are white, puffed, and crispy, remove them with a slotted spoon and drain on a paper towel. The fried sandige can be enjoyed immediately. Store the remaining uncooked, dried sandige in an airtight container. They will last for months, ready to be fried whenever you need a quick, crunchy snack.