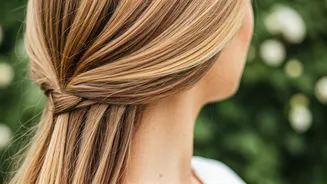


The Allure of the Waterfall Braid
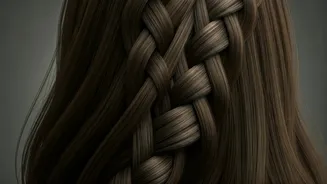
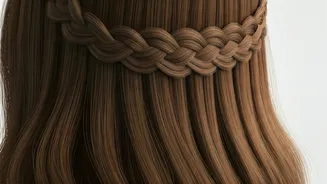
A waterfall braid is essentially a modified French braid. Instead of incorporating all the hair into the plait, this technique allows sections of hair to cascade down through the braid, creating a 'waterfall' effect. This style is incredibly versatile,
lending a soft, romantic feel that works equally well for a casual day out, a formal wedding, or a professional office setting. It keeps hair neatly pulled back from the face while allowing the rest to flow freely, offering the best of both worlds.
Why It's a Perfect Match for Medium Hair
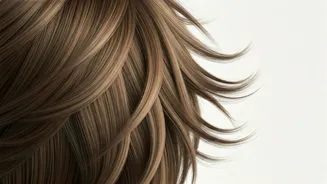
Medium-length hair, often falling around the shoulders or collarbone, can sometimes be challenging. It might lack the length for dramatic updos but has too much volume for very simple styles. The waterfall braid is an ideal solution. It introduces beautiful detail and texture without requiring long locks. For those with thick or heavy-feeling medium hair, a waterfall braid can break up the density, adding a sense of weightlessness and visual interest. It's a sophisticated way to elevate a shoulder-length cut, proving you don't need Rapunzel-like tresses to achieve a stunning braided look.
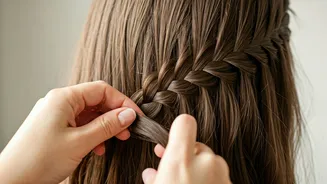
How to Create the Look: A Step-by-Step Guide
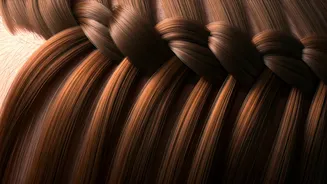
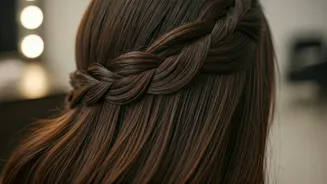
While it looks complex, the technique is a repetitive and manageable process. Before starting, gather a comb, small clear elastics, and perhaps some texturizing spray for better grip, especially on silky hair. 1. Start the Braid: Take a small section of hair near your front hairline and divide it into three equal strands. 2. Initial Stitch: Begin a standard three-strand braid. Cross one outer strand over the middle strand, then cross the other outer strand over the new middle strand. 3. Create the 'Waterfall': Now, for the key step. Take the top strand (the one closest to your part) and cross it over the middle. Then, instead of braiding the bottom strand, simply drop it and let it hang down. 4. Pick Up and Continue: Pick up a new section of hair from right behind the strand you just dropped. This new section becomes your new bottom strand. Cross it over the middle strand to continue the braid. Add a new piece of hair from your hairline to the top strand before crossing it over the middle. 5. Repeat and Secure: Continue this pattern—crossing the top strand over, dropping the bottom strand, and picking up a new one to replace it—across the back of your head. You can create a half-crown by stopping in the middle and securing with a pin or elastic, or continue to the other side. Once you've finished, secure the end of the braid with a clear elastic and tuck it behind your ear or under your hair.
Tips for an Elegant, Lasting Finish
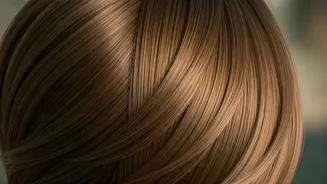
To elevate your waterfall braid from pretty to polished, a few extra steps can make all the difference. Starting with second-day hair often provides better texture and hold. If your hair is freshly washed, a light mist of texturizing spray or dry shampoo will prevent strands from slipping. For a more voluminous, romantic look, gently tug on the outer loops of your finished braid, a technique known as 'pancaking'. To ensure the style lasts, especially for a long event, finish with a light-hold hairspray. Don't worry about absolute perfection; a few loose tendrils can add to the style's charming, carefree aesthetic.
Easy Variations to Try
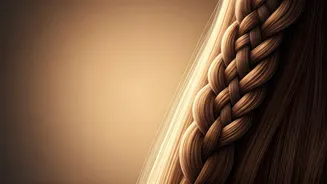
The basic waterfall braid is just the beginning. For a bolder look, create two parallel braids for a double-waterfall effect. The cascading strands look beautiful when curled into soft waves, enhancing the romantic feel. You can also weave two braids, one from each side of your head, and join them in the middle for a classic half-updo. Another option is to continue the braid all the way around your head to form a waterfall crown. Don't be afraid to accessorize with small clips, flowers, or pins to match your outfit or the occasion.