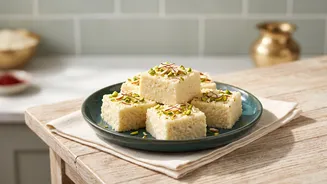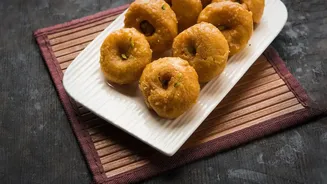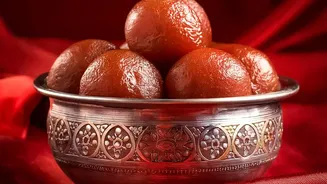



The Enduring Legacy of Mathura Peda
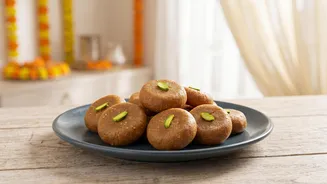
Mathura Peda is not just a sweet; it is an institution. This iconic confection is synonymous with the city of Mathura and is the most beloved prasad offered to Lord Krishna. Legend has it that the tradition dates back centuries, with cowherds in Krishna's
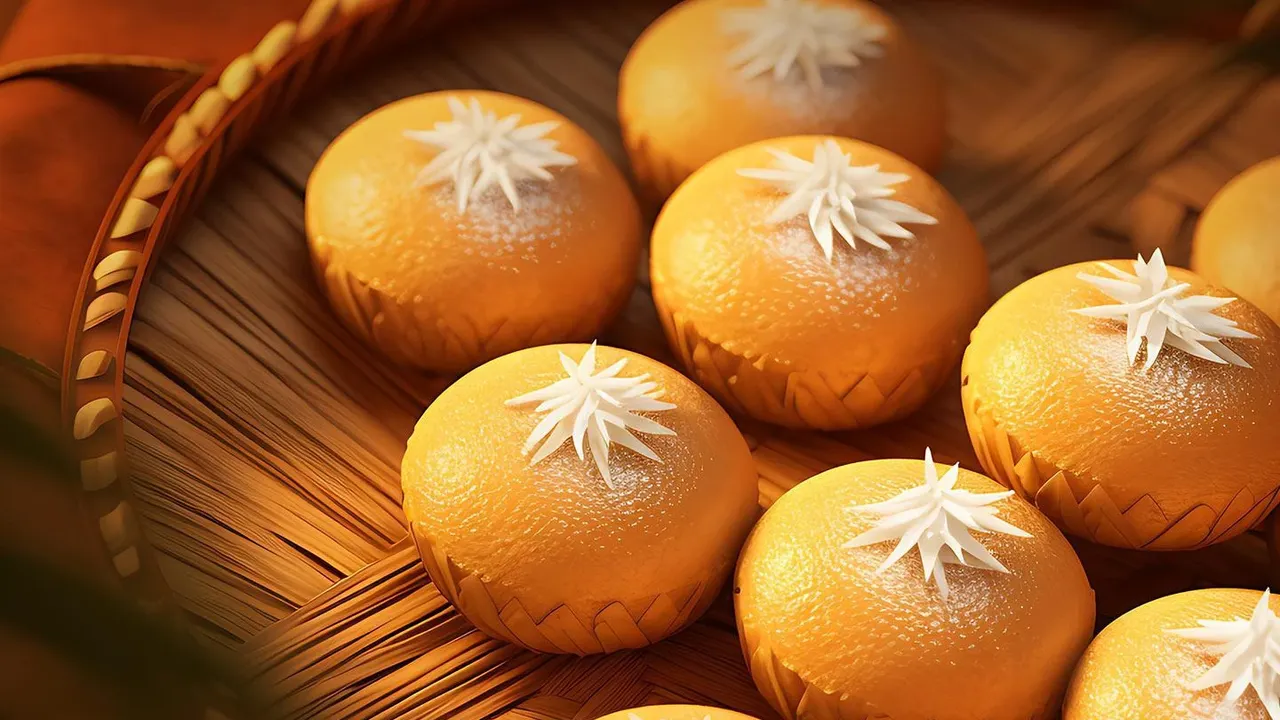
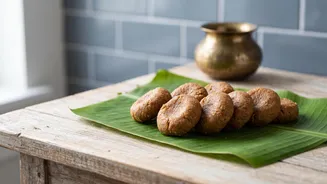
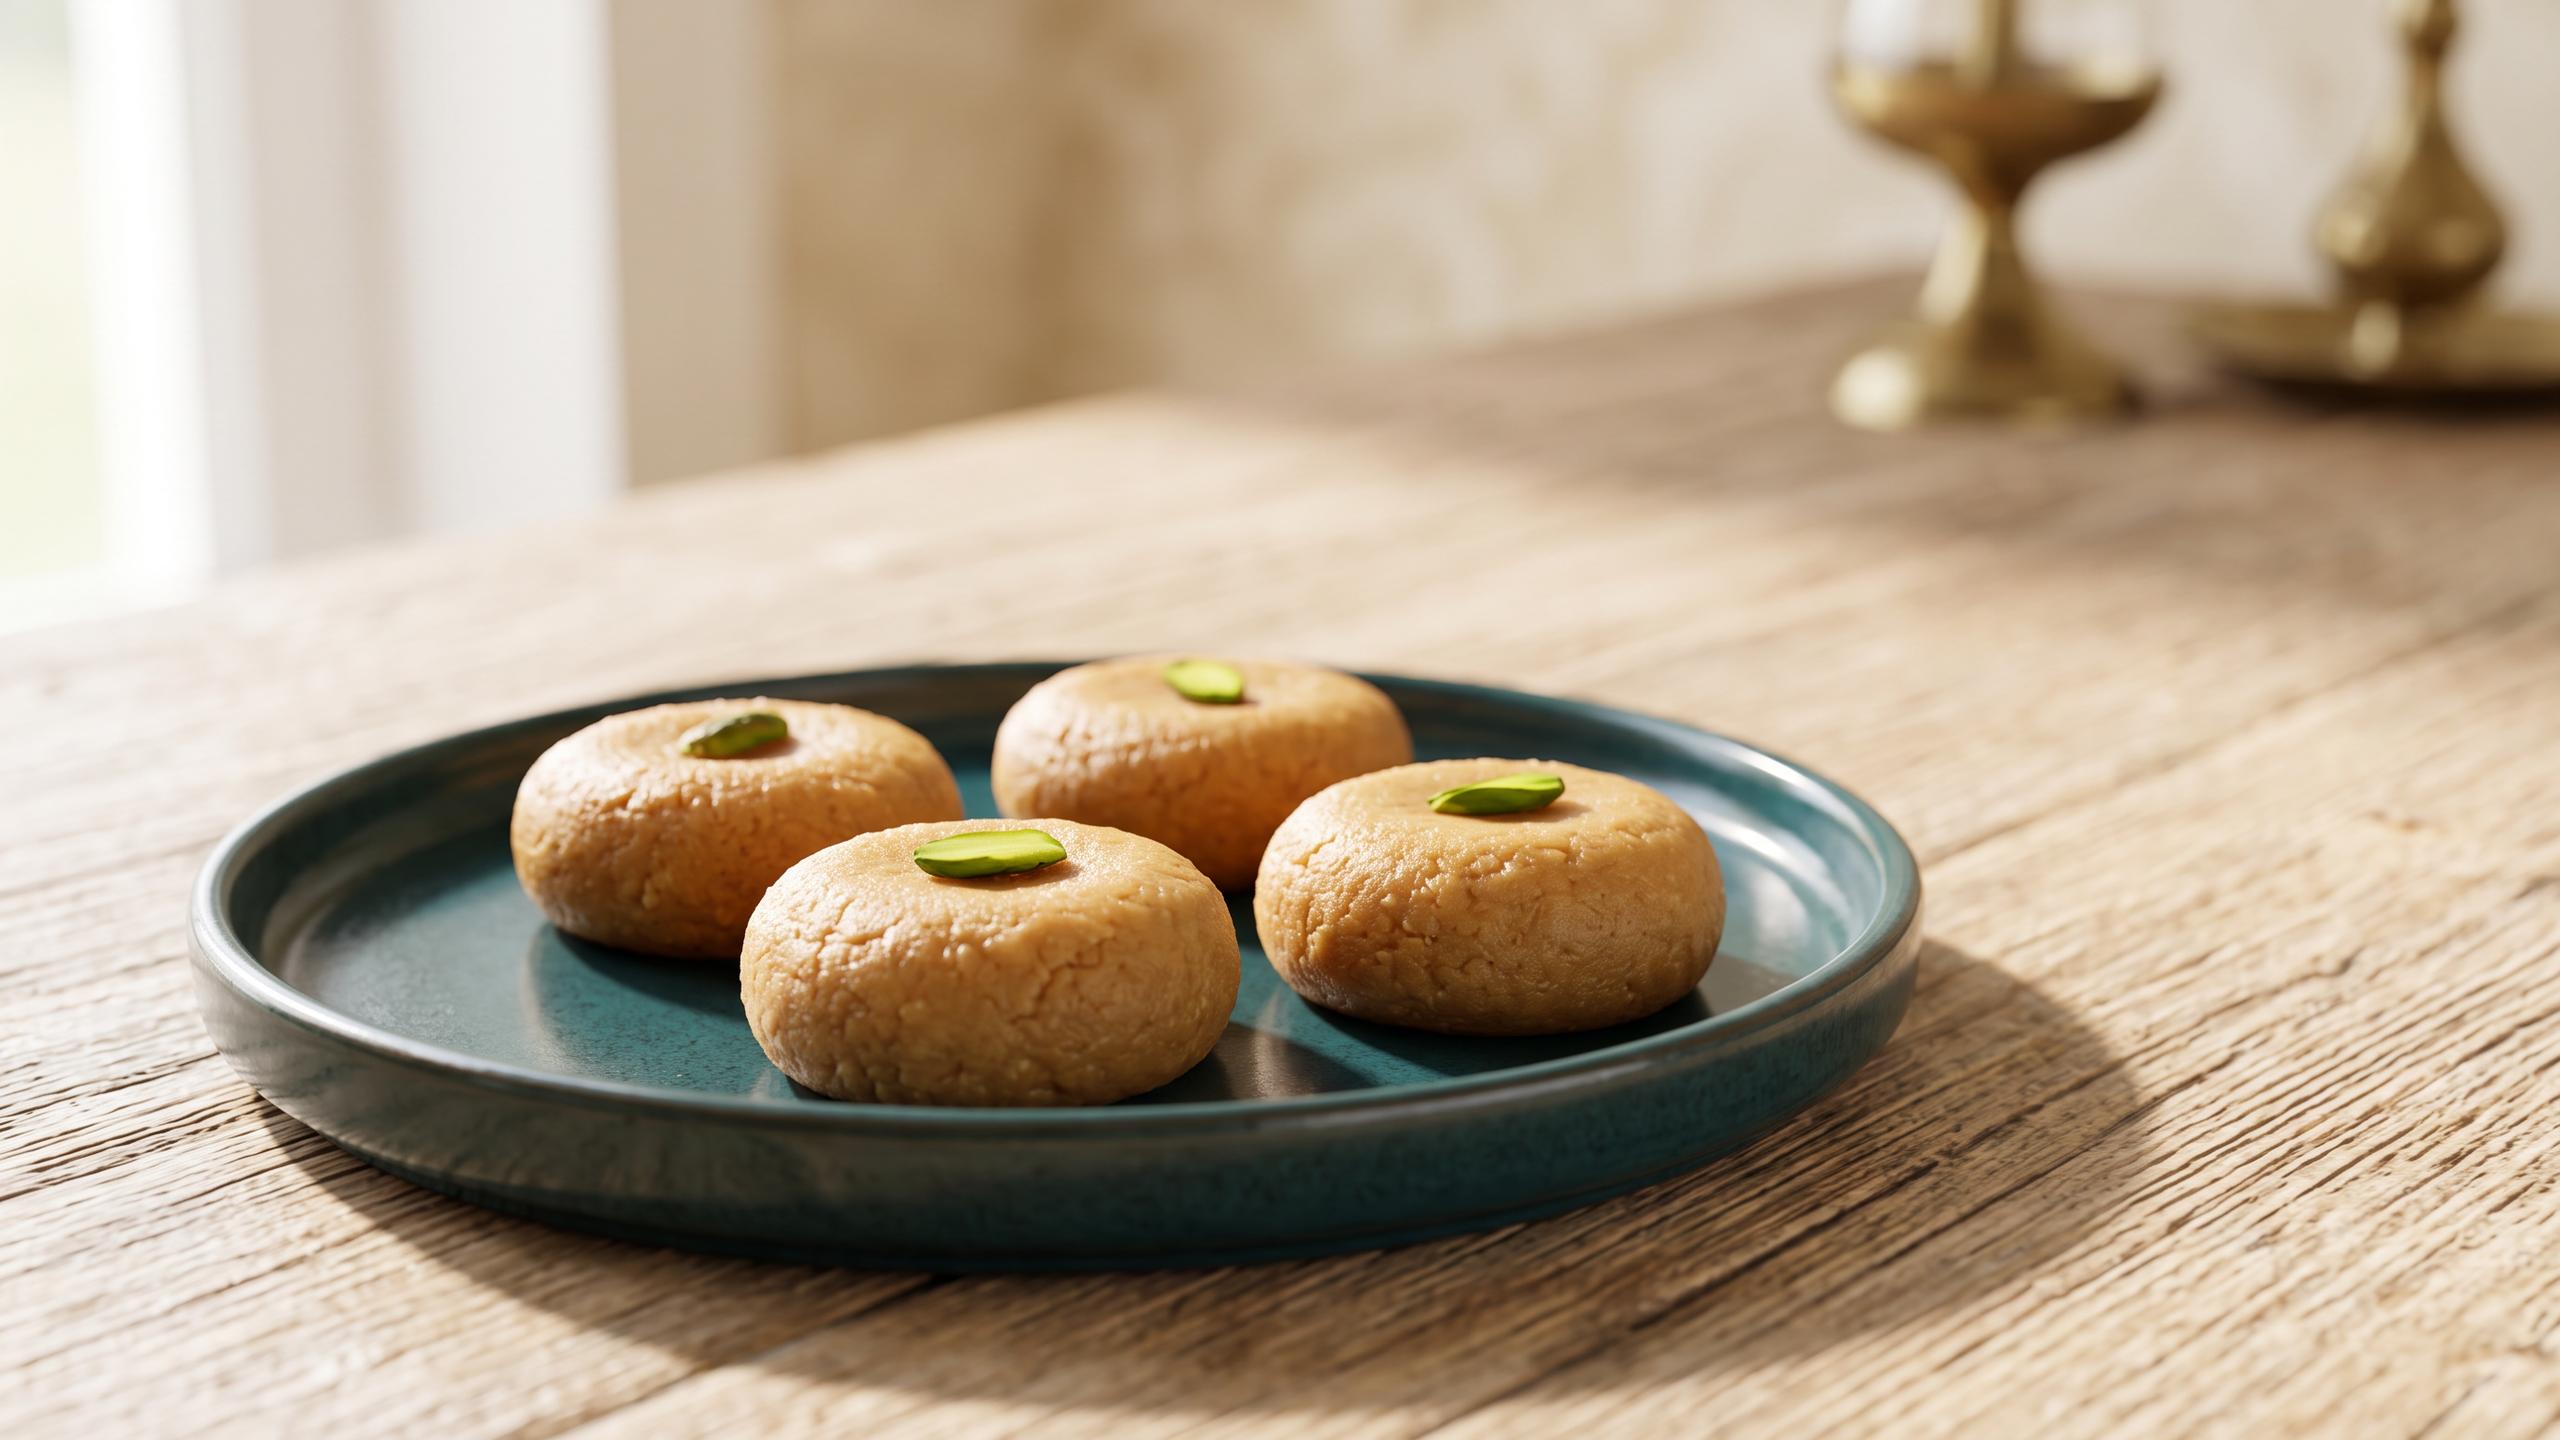
own land creating this milk-based delicacy. Its distinct dark brown colour and grainy texture set it apart from the common, lighter-coloured pedas found elsewhere. The secret lies in the slow-roasting of milk solids, a process that imparts a deep, almost caramel-like flavour that is utterly divine. Making this at home is a way to bring a piece of Braj's heritage into your own festive celebrations. It embodies the sweetness and love associated with Krishna himself, making it the perfect offering, or 'bhog', on his birthday.
The Secret to That Perfect Colour and Flavour
What makes a Mathura Peda different from any other peda? The answer is one crucial step: 'bhuno-ing' or the slow-roasting of the mawa (also known as khoya or dried milk solids). While other pedas are made with lightly sautéed mawa, resulting in a pale white or cream colour, Mathura peda requires patience. The mawa is roasted in ghee over a low flame until it transforms from white to a rich, dark brown. This process not only changes the colour but also fundamentally alters the flavour profile. It caramelises the milk sugars, giving the peda its signature nutty aroma and slightly granular, melt-in-your-mouth texture. This is the authentic touch that transports you straight to the bustling streets of Mathura.
Your Simple List of Ingredients
This recipe requires just a handful of ingredients, so quality matters. Use the freshest mawa you can find for the best results.
- 250 grams Mawa (unsweetened khoya/milk solids), crumbled.
- 2-3 tablespoons Ghee (clarified butter).
- 150 grams Boora Sugar or Tagar (see note below).
- 1/2 teaspoon Cardamom Powder (elaichi).
- 1-2 tablespoons Milk (if needed).
- A few pistachios or almonds for garnish (optional).
A special note on sugar: Traditionally, this peda is made with 'tagar' or 'boora', a type of unrefined powdered sugar with a crystalline texture that prevents the peda from becoming sticky. If you cannot find it, you can use powdered sugar, but you may need to adjust the quantity slightly. Allow the roasted mawa to cool completely before adding powdered sugar to avoid a gooey texture.
Step-by-Step Guide to Making the Pedas
Follow these steps carefully for a perfect result.
1. Roast the Mawa: Heat a heavy-bottomed pan or kadai on low heat. Add the crumbled mawa and begin to roast it. Stir continuously to prevent it from sticking and burning. As it heats, it will loosen and become paste-like.
2. Add Ghee and Continue Roasting: After about 5-7 minutes, add the ghee. This will help in roasting the mawa evenly and prevent it from drying out. Continue to stir and cook on a low flame. This is the most important step and requires patience. Keep scraping the sides and bottom of the pan.
3. Achieve the Golden-Brown Colour: The mawa will slowly change colour from white to light brown and finally to a deep, dark brown. This can take anywhere from 25 to 40 minutes, depending on your stove and pan. The mixture will also release a rich, nutty aroma. If it feels too dry at any point, add a splash of milk.
4. Cool the Mixture: Once you have the desired dark brown colour, turn off the heat and transfer the mixture to a separate plate or bowl. Spread it out to help it cool down completely. This is crucial. If you add sugar to hot mawa, it will melt and make the mixture pasty.
5. Add Sugar and Flavouring: Once the mawa mixture is completely cool to the touch, add the boora sugar (or powdered sugar) and cardamom powder. Mix everything together with your hands until well combined. The texture should be grainy and easy to shape.
6. Shape the Pedas: Take small portions of the mixture and roll them into smooth balls between your palms. Gently flatten them to create the classic peda shape. If you wish, you can press a sliver of pistachio or almond into the center of each peda. Some also like to roll the finished peda in a little extra boora sugar for a traditional coating.
Pro Tips for Flawless Results
Keep these pointers in mind for a foolproof experience. Always use a thick, heavy-bottomed pan to prevent the mawa from burning. Continuous stirring is non-negotiable for an even roast. If your mawa is very hard, grate it before crumbling for easier roasting. Finally, ensuring the roasted mawa is completely cool before adding sugar is the secret to achieving that perfect, non-sticky, grainy texture that defines an authentic Mathura Peda. Store the pedas in an airtight container at room temperature; they stay fresh for up to a week.