

Project 1: Magical Fairy Light Bottles
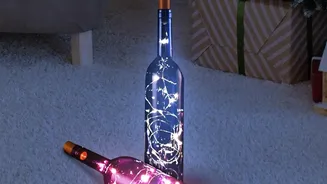
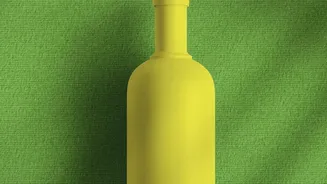
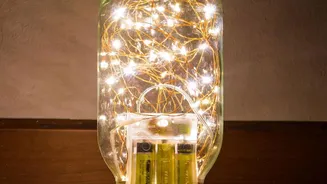
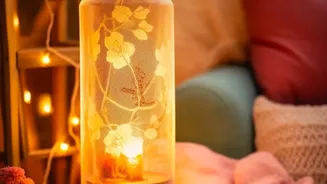
Empty glass bottles, from wine to juice, are often tossed into recycling, but they hold the potential to become enchanting sources of ambient light. This project is perfect for beginners and adds a whimsical glow to any corner, bookshelf, or bedside table.
The simplest method involves using cork-style battery-powered fairy lights that require no drilling. For a more finished look, you can drill a small hole in the back of the bottle to thread the lights through.
What You Will Need
To create your own fairy light bottle, you will need a few basic materials. First, select a clean, empty glass bottle; wine bottles work particularly well. You will also need a string of fairy lights, with LED options being the safest as they produce very little heat. For a no-drill approach, choose lights with a cork stopper that houses the battery pack. Optionally, you can add decorative elements like twine, glass gems, or paint to personalize your creation. If you choose to drill, you'll need a glass drill bit, safety glasses, and gloves.
Step-by-Step Guide
Start by ensuring your bottle is clean and dry, with all labels removed. Soaking it in hot, soapy water can help loosen any stubborn adhesive. Once clean, it's time to add the lights. For the no-drill method, simply bunch the fairy light string and carefully feed it into the bottle, then place the cork light in the opening. If you are drilling, put a piece of tape on the spot you intend to drill to help prevent the bit from slipping. Apply steady, gentle pressure and drill a hole near the base. Rinse the bottle to remove any glass dust and let it dry completely before feeding the lights through the hole. You can use a chopstick or paperclip to help arrange the lights inside for an even distribution.
Project 2: Chic Fabric Lampshades
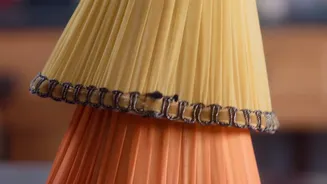
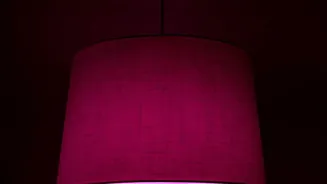
An old, plain, or outdated lampshade is the perfect canvas for a fabric-based makeover. This project allows you to introduce new colours, patterns, and textures into your decor using leftover fabric scraps, old clothing, or thrifted textiles. A no-sew approach using fabric adhesive is a quick and accessible method for anyone to try, instantly elevating a boring lamp into a custom statement piece.
Gather Your Supplies
You will need a lampshade, your chosen fabric, a strong fabric adhesive (like spray adhesive or a hot glue gun), scissors, and a pencil. It is also helpful to have paper to create a template, especially for tapered or drum-shaped shades. For finishing touches, consider a decorative trim or ribbon to cover the top and bottom edges.
Crafting Your Lampshade
First, create a template of your lampshade by rolling it over a large piece of paper and tracing the top and bottom edges as you go. Cut out this template and use it to cut your fabric, leaving about a half-inch of extra material around all sides for seam allowance. Before applying glue, do a dry fit to ensure the fabric covers the shade properly. When ready, apply your fabric adhesive to a section of the lampshade and carefully press the fabric onto it, smoothing out any wrinkles as you go. Work in sections until the entire shade is covered. To finish, fold the raw edges of the fabric over the top and bottom rims of the lampshade and glue them to the inside for a clean, professional look. You can then glue a decorative ribbon or trim along the top and bottom edges to conceal the seams.
Safety and Styling Notes
For any DIY lighting project, safety is paramount. Always use low-wattage, low-heat LED bulbs in your creations to minimize any fire risk, especially with fabric shades. Ensure the fabric on the lampshade does not come into direct contact with the bulb. When placing your new decor, make sure lamps are on a stable surface and cables are tidy to prevent tripping hazards.