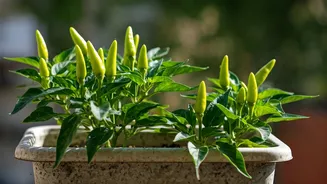


Choose Your Perfect Chili
Before you get your hands dirty, decide which chilies you want to grow. India boasts an incredible variety, from the world-famous Bhut Jolokia (Ghost Pepper) to the versatile Jwala and the colourful Byadagi. [5] For beginners, varieties like Cayenne,
Jalapeño, or Apache are robust and grow well in containers. [1] Hotter varieties often need a longer, warmer growing season, so starting with a milder, faster-growing type can be a rewarding first step. [1] You can either buy seeds from a nursery or simply harvest them from a dried chili from your own kitchen. [13] If you choose the latter, let the seeds dry on a paper towel for a few days before planting. [13]
The Ideal Organic Potting Mix
The secret to healthy chili plants is a soil that is rich in nutrients but also drains well, as chili roots hate being waterlogged. [3, 7] While you can buy pre-made organic mixes, creating your own is cost-effective and gives you control over the ingredients. A simple, effective recipe involves three key components: a base, an aerator, and nutrients. For a basic mix, combine two parts compost with one part perlite (for drainage) and one part coco coir or peat moss (for moisture retention). [10, 15] Good quality compost or vermicompost (worm castings) forms the nutrient-rich backbone of your mix. [2, 16] Perlite, a lightweight volcanic rock, creates air pockets in the soil, which is crucial for root health and preventing compaction. [10] Coco coir, a sustainable byproduct of coconuts, helps the soil retain moisture without becoming soggy. [17]
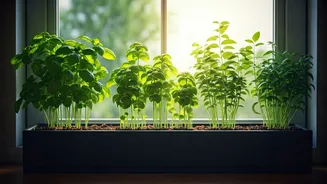
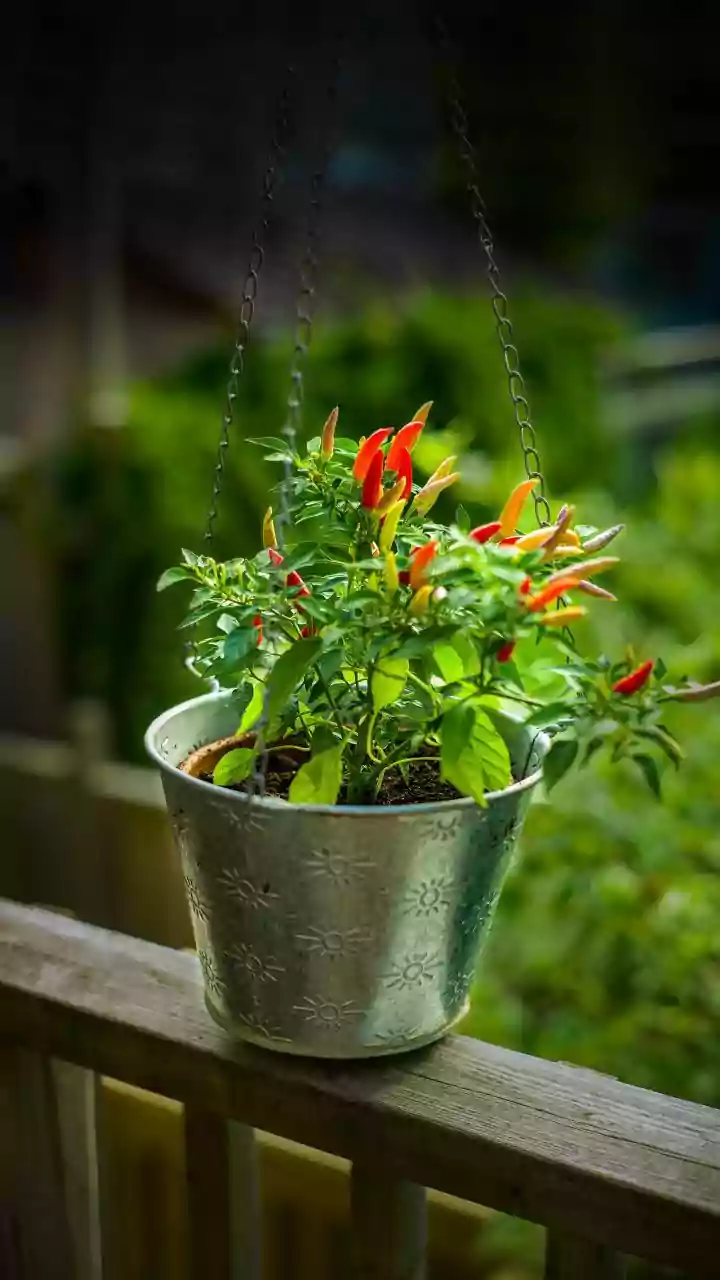
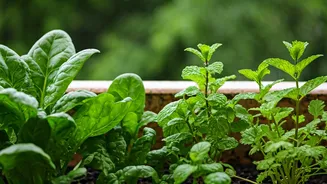
Potting and Planting Your Chilies
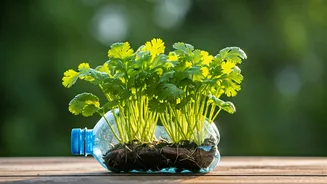
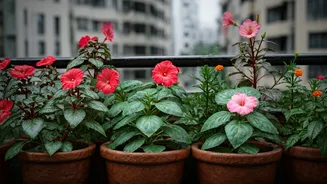
Chilies thrive in containers, which allows you to control their environment. [1] Choose a pot that is at least 8-9 inches in diameter with good drainage holes at the bottom. [1] If starting from seed, you can germinate them in a small tray or pot with a seed-starting mix. [6] A helpful tip is to soak the seeds in warm water overnight to improve germination rates. [1] Sow seeds about 5mm deep and keep the soil moist but not wet. [1] Once your seedlings have developed a few sets of true leaves, they are ready to be transplanted into their final, larger pots filled with your prepared organic mix. [5] When repotting, you can plant the stem a little deeper, as chilies can grow new roots from the buried portion. [9]
Essential Care for a Spicy Harvest
Once potted, your chili plants need consistent care. Place them in the sunniest, warmest spot you have, as they need at least six hours of direct sunlight a day to produce fruit. [7] A south-facing balcony or windowsill is ideal. [11] Water your plants regularly, but let the soil dry out slightly between waterings to avoid root rot. [6] A good rule is to water when the top inch of soil feels dry. When the plants start to flower, you can encourage a bushier shape and more fruit by pinching off the top growing tip. [1] You can also start feeding them with a liquid organic fertilizer, like a seaweed extract, every couple of weeks once flowers appear. [1]
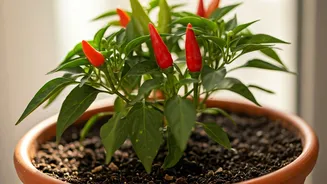
Harvesting and Enjoying Your Chilies
The moment you've been waiting for! Depending on the variety, you can start harvesting chilies in a few months. You can pick them when they are green, or wait for them to ripen on the plant and change colour to red, orange, or yellow. [9] Generally, the longer a chili stays on the plant, the hotter it becomes. [13] Regular harvesting encourages the plant to produce more fruit, so don't be shy. Snip the chilies off with scissors to avoid damaging the branches. Any surplus can be easily dried or frozen, giving you a year-round supply of homegrown spice for all your culinary adventures.