
Move over, traditional lunch staples. The chickpea sandwich is a versatile, satisfying, and incredibly delicious option perfect for any meal. This guide will walk you through creating a savoury, flavour-packed chickpea filling from scratch.
The Ultimate Plant-Based Staple
The humble
chickpea, also known as the garbanzo bean, is a nutritional powerhouse, packed with protein and fibre. When mashed and mixed with a few key ingredients, it transforms into a brilliant sandwich filling that serves as a fantastic plant-based alternative to classic tuna or chicken salad. Its appeal lies in its simplicity and adaptability. You can create a creamy, chunky, or smooth texture and infuse it with a world of flavours. Whether you're a seasoned vegan or just looking for a way to liven up your lunch routine, the chickpea sandwich offers a canvas for culinary creativity that is both healthy and deeply satisfying.
Gathering Your Core Ingredients
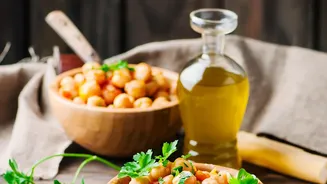
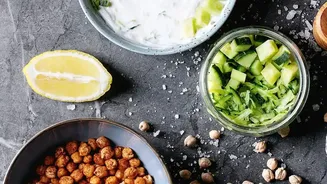
At its heart, a great chickpea filling is beautifully simple. You'll start with a can of chickpeas, rinsed and drained. For the creamy base, mayonnaise is the classic choice, but you can easily substitute vegan mayo, Greek yogurt, or even tahini for a different flavour profile. To add essential crunch and freshness, finely diced celery and red onion are staples. From there, it's all about building flavour. A squeeze of fresh lemon juice brightens everything up, while a teaspoon of Dijon mustard adds a tangy depth. Finally, fresh herbs like dill or parsley, along with salt and pepper, tie all the elements together.
Mastering the Perfect Texture
The texture of your filling is a matter of personal preference, and how you mash the chickpeas is key. For a quick and easy mash that leaves some pleasant chunkiness, a simple fork or a potato masher works perfectly. This method gives you maximum control, ensuring you don't accidentally turn your filling into a uniform paste. If you have a food processor, a few quick pulses can get the job done in seconds. Just be careful not to over-process; you want to break the chickpeas down into small, varied pieces, not puree them. The goal is a filling that's cohesive enough to hold together in a sandwich but still has enough texture to be interesting.
Bringing It All Together
Once your chickpeas are mashed to your liking, it's time to combine everything. In a large bowl, mix your creamy base—be it mayo, yogurt, or tahini—with the lemon juice, mustard, and seasonings. Stir this mixture well before adding the mashed chickpeas, diced celery, onion, and fresh herbs. Fold everything together until it's evenly combined. This is the most important step: taste and adjust. Your filling might need another pinch of salt, a bit more lemon juice for brightness, or an extra dollop of mayo for creaminess. Don't be shy about tasting and tweaking until the flavour is exactly where you want it to be.
Creative Flavour Variations
Once you've nailed the basic recipe, the possibilities for customisation are endless. For a Mediterranean twist, try adding chopped sun-dried tomatoes, capers, fresh basil, and a bit of vegan feta. If you're a fan of spice, a dash of curry powder can transform the filling into a Coronation-style salad, especially with the addition of raisins or chopped dates for sweetness. Other popular additions include chopped pickles or relish for a tangy crunch, toasted walnuts for nutty depth, or even grated carrots for extra veg. You can also introduce heat with a pinch of crushed red pepper or finely diced serrano chile.
Serving and Storing Your Creation
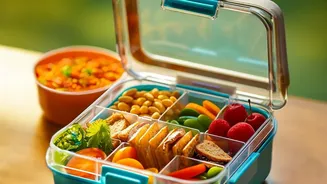
The classic way to serve your chickpea filling is between two slices of hearty, toasted bread, which helps prevent sogginess. Multigrain, sourdough, or a seeded loaf are all excellent choices. For a lighter, lower-carb option, scoop the filling into crisp lettuce cups or serve it as a dip with crackers and fresh vegetables. It also works wonderfully in a tortilla wrap or pita pocket. The prepared filling can be stored in an airtight container in the refrigerator for up to four days, making it a perfect option for meal prep. For the best results, store the filling separately and assemble your sandwiches just before eating.