



Gather Your Scraps and Essentials
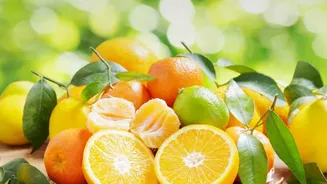
The beauty of this project lies in its simplicity. You're giving a second life to something you'd normally compost or bin. For a few jars of marmalade, you'll need the peels from several oranges, granulated sugar, and a lemon. Using organic, unwaxed oranges is a good
idea since the peel is the star of the show. The basic ratio to remember is equal parts prepared peel and pulp to sugar. The lemon is crucial, as it provides not just a tangy balance but also natural pectin, which helps the marmalade set without commercial additives. Collect your peels in the refrigerator until you have enough to make a batch. This recipe is all about using what you have to create something truly special.
Preparing the Peels for Perfect Texture
Proper preparation is key to avoiding a marmalade that's overly bitter or tough. First, wash the oranges well. Using a sharp knife or vegetable peeler, separate the peel from the fruit. While some recipes suggest leaving the white pith on for its natural pectin, many people find it too bitter. For a sweeter result, you can use a knife to carefully scrape away as much of the white layer from the inside of the peels as possible. Once cleaned, slice the peels into thin, uniform strips. This 'julienne' cut will give your marmalade its classic texture. The more consistent the strips, the more evenly they will cook down into tender, jewel-like threads in the final product.
The Secret to Taming Bitterness
Orange peel has a natural bitterness that needs to be tamed to create a balanced marmalade. The most effective method is to boil the peels. Place your sliced rinds in a saucepan, cover them with cold water, bring it to a boil, and let it bubble away for about 10 minutes. Afterwards, drain the water completely. For an even milder flavour, repeat this process a second time with fresh water. This double-boiling technique is a game-changer, softening the peels and removing the harsh, bitter compounds, leaving behind the fragrant citrus oils that define a great marmalade. Don't skip this step; it makes all the difference.
From Simmer to Luscious Preserve
Now for the magical part. Combine your boiled and drained peels in a large, heavy-bottomed pot with the chopped pulp of the oranges, the juice and sliced sections of a lemon, sugar, and a bit of water. Bring the mixture to a boil, stirring until the sugar completely dissolves. Then, reduce the heat to a steady simmer. Allow it to cook, stirring occasionally to prevent it from sticking to the bottom of the pot. The mixture will gradually thicken as the water evaporates and the natural pectins are activated. This process can take anywhere from 40 to 60 minutes, filling your kitchen with an incredible citrus aroma.
Testing for the Perfect Set
Knowing when your marmalade is ready is the most crucial skill in preserve making. There are a few reliable methods. The temperature test is the most precise: a sugar or candy thermometer should read around 104.5°C (220°F). If you don't have a thermometer, use the classic 'wrinkle test'. Before you start cooking, place a few small plates in your freezer. When you think the marmalade might be ready, spoon a small dollop onto a cold plate and return it to the freezer for a minute. Push the marmalade with your finger; if the surface wrinkles and holds its shape, it's ready. If it's still runny, continue boiling and test again in a few minutes.
Storing and Savouring Your Creation
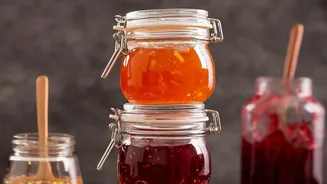
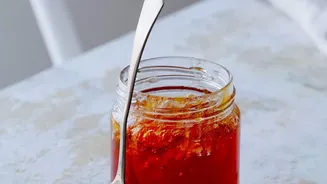
Once your marmalade has reached its setting point, carefully ladle the hot mixture into sterilised glass jars, leaving a small amount of headspace at the top. Seal them tightly while hot. If you follow proper boiling water canning procedures, the jars can be stored in a cool, dark pantry for months. Otherwise, your homemade marmalade will keep in the refrigerator for several weeks. Beyond spreading it on toast and scones, this preserve is incredibly versatile. Use it as a glaze for chicken or pork, a filling for cakes and cookies, or simply stir a spoonful into yogurt for a burst of sunshine.