




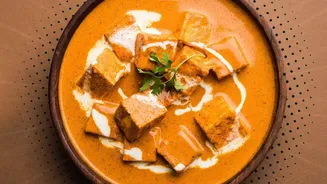
Ever wonder why the paneer in your favourite restaurant is so soft and succulent, while yours turns out crumbly or rubbery? The secret isn't a long list of fancy ingredients. It lies in two simple principles: quality and control.
The Foundation: It All Begins with Milk
The first and most critical
step towards achieving creamy, melt-in-your-mouth paneer is selecting the right milk. While it might be tempting to use whatever is in the fridge, the fat content is non-negotiable for texture. For truly superior paneer, you must use full-fat whole milk. The fat globules within the milk are what get trapped in the protein mesh when the milk curdles. Less fat means a denser, more compact structure, which results in a firm, rubbery texture. Skimmed or low-fat milk simply lacks the richness needed to create that soft, yielding quality. Buffalo milk, with its naturally higher fat content, is often considered the gold standard for paneer making, creating a product that is exceptionally rich and creamy. However, high-quality full-fat cow's milk will also yield excellent results.
The Curdling Agent: A Simple, Gentle Choice
The second key ingredient is your acid, which is responsible for curdling the milk. While you can use various acids, from white vinegar to yogurt, the simplest and often most effective choice for a clean flavour is fresh lemon juice or a neutral vinegar. The key isn't just what you use, but how you use it. It's best to dilute your acid with an equal amount of warm water before adding it to the milk. This simple step helps to distribute the acid more evenly and gently, preventing the milk from getting a harsh 'shock'. A sudden introduction of strong, undiluted acid can cause the milk proteins to seize up and contract too quickly, leading to tough, chewy curds. For every litre of milk, you typically need about two tablespoons of lemon juice or vinegar. The goal is to curdle, not to flavour, so a gentle hand is always best.
The Art of Heat Control: Slow and Steady Wins
This is where most home cooks falter and where restaurant chefs excel. Perfect paneer demands patience and precise temperature management. First, bring the milk to a rolling boil over medium heat, stirring frequently to prevent it from scorching at the bottom of the pan. Once it boils, immediately turn off the heat and let it sit for a minute or two. Never add your acid while the milk is still vigorously boiling. This is the most common mistake and the primary cause of rubbery paneer. Adding acid to boiling-hot milk causes a rapid, aggressive curdling process. Instead, let the milk cool just slightly. Then, add your diluted acidic agent a little at a time, stirring gently after each addition. You will see the milk begin to separate, with greenish whey and clumps of white curds forming. Stop adding acid as soon as the whey looks clear.
The Gentle Separation and Strain
Once the curds have clearly separated from the whey, the next crucial step is to stop all agitation. Turn off the heat if you haven't already, and let the pot sit undisturbed for about 5 to 10 minutes. This resting period allows the curds to clump together and firm up gently in the warm whey, contributing to a softer final texture. Overstiring at this stage will break the curds into tiny pieces, leading to a crumbly paneer. After resting, it's time to strain. Line a colander with a thin cotton cloth or several layers of cheesecloth and place it in the sink. Gently pour the curds and whey into the cloth. Immediately rinse the curds under cool running water for about 15–20 seconds. This not only washes away any residual acidic taste but also halts the cooking process, preventing the paneer from becoming too hard.
The Perfect Press: From Curds to Block
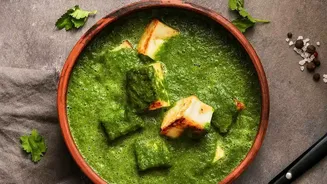
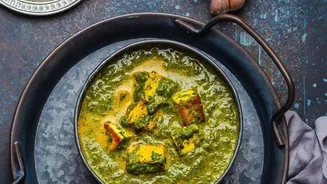
The final step is pressing the paneer, which removes excess whey and gives it its characteristic block shape. Gather the corners of the cloth, twist to squeeze out as much whey as you can by hand, and then flatten the bundle into a disc or square. Place the wrapped paneer on a flat plate, put another plate on top, and then place a heavy object on it to press it. A cast iron skillet, a few cans of food, or a heavy book will work well. The amount of time you press it determines its firmness. For a very soft paneer perfect for crumbles in bhurji, 30–45 minutes is enough. For a firmer block that can be cubed and fried for dishes like paneer tikka or palak paneer, press for at least 90 minutes to two hours. This controlled even pressure is the final secret to a dense yet tender block that holds its shape without being tough.