


The Fern's Thirst for Consistency
Ferns, in their natural habitat, grow on damp forest floors where the soil is consistently moist but not waterlogged. This is the secret to their success. In a home environment, replicating this is a challenge. A day or two of forgotten watering can lead
to crispy, brown fronds, while a moment of over-enthusiasm can cause root rot. The core problem isn't the amount of water, but the consistency. Ferns thrive when their roots have constant access to a small amount of moisture, allowing them to drink as needed. This is where traditional top-watering schedules often fail us, creating a cycle of drought and flood that stresses the plant.
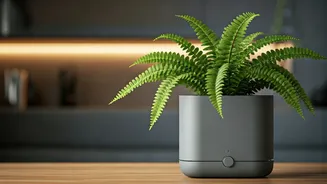
How Self-Watering Pots Work Their Magic
A self-watering pot isn't complicated; it's just clever engineering. It consists of two main parts: a main growing container for the plant and a water reservoir below it. The two are connected by a wicking system, which can be a piece of absorbent rope, a porous material, or even a column of soil that extends into the reservoir. This wick uses a natural process called capillary action—the same way a paper towel soaks up a spill—to draw water up from the reservoir into the soil. The plant’s roots then take up this moisture as they need it. This creates a steady, on-demand supply of hydration, perfectly mimicking the conditions ferns love, and freeing you from the daily 'is it dry yet?' check.
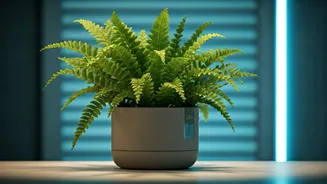
Choosing the Right Pot and Soil Mix
Success with a self-watering system starts with the right setup. When choosing a pot, look for one with a water-level indicator or a clear reservoir so you can easily see when it's time for a refill. The size should be appropriate for your fern, allowing for a little room to grow but not so large that the soil stays soggy. The soil is just as important. Using heavy, dense garden soil is a common mistake that leads to root rot. Instead, you need a light, airy, and well-draining potting mix. A good combination is equal parts peat moss or coco coir, perlite, and vermiculite. This mixture holds enough moisture to keep the wick working but has enough air pockets to ensure the roots can breathe and aren't sitting in a swamp.
Making the Switch: A Step-by-Step Guide
Transitioning your fern to its new home is a straightforward process. First, gently remove the fern from its current pot, teasing out any compacted roots. Place a layer of your light potting mix in the bottom of the self-watering pot, ensuring the wick is properly positioned to draw water. Place your fern on top and fill in around the sides with more potting mix, firming it gently. For the first week, water the plant from the top to help the soil settle and encourage the roots to establish themselves. This also ensures the wick becomes saturated and starts the capillary action. After this initial period, you can switch to filling the reservoir directly. Fill it about halfway and let the system take over.
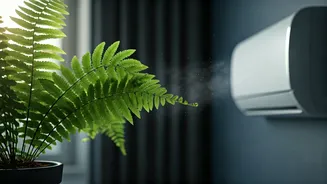
Tips for Long-Term Success
While self-watering pots are low-maintenance, they aren’t 'no-maintenance.' To keep your fern thriving, allow the reservoir to go completely dry for a day or two between refills. This prevents the soil from becoming overly saturated and allows air to reach the roots. Every few months, it's a good idea to 'flush' the soil by watering thoroughly from the top and letting the excess drain away. This simple step prevents the buildup of minerals and salts from tap water and fertilisers, which can accumulate in the soil over time and harm the plant. Also, remember that ferns still need humidity, so occasional misting or placing the pot on a pebble tray with water will keep the fronds looking their best.