


Start by Choosing the Right Plant
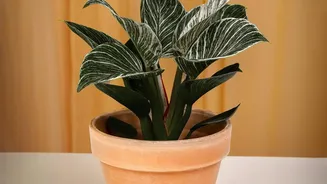
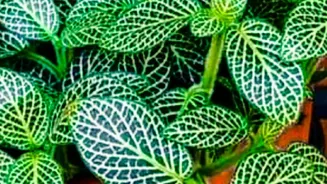
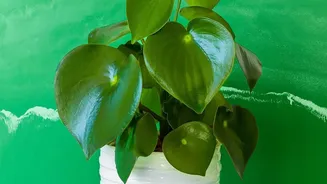
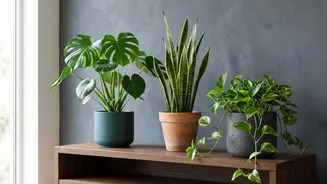
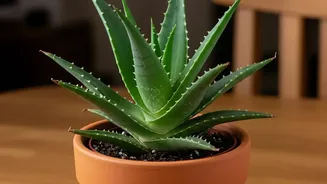
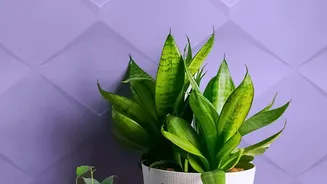
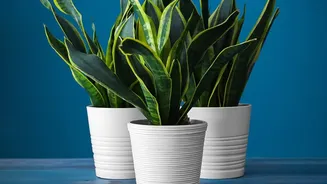
Your journey to successful plant parenthood begins at the nursery, not at home. The easiest way to succeed is to start with a plant that is known to be resilient and forgiving. For Indian homes, several hardy options thrive with minimal fuss. Plants like
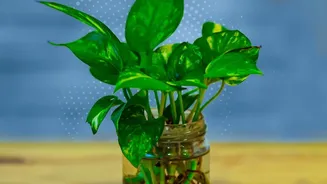
the Snake Plant, ZZ Plant, and Money Plant (Pothos) are incredibly tough and can tolerate a bit of neglect. These varieties are adapted to a range of indoor conditions, can handle occasional forgetfulness with watering, and don't demand perfect light, making them ideal for a first-time plant owner. Other great choices include the sturdy Spider Plant and the elegant Peace Lily, which even gives you a visual cue by drooping slightly when it needs water.
Understanding Your Home's Light
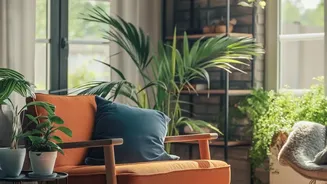
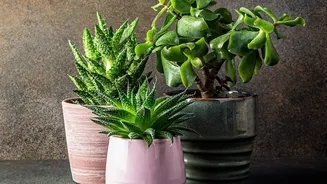
Light is food for plants. Before you even bring a plant home, take a moment to observe the light in your space. You don't need to be an expert, just notice the difference between a few common types of light. 'Bright, indirect light' is the sweet spot for most common houseplants—think of a spot near a window where the sun's rays don't fall directly on the plant. This is often found near east-facing windows or a few feet away from south or west-facing windows. 'Direct light' is when the sun shines straight onto the plant for several hours, which is great for succulents and cacti but can scorch the leaves of many tropical plants. 'Low light' doesn't mean no light; it means a spot further into a room or near a north-facing window. Placing a plant in the wrong light is a common mistake, so matching your plant to your available light is a crucial first step.
Master the Art of Watering
If there is one mistake that new plant owners make, it's overwatering. More plants die from too much water than too little. Roots need oxygen as much as they need moisture, and constantly wet soil leads to root rot. Instead of watering on a fixed schedule, like every Sunday, learn to check your plant's needs. The easiest method is the 'finger test': stick your finger about two inches into the soil. If it feels dry, it's time to water. If it's still moist, wait another day or two and check again. When you do water, do it thoroughly until water runs out of the drainage hole at the bottom of the pot. This ensures the entire root system gets a drink. Then, allow the excess water to drain away completely.
The Pot and Soil Matter More Than You Think
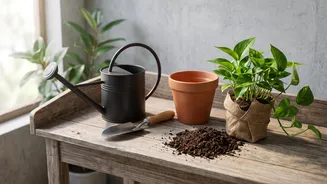
The right home for your plant's roots is just as important as light and water. Two things are non-negotiable for a beginner: a pot with a drainage hole and the right kind of soil. That decorative ceramic pot without a hole might look nice, but it's a death trap for roots as it allows water to pool at the bottom. If you love a pot without a hole, use it as a 'cachepot'—keep your plant in its plastic nursery pot with drainage, place it inside the decorative one, and remove it for watering. Secondly, don't use heavy soil from your outdoor garden. Bagged potting mix, often containing coco peat or compost, is specifically designed to be light and well-draining, which helps prevent the soil from becoming a dense, waterlogged brick.
Keep It Simple: Feeding and Pests
As a beginner, you can keep this part very simple. Most potting mixes come with nutrients already in them that will last for a few months. You don't need to worry about fertilizer immediately. When you do decide to feed your plants, usually during their growing season (spring and summer), less is more. Too much fertilizer can burn the roots. As for pests, the best defence is a healthy plant. Occasionally wiping the leaves with a damp cloth not only keeps them looking shiny and beautiful but also helps remove dust that can attract pests. If you spot any tiny bugs, a simple solution of neem oil and water is often enough to take care of the problem without resorting to harsh chemicals.