



The Golden Rule: Name and Date
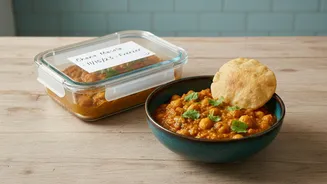
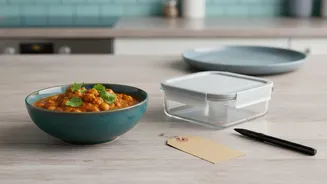
At its core, a useful freezer label must contain two non-negotiable pieces of information: the name of the dish and the date it was frozen. Without the name, you’re playing a game of ‘flavour roulette’. Without the date, you have no idea if the contents
are at their peak or past their prime. This simple act prevents good food from being thrown away just because you can't remember what it is or when you made it. Think of it as a message to your future self, ensuring that the delicious meal you saved is enjoyed as intended. Every other tip builds on this foundation, but getting this part right is the most critical step.
Choose Your Tools Wisely
Not all labels and markers are created equal, especially in the cold, moist environment of a freezer. Regular paper labels often peel off, and standard ink can smudge or fade. For best results, use labels specifically designed for freezer use; they are made from durable materials like polyester or vinyl with an adhesive that can withstand low temperatures. When it comes to writing, a permanent marker is your best friend. For plastic and glass containers, oil-based markers or even grease pencils (also known as china markers) are excellent choices as their markings stay put in the cold but can be removed when it's time to reuse the container. Some modern options even include dissolvable labels that wash away cleanly in water.
Level-Up Your Label Information
Once you’ve mastered the name and date, you can add extra details to make your life even easier. Consider including the number of servings or portion size, which is perfect for planning meals without having to thaw more than you need. Adding reheating instructions, like “Reheat on stove” or “Thaw before baking at 180°C,” saves you from having to look up the recipe later. For parents, noting if a meal is kid-friendly or spicy can prevent dinnertime drama. You might also add a “use-by” date, which is especially helpful for maintaining quality and driving you to use items before they lose flavour.
Best Practices for Application
How you apply the label is just as important as the label itself. For the strongest bond, always apply labels to containers that are clean, dry, and at room temperature. Applying a label to an already frozen or moist surface is a recipe for failure, as the adhesive can't form a proper bond. Write on the label before sticking it to the container, especially if the container is full. Press the label on firmly, ensuring all the edges are sealed down to prevent moisture from getting underneath. If you forget to label something before freezing, you can still add one later, but be sure to wipe the surface completely dry first to remove any frost or condensation.
Integrate Labeling into a System
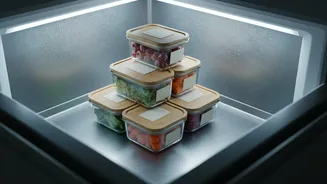
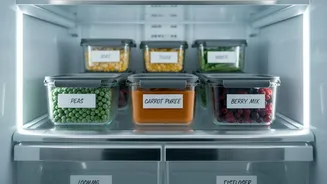
Effective labeling is the cornerstone of a truly organised freezer. Pair your new habit with the “First-In, First-Out” (FIFO) method. This means placing newly frozen items at the back of the freezer and moving older items to the front. This simple rotation ensures you’re always using up the oldest food first, drastically reducing the risk of freezer burn and waste. Some people use a colour-coding system, assigning different coloured labels or tapes to different food categories like vegetables, meats, or prepared meals, making it even faster to find what you’re looking for. Ultimately, the goal is to create a system that works for you and turns your freezer from a chaotic icebox into a well-managed library of future meals.