


Embracing the Whole Fruit
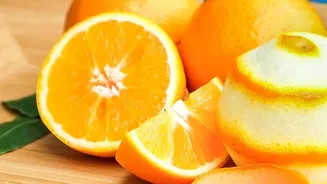
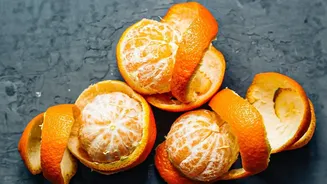
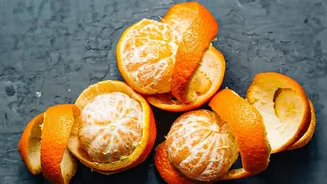
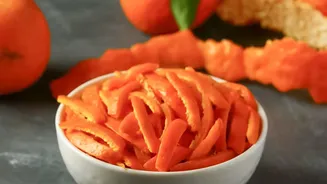
The beauty of making marmalade from peels lies in its zero-waste ethos. Citrus rinds, which are often discarded after juicing, are packed with flavour and natural pectin—the key ingredient that helps jams and jellies set. Using the entire peel, including
some of the white pith, not only reduces kitchen waste but also results in a marmalade with a robust, complex citrus taste that you just can’t get from a store-bought jar. To ensure your marmalade is both delicious and safe, start with organic or unwaxed oranges, as commercial citrus is often coated with wax and other preservatives you don't want in your final product. A thorough wash is essential before you begin.
Step 1: Prepare the Peels
The first step is preparing the rinds to tame their natural bitterness. After thoroughly washing your oranges, slice the peels into thin, uniform strips. Place these strips in a large pot, cover them with water, and bring the mixture to a boil. Let them boil for about 10-15 minutes, then drain the water completely. Some recipes even recommend a second boil with fresh water to further soften the peels and mellow their bitterness. This pre-boiling process is crucial for achieving a tender texture and balanced flavour in your finished marmalade. An alternative method involves soaking the finely sliced fruit and peels in water overnight, which also helps to soften the rind.
Step 2: Cook the Marmalade
Once your peels are prepared, combine them in a large, heavy-bottomed pot with sugar, fresh lemon juice, and water. A common ratio to start with is equal parts by weight of fruit/peel, sugar, and water, but you can adjust based on your preference. Bring the mixture to a slow boil, stirring continuously until the sugar has completely dissolved. Once the sugar is dissolved, increase the heat and bring the marmalade to a rapid, rolling boil. This is when the magic happens. The mixture needs to cook at this high temperature, with occasional stirring to prevent scorching, until it reaches its setting point. This can take anywhere from 30 to 45 minutes.
Step 3: Test for the Perfect Set
Knowing when your marmalade is ready is the most important part of the process. There are two reliable methods to test for the gelling point. The first is the temperature test: using a sugar thermometer, the marmalade is generally ready when it reaches 104-105°C (220°F). The second, and more traditional, method is the wrinkle test. Before you start cooking, place a few small plates in your freezer. When you think the marmalade is ready, spoon a small amount onto a cold plate and let it cool for a minute. Push the dollop with your finger; if the surface wrinkles and holds its shape, it's ready. If it’s still liquidy, continue boiling and test again every few minutes.
Step 4: Jarring and Storing Your Preserve
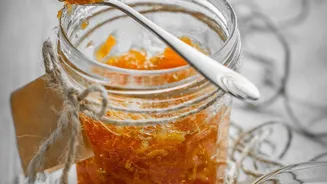
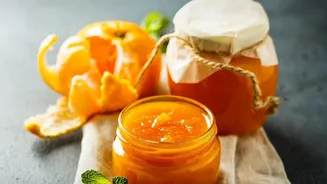
Once the setting point is reached, remove the pot from the heat and let it cool for a few minutes. This allows the peel to distribute evenly throughout the marmalade instead of floating to the top. Carefully ladle the hot marmalade into hot, sterilized glass jars, leaving about a quarter-inch of headspace at the top. Wipe the rims clean, apply the lids, and tighten the bands until they are fingertip-tight. For long-term, shelf-stable storage, it is recommended to process the filled jars in a boiling water bath for 10 minutes. Once processed, let the jars cool undisturbed for 12-24 hours before checking the seals.