


The Soul of Indian Flavour
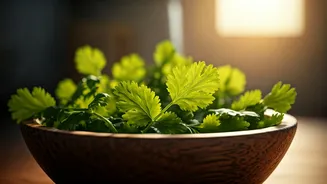
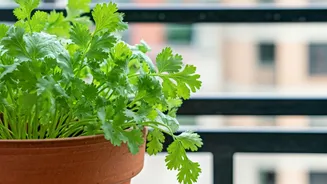
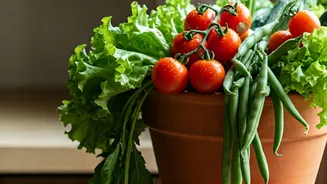
Coriander, or dhaniya, is more than just an herb in the Indian culinary landscape; it's an institution. Its fresh, citrusy aroma and bright flavour are the backbone of countless dishes. Imagine a dal tadka without that final shower of chopped green leaves,
or a bowl of poha that isn't studded with its vibrant freshness. It’s unthinkable. We buy bunches of it weekly, hoping it stays fresh in the fridge, only to often find it wilted and sad just when we need it most. This cycle of buying, using, and often wasting is a familiar frustration. But the solution is simpler, cheaper, and infinitely more rewarding than a trip to the sabziwala: a simple pot of coriander in your own home.
From Market Run to Windowsill Garden
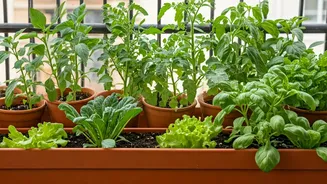
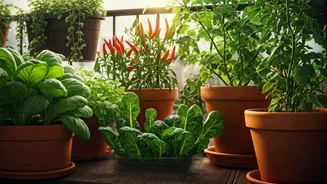
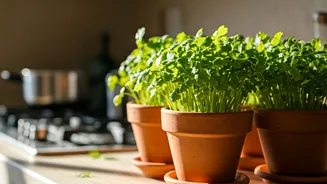
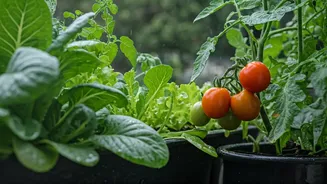
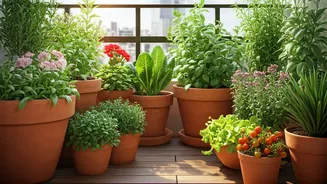
The joy of a kitchen herb garden is no longer a luxury reserved for those with sprawling backyards. For urban dwellers, a small pot on a balcony or a sunny windowsill is all it takes to transform your cooking routine. The simple act of snipping fresh leaves moments before they hit the pan provides a satisfaction that store-bought produce can never match. It’s about more than convenience; it’s a connection. You’re no longer just a consumer; you are a cultivator. This small pot of green connects you directly to your food, making every meal feel a little more special, a little more personal, and a lot fresher.
Your Five-Step Dhaniya Success Guide
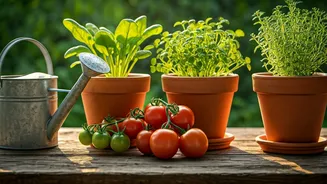
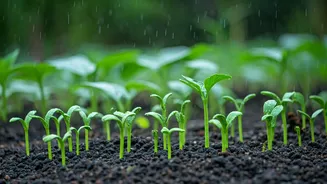
Growing coriander is surprisingly straightforward. Forget complicated gardening jargon; just follow these simple steps. 1. **Prepare the Seeds:** Don't just throw whole coriander seeds (sabut dhaniya) into the soil. Gently crush them into two halves using a rolling pin or the bottom of a glass. This breaks the husk and allows for better germination. Soaking these split seeds in water overnight can speed up the process even more. 2. **Choose Your Pot and Soil:** A wide, shallow pot is better than a deep, narrow one, as it gives the roots more surface area. A pot about 6-8 inches deep is perfect. Ensure it has drainage holes. Use a light, well-draining potting mix. You can buy a standard mix or create your own with equal parts soil, cocopeat, and compost. 3. **Sow Your Seeds:** Sprinkle the prepared seeds evenly over the soil surface. Don't overcrowd them. Cover them with a thin layer of soil, about half an inch deep. Gently pat it down. 4. **Water Wisely:** Water the pot gently using a spray bottle or a can with a fine rose. The soil should be consistently moist but never waterlogged. Overwatering is the number one killer of coriander seedlings. 5. **Find the Right Light:** Coriander loves the sun but can get scorched in the harsh Indian afternoon heat. A spot that gets 4-5 hours of morning sunlight is ideal. If you live in a very hot region, providing some afternoon shade will prevent the plant from 'bolting' (flowering prematurely).
Troubleshooting Common Problems
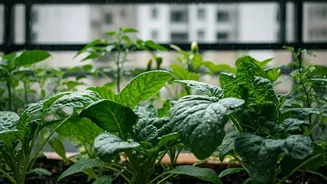
Sometimes, things don't go to plan. If your coriander is struggling, it's likely one of two issues. If the plant is growing tall and spindly with few leaves, it's not getting enough light. Move it to a sunnier spot. Conversely, if your plant starts flowering very quickly, it's a sign of stress, usually from too much heat or inconsistent watering. This is called bolting. While the flowers are edible, it means the plant will stop producing lush leaves. The best prevention is consistent watering and protection from extreme afternoon sun. Don't be discouraged; just snip the flowers and enjoy the leaves you have.
Harvesting and Beyond
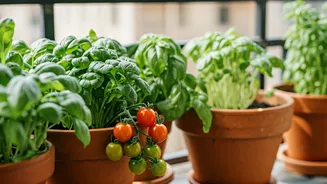
In about 3-4 weeks, you'll see small, tender leaves ready for their debut. Don't pull the whole plant out! To ensure a continuous supply, snip the outer leaves as needed, leaving the inner ones to continue growing. This 'cut-and-come-again' method can give you a steady harvest for weeks. Use it for your daily dal, raita, and salads. Make a fresh green chutney that bursts with flavour. Or simply crush a few leaves between your fingers and inhale that glorious scent. It's the smell of a happier kitchen.