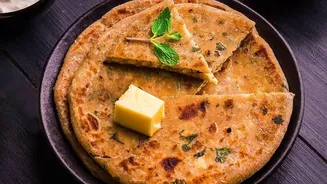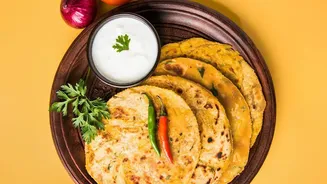




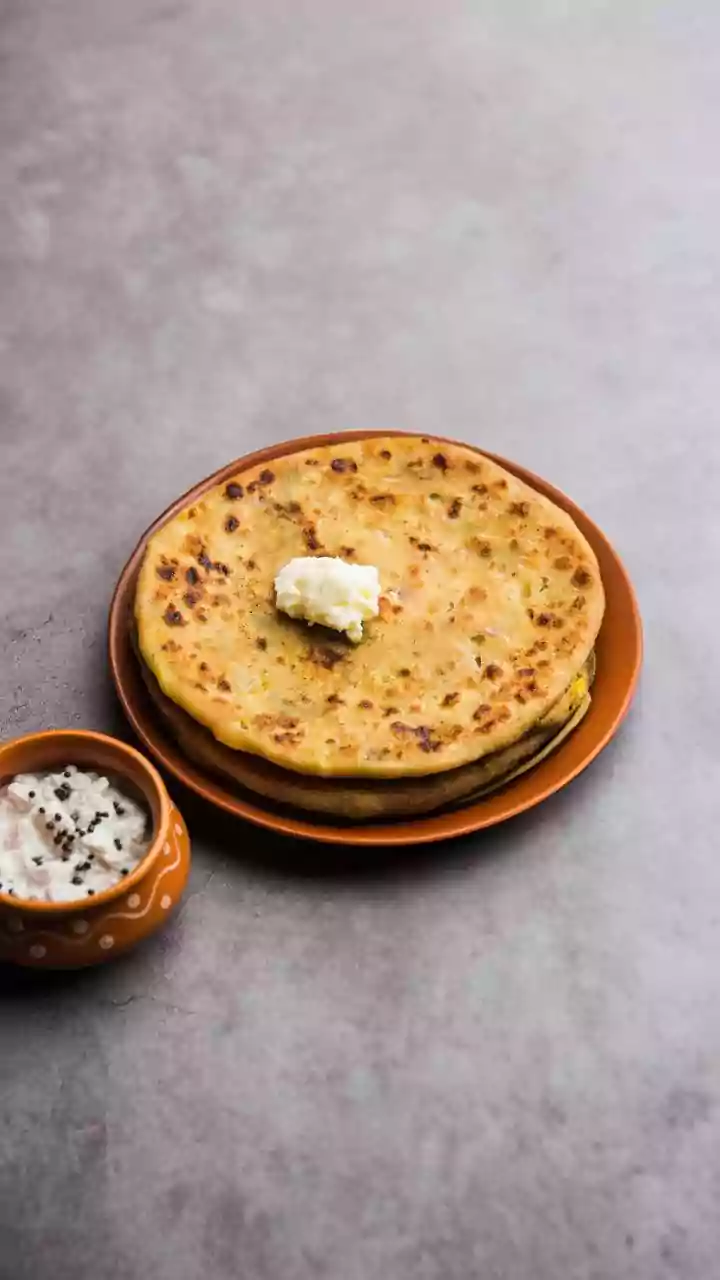


Bored of the usual roti and paratha? It’s time to elevate your flatbread game. This recipe for Paneer-Stuffed Reshmi Paratha offers a delicious twist, resulting in a bread that is unbelievably soft, flaky, and packed with a flavourful filling.
What Makes a Paratha 'Reshmi'?
The word
'reshmi' translates to 'silky' in English, and that's the perfect description for this paratha's texture. Unlike standard parathas, the dough for a reshmi paratha is often enriched with ingredients like milk, yogurt, or even cream to achieve a melt-in-your-mouth softness. Some recipes also use a combination of whole wheat flour and all-purpose flour (maida) for a lighter, more delicate result. The key is creating a dough that is exceptionally pliable and soft, which contributes to the final paratha's signature silky feel. This unique texture makes it an ideal vessel for a rich and savoury stuffing.
Crafting the Silky, Pliable Dough
The foundation of a perfect reshmi paratha is its dough. A soft, well-kneaded dough is less likely to tear when you roll it with the filling. To start, combine 1.5 cups of whole wheat flour (atta), 0.5 cup of all-purpose flour (maida), and a teaspoon of salt. For that signature softness, add two tablespoons of ghee or oil and about half a cup of yogurt or milk. Gradually add lukewarm water and knead for 10-15 minutes until the dough is smooth, soft, and elastic. Don't skimp on the kneading time, as this develops the gluten. Once kneaded, cover the dough with a damp cloth and let it rest for at least 30 minutes. This resting period is crucial; it allows the gluten to relax, making the dough more flexible and easier to roll.
Preparing the Flavourful Paneer Filling
While the dough rests, you can prepare the delicious paneer stuffing. The most important rule for any stuffed paratha filling is to keep it relatively dry. Excess moisture can cause the paratha to break during rolling. For this filling, you will need about 200 grams of paneer. Grate the paneer finely and place it in a bowl. To this, add one finely chopped onion, one or two finely chopped green chillies, and a handful of chopped coriander leaves. For the spices, mix in half a teaspoon each of red chilli powder, garam masala, and dry mango powder (amchur) for a tangy kick. Add salt to taste. Mix all the ingredients thoroughly until they are well combined. You should be able to form a loose ball with the mixture. Avoid adding any water.
The Art of Stuffing and Rolling
This is where technique matters most. Divide the rested dough into equal-sized balls. Take one ball and flatten it with your fingers to create a small cup or bowl shape. Place a generous spoonful of the paneer mixture into the centre. Be careful not to overstuff, as this is a common reason for tearing. Bring the edges of the dough together, pinching them firmly at the top to seal the filling inside completely. Pinch off any excess dough from the seal to avoid a thick, doughy centre. Gently flatten the stuffed ball with your palm. Lightly dust your rolling surface and the dough ball with dry flour. When rolling, use light and even pressure. Start from the centre and work your way outwards, rotating the paratha frequently to ensure it rolls out evenly without the filling spilling out.
Cooking to Golden-Brown Perfection
Heat a tawa or a flat-bottomed skillet over medium-high heat. Place the rolled paratha onto the hot tawa. Let it cook for about 30–40 seconds, or until you see small bubbles forming on the surface. Flip the paratha and apply a teaspoon of ghee or oil to the semi–cooked side. Flip it again and apply ghee to the other side. Cook the paratha, pressing down gently with a spatula, until both sides have golden–brown spots and the surface looks crisp. The paratha should puff up, indicating that it’s cooking through evenly. Repeat this process for the remaining dough balls. Serve the hot, flaky Paneer–Stuffed Reshmi Parathas immediately for the best experience.