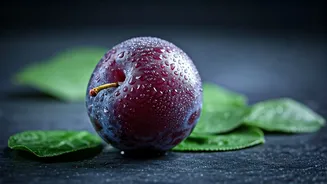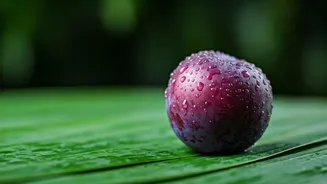


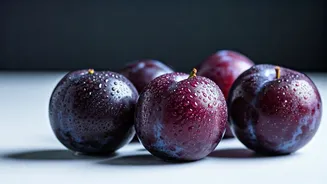


Why Sweet Plums This Monsoon?
The rainy season often means dealing with increased oiliness, clogged pores, and a general lack of radiance. Sweet plums, or Aloo Bukhara, are packed with nutrients that are particularly beneficial during this time. They are a fantastic source of Vitamin
C, which is essential for producing collagen—the protein that keeps skin firm and youthful. This vitamin also helps to brighten the complexion and even out skin tone. Furthermore, plums are loaded with antioxidants that fight free radicals and can help protect your skin from environmental damage, which doesn't disappear just because the skies are cloudy. Their anti-inflammatory properties can also be helpful in managing acne, a common concern during the humid monsoon months.
Your Weekly Plum Glow Ritual
This routine is designed as a simple, once-a-week treatment to deeply cleanse, nourish, and revitalise your skin. It uses simple ingredients and takes just under 30 minutes, making it the perfect way to unwind and give your skin a much-needed boost. Before starting, it is always wise to perform a patch test with any new ingredient or mask on a small area of your skin to ensure there is no adverse reaction.
Step 1: A Clean Canvas
Before applying any treatment, it’s crucial to start with a thoroughly cleansed face. During the monsoon, skin can accumulate more sweat, oil, and grime. Use a gentle, soap-free cleanser to wash your face, removing all impurities without stripping your skin of its natural moisture. Pat your skin dry with a soft towel. This ensures that the nutrients from the plum mask can be absorbed effectively.
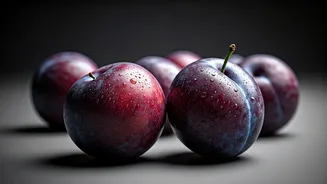
Step 2: The Sweet Plum Glow Mask
This DIY mask is the star of the show. For this simple and effective recipe, you will need just two ingredients: one ripe sweet plum and one tablespoon of honey. Mash the pulp of the ripe plum until it forms a smooth paste, removing the seed. Then, mix in the honey. Honey is a natural humectant, meaning it helps to draw moisture into the skin, and it also has antibacterial properties, making it a great partner for the plum. For those with oily skin, you can add a teaspoon of plain yoghurt, which contains lactic acid for gentle exfoliation.
Step 3: Application and Relaxation
Using clean fingers or a face mask brush, apply a thin, even layer of the plum and honey mixture to your face and neck, avoiding the delicate area around your eyes and mouth. Now is the time to relax. Lie back, listen to some calming music, and let the mask work its magic for about 15 to 20 minutes. You may feel a slight tightening sensation as the mask begins to dry.
Step 4: Rinse and Reveal
After 15-20 minutes, it’s time to rinse the mask off. Use lukewarm water and gentle circular motions to wash away the paste. This gentle scrubbing motion will help to exfoliate any dead skin cells that the mask has loosened. Once the mask is completely removed, do a final splash with cool water to help close your pores. Pat your skin dry gently with a clean towel; avoid rubbing, as this can cause irritation.
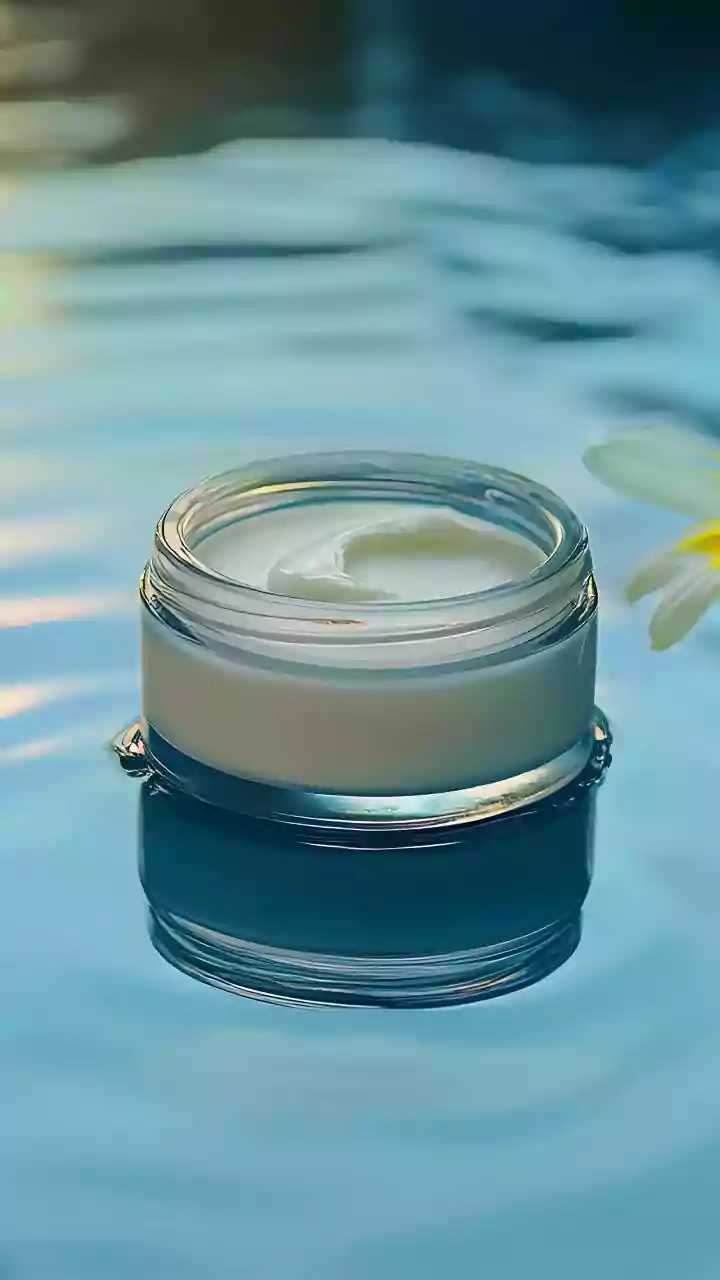
Step 5: Lock in the Glow
The final, non-negotiable step in any skincare routine is moisturisation. Even in humid weather, your skin needs hydration. Applying a moisturiser immediately after washing helps to lock in the moisture and the benefits of your face mask. Choose a lightweight, non-greasy moisturiser that is suitable for your skin type to leave your skin feeling soft, supple, and hydrated, not sticky.