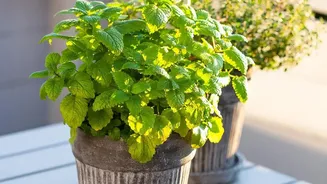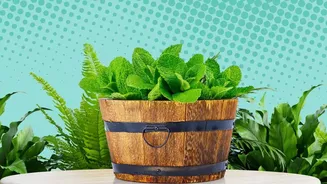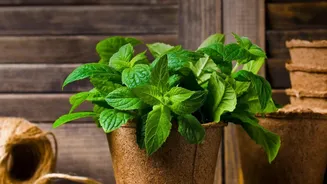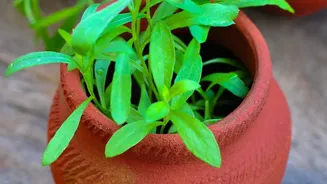

Getting Started: Choose Your Mint
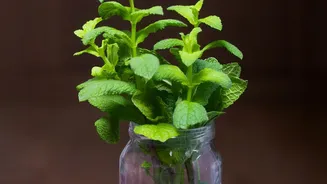
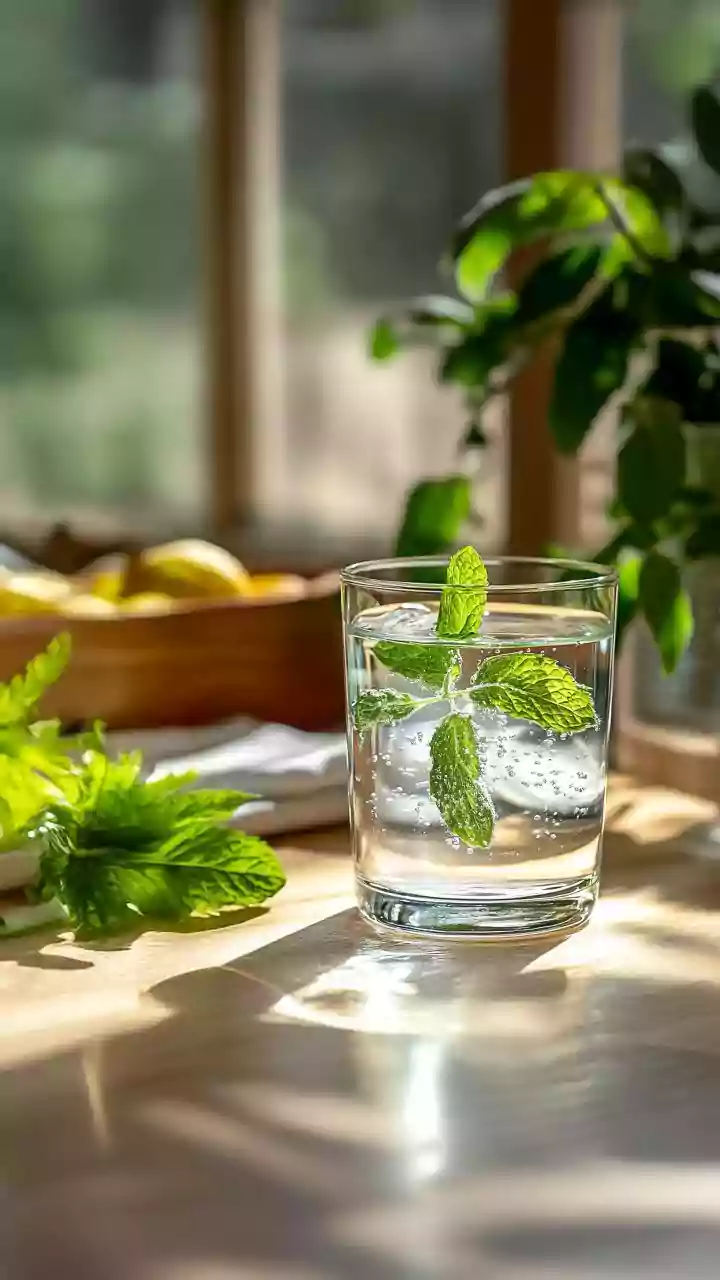
Starting your indoor mint garden is easiest with a cutting or a small starter plant from a local nursery. While growing from seed is possible, it's a slower process. A cutting from a friend's healthy plant can be rooted in a simple glass of water. Just
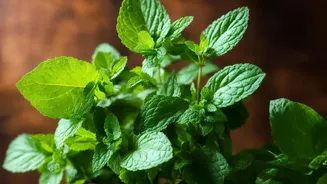
place a 4-inch sprig in water, ensuring the lower nodes are submerged, and change the water every few days. In about a week or two, you'll see small white roots appear, ready for planting. There are many varieties to choose from, like spearmint (pudina), which is common in Indian cooking, or more unique types like chocolate mint and apple mint. Spearmint is known for its sweet flavour, while peppermint has a stronger, cooling taste due to higher menthol content.
The Perfect Home: Pot and Soil
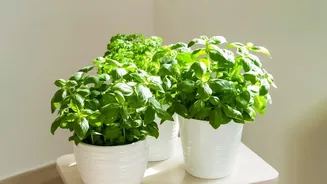
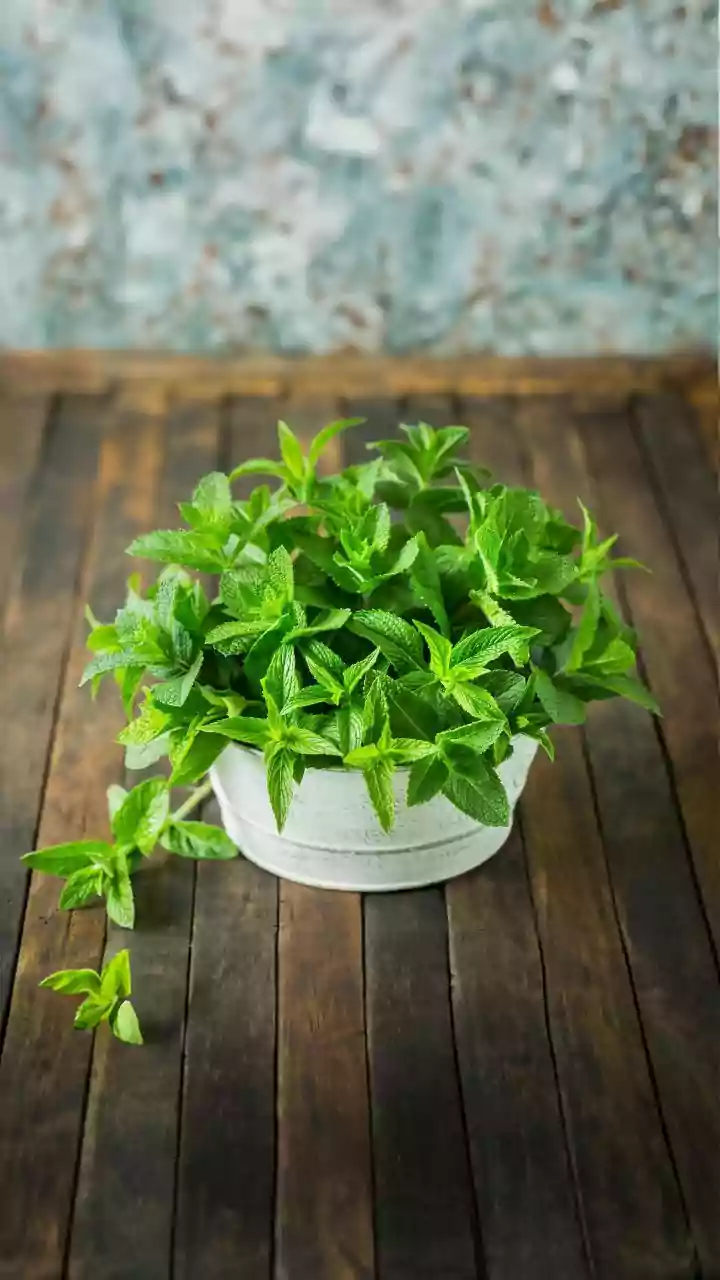
Mint is an aggressive grower known for spreading rapidly via underground runners. For this reason, it's crucial to give it its own container to prevent it from taking over other plants. Choose a pot that is wider than it is deep, at least 8-10 inches in diameter, to give the roots space to spread sideways. Ensure the pot has plenty of drainage holes, as mint likes moist soil but hates being waterlogged, which can lead to root rot. A standard, high-quality potting mix works perfectly. For an ideal blend, you can mix multipurpose compost with perlite to improve drainage and aeration. Avoid using heavy garden soil, which compacts easily in pots.
Light and Location
Finding the right spot is key. Indoor mint needs plenty of bright, indirect sunlight—about 4 to 6 hours a day is ideal. An east-facing window that gets gentle morning sun is a perfect location. A south-facing window can also work, but be mindful that intense afternoon sun can scorch the leaves, especially in hotter climates. If you notice your plant's stems becoming long and 'leggy' with sparse leaves, it's a clear sign it isn't getting enough light. To ensure even growth, rotate the pot every few days so all sides get access to sunlight. If natural light is limited, a simple fluorescent grow light can provide the necessary brightness.
Watering and Feeding Your Plant
Mint thrives in consistently moist soil but is prone to root rot if overwatered. The best rule of thumb is to water when the top inch of soil feels dry to the touch. When you do water, do so thoroughly until water runs out of the drainage holes at the bottom of the pot. Then, be sure to empty any excess water from the saucer beneath. Depending on your home's humidity and temperature, this might mean watering every few days. Mint isn't a heavy feeder, so you don't need to fertilize it often, as too much can diminish its flavour. A light application of a water-soluble, all-purpose fertilizer every four to six weeks during the growing season is sufficient.
Harvesting for Abundant Growth
The more you harvest your mint, the bushier and more productive it will become. Once the plant is established and about 4-6 inches tall, you can start picking leaves. The best way to harvest is to snip off the top stems just above a set of leaves. This encourages the plant to branch out from that point, creating a fuller plant. Avoid plucking individual leaves, as this can weaken the plant over time. Regular harvesting, especially before the plant begins to flower, ensures the leaves have the most concentrated flavour and essential oils. These fresh sprigs are perfect for everything from garnishing biryani and flavouring sharbat to brewing a soothing cup of mint tea.
Troubleshooting Common Problems
Even this easy-to-grow herb can face issues. Leggy, pale growth usually signals a lack of sufficient light. Brown, crispy leaves often mean the plant is underwatered or near a dry heat source. Conversely, wilting in wet soil is a classic sign of overwatering and potential root rot. Pests like spider mites can be an issue in dry indoor air. You can often manage them by increasing humidity or gently washing the leaves. Mint rust, which appears as small orange spots on the undersides of leaves, is a fungal disease; affected stems should be removed immediately to prevent it from spreading.