


The Magic of Local Flour
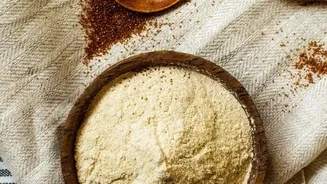
The secret to exceptional sourdough isn't an imported, expensive flour; it's the wild yeast all around us and the humble ingredients in your own kitchen. Using Indian wheat flours like whole wheat atta and all-purpose flour (maida) connects your baking
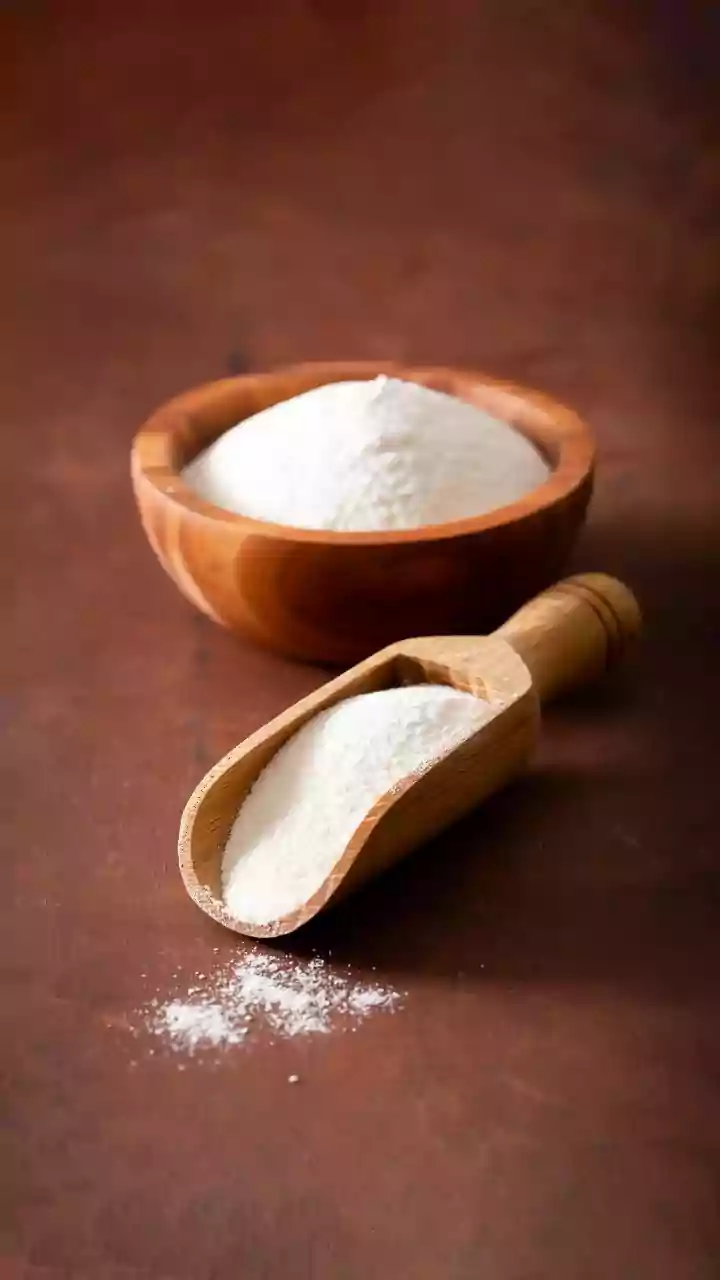
to local traditions and flavours. Atta, with its higher bran content, is rich in the natural yeasts and microbes needed to kickstart fermentation. Maida, on the other hand, can lend a lighter texture. Many bakers find success using whole wheat flour to begin their starter, as it provides plenty of food for the yeast to get going, before switching to or blending with other flours. This guide focuses on using these everyday flours to create a powerful starter that thrives in the Indian climate.
What You Will Need
Simplicity is key in sourdough. You don't need fancy equipment, just a few basics. First, a clean glass jar, large enough to allow your starter to double or even triple in volume. A simple coffee or honey jar works perfectly. Second, a kitchen scale for accuracy; measuring flour and water by weight (in grams) is far more reliable than using cups. Lastly, you will need your flour of choice (whole wheat atta is a great starting point) and filtered water. If your tap water has a strong chlorine smell, let it sit out uncovered for a few hours to allow the chlorine to evaporate, as it can hinder yeast activity.
Day 1-2: The Beginning
Let's begin the journey of capturing wild yeast. On Day 1, in your clean glass jar, combine equal parts of whole wheat atta and water by weight. A common starting point is 50 grams of flour and 50 grams of water. Mix thoroughly until no dry flour remains, cover the jar loosely (don't seal it airtight), and leave it in a relatively warm spot in your kitchen for 24 hours. On Day 2, you may or may not see any bubbles. This is normal. Stir the mixture, discard about half of it, and then feed the remainder with another 50 grams of flour and 50 grams of water. This is known as a 1:1:1 feeding ratio (starter:flour:water). Mix well, cover, and wait another 24 hours.
Day 3-5: The Awkward Phase
During these days, your starter might look quiet or even develop a strange, sour smell. Don't be discouraged; this is a sign that different bacteria are competing for dominance. Continue your daily routine: discard about half the starter and feed it with equal parts flour and water. As the Indian climate is often warm, fermentation can happen quickly. If your kitchen is particularly hot, you might need to start feeding your starter twice a day, roughly every 12 hours. By Day 4 or 5, you should start to see more consistent activity, with bubbles appearing on the surface and sides of the jar. The smell will also begin to change, becoming more pleasantly tangy and yeasty rather than just sour.
Day 6-10: Coming to Life
This is when the magic really starts to happen. Your starter should now be visibly active, rising predictably after each feeding. A healthy starter will double or even triple in volume within a few hours of being fed. You'll see a web of bubbles throughout its structure, and it will look light and airy. Continue the feeding schedule, discarding and replenishing once or twice daily. The goal is to establish a consistent rhythm of rising and falling. The starter rises as the yeast produces carbon dioxide gas and falls as it consumes its food and the gas dissipates. This predictable cycle is the most important sign of a healthy, mature starter.
Is It Ready to Bake?
Your starter is ready for baking when it is strong, active, and predictable. The key sign is its ability to at least double in size within 4-6 hours of a feeding. It should have a pleasant, slightly sweet and tangy aroma, not a harsh vinegar smell. A popular, though not always definitive, method is the 'float test'. Take a small spoonful of your active starter at its peak (when it has risen fully) and gently drop it into a glass of water. If it floats, it's generally considered ready for baking, as it indicates the starter is full of trapped gas. However, some whole wheat starters can be dense and may not float even when active, so rely more on the visual cue of it doubling in size.
Long-Term Maintenance in a Warm Climate
Once your starter is mature, you don't need to feed it twice a day unless you plan to bake daily. For less frequent baking, the refrigerator is your best friend. After a feeding, let it sit at room temperature for an hour or two, then store it in the fridge. This slows down fermentation, and you'll only need to feed it about once a week to keep it healthy. When you want to bake, take the starter out of the fridge, give it one or two feedings at room temperature to wake it up and make it bubbly and active again, and then it's ready to be used in your dough.