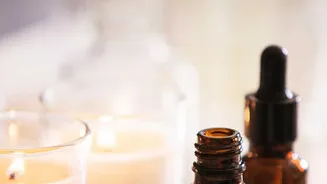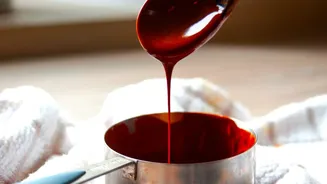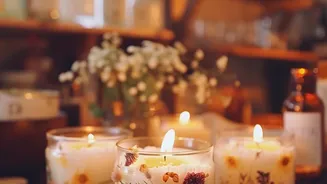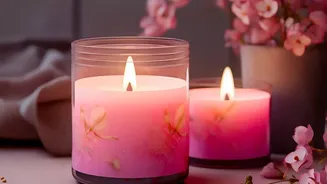


Gathering Your Essential Supplies
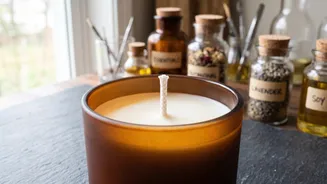
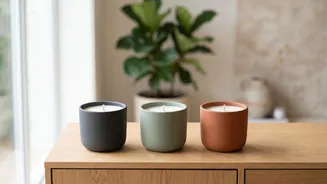
Before you can start melting and pouring, you’ll need to assemble your toolkit. While you can buy comprehensive kits, sourcing materials individually gives you more creative control. The absolute necessities include: candle wax, wicks, and heat-proof
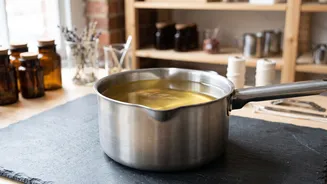
containers or jars. For the process itself, you'll need a way to melt the wax gently, such as a double boiler setup (a pouring pot placed inside a larger pot of simmering water). A digital kitchen scale is crucial for accurate measurements of wax and fragrance, and a thermometer is non-negotiable for monitoring wax temperature. Finally, have stirring utensils (like a silicone spoon or chopstick), and wick centering tools or clothespins to hold the wick straight as the candle sets.
Choosing Your Wax and Wick
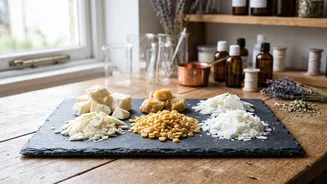
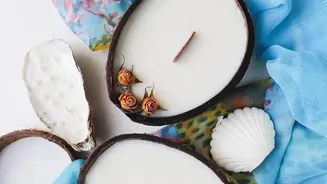
The type of wax you choose is a foundational decision. For beginners, soy wax is highly recommended because it's eco-friendly, burns cleanly, and is forgiving with temperature fluctuations. Paraffin wax is another option known for achieving smooth tops and a strong scent throw, making it easy to work with. Coconut wax blends are considered a more luxurious, premium option that also offers a great scent throw and smooth finish. The wick is just as important; a wick that is too small will create a 'tunnel' and leave unmelted wax, while a wick that is too large will produce a high, sooty flame. Wick size is determined by the diameter of your container, so always check the manufacturer's recommendations for the specific wax and jar size you're using.
The Step-by-Step Process
With your supplies ready, it's time to make a candle. First, use your scale to weigh the wax flakes. A good rule is to fill your container with wax flakes twice to estimate the amount needed. Melt the wax in your double boiler over gentle, medium heat, monitoring it with a thermometer. Never leave melting wax unattended. While the wax melts, prepare your container by cleaning it and then securing the wick to the bottom center using a wick sticker or a dab of hot glue. Use a wick bar or clothespins balanced on the rim of the jar to keep the wick taut and centered.
Adding Fragrance and Pouring
The magic of a scented candle comes from adding fragrance oil at the right moment. Adding it when the wax is too hot can cause the scent to evaporate; adding it when it's too cool prevents it from mixing properly. Most wax manufacturers provide a recommended temperature for adding fragrance, often around 85°C (185°F). After adding the oil, stir gently for about two minutes to ensure it's fully incorporated. Then, let the wax cool to the recommended pouring temperature, typically around 55–60°C (130–140°F). Pouring at this lower temperature helps prevent cracks and sinkholes, resulting in a smooth top. Pour slowly into your prepared container, leaving about a centimetre of space at the top.
The Final Step: Curing and Common Pitfalls
Patience is key after pouring. While it's tempting to light your new creation immediately, candles need to 'cure'. This allows the fragrance oil to fully bind with the wax, resulting in a much stronger scent throw when burned. A cure time of one to two weeks is often recommended, especially for natural waxes like soy. Beginners often make a few common mistakes, such as using the wrong wick size, getting the pouring temperature wrong, or not measuring ingredients accurately. Rushing the cooling process in a drafty area can also cause the surface to crack or pull away from the jar. By controlling your temperatures, measuring precisely, and allowing for a proper cure time, you set yourself up for a successful and satisfying first project.