

The Gluten-Free Challenge
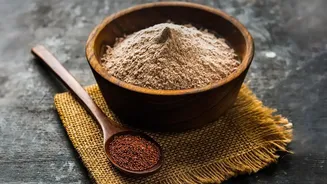
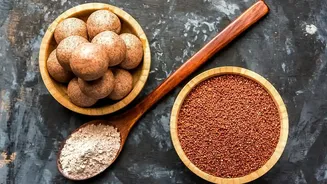
The magic of traditional sourdough lies in gluten, the protein network in wheat that traps gas from the fermenting yeast, allowing the dough to rise and develop a chewy, airy crumb. Millet flours like ragi (finger millet) and jowar (sorghum) have none.
This means that without the right techniques, a millet-based dough can be dense, crumbly, and refuse to hold its shape. The primary challenge isn't flavour, but structure. Bakers must essentially rebuild that structural web from scratch using other ingredients to mimic the elasticity that gluten normally provides. This is where mastering the science of binders and hydration becomes crucial for success.
The Magic of Psyllium Husk
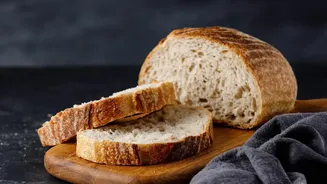
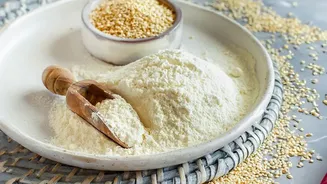
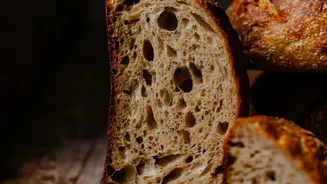
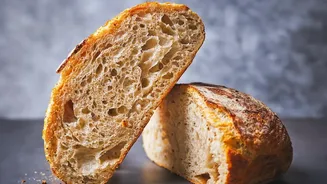
Ask any baker working with gluten-free flours about their secret weapon, and they will point to psyllium husk. Derived from the seeds of the Plantago ovata plant, this fibre is a game-changer. When mixed with water, psyllium forms a gel that provides the structure and elasticity gluten-free doughs lack. Unlike other binders that can result in a cake-like texture, psyllium creates a workable, kneadable dough that can hold its shape during a long fermentation. This allows bakers to achieve the much-desired open crumb, artisan-style crust, and satisfying chew that define a great loaf of sourdough. For best results, bakers often create a psyllium gel by mixing it with the water in the recipe first, letting it thicken for about 15 minutes before incorporating it with the dry ingredients.
Choosing Your Millet
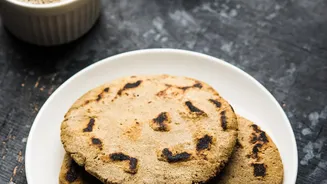
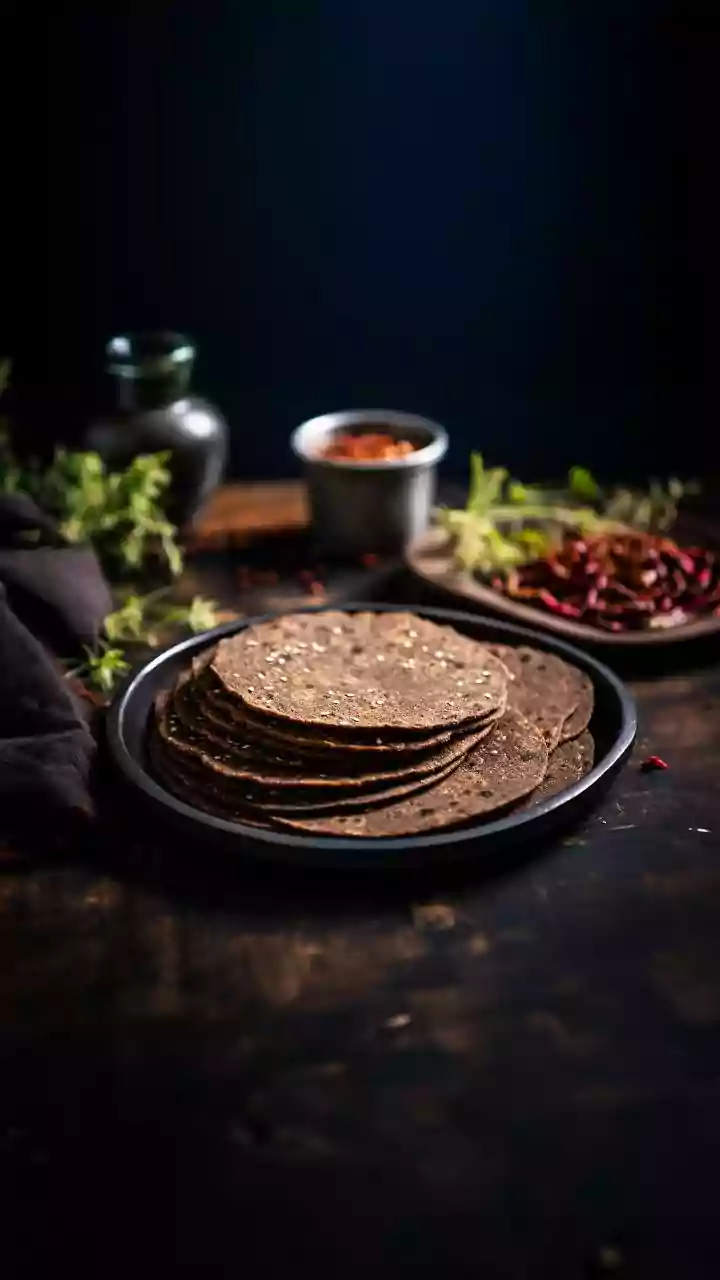
Not all millets behave the same way. Proso millet, which is pale yellow, has a light, sweet taste reminiscent of corn flour. It creates a soft, pillowy loaf and is a popular choice for 100% millet breads. Finger millet, or ragi, has a more pronounced earthy and nutty flavour and gives the bread a darker colour. Because ragi can have a slightly bitter aftertaste, some bakers prefer to use it in blends with other flours or suggest toasting the bread, which mellows its flavour. Many successful recipes use millet as a component, often between 10% to 33% of the total flour, combined with bread flour or other gluten-free flours to balance flavour and texture. Experimenting with different types, from foxtail to pearl millet, can unlock a wide range of unique tastes.
Mastering Hydration and Fermentation
Millet flours are thirsty and absorb a lot of water. The use of psyllium husk further increases the dough's need for liquid. This high hydration can make the dough feel sticky and more like a thick batter than a traditional wheat dough. Don't be alarmed; this is normal. Instead of traditional kneading, the process often involves simply mixing ingredients until no dry flour remains. Fermentation times also differ. A millet dough may bulk ferment for 4 to 8 hours depending on room temperature. Some bakers find success with a long, cold proof in the refrigerator for 12 hours or more, which helps develop deeper flavour. Because the dough structure is more delicate, it's better to slightly under-proof than over-proof, as the latter can cause a dense, flat loaf.
Tips for the Perfect Bake
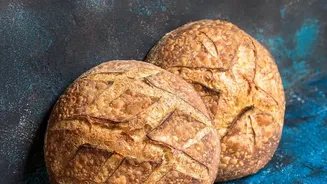
To achieve a fantastic crust and a fully cooked interior, most bakers rely on a preheated Dutch oven. This traps steam during the initial part of the bake, which keeps the crust soft enough to expand, a process known as oven spring. A typical method involves preheating the oven and Dutch oven to a high temperature, around 220-230°C. The loaf is baked covered for the first 20 minutes to create steam, then uncovered for another 20-30 minutes at a slightly lower temperature to develop a crisp, golden-brown crust. Given the high moisture content, it's vital to let the loaf cool completely—for several hours, or even overnight—before slicing. Cutting into it too early can result in a gummy texture, as the internal structure is still setting.