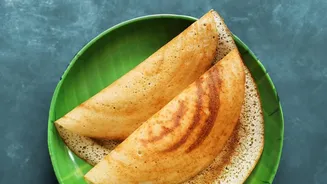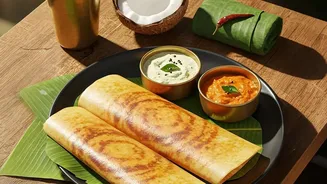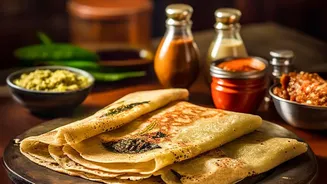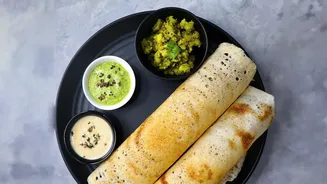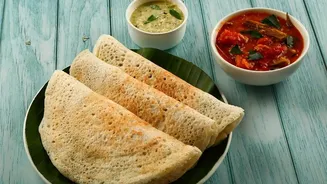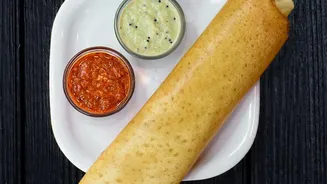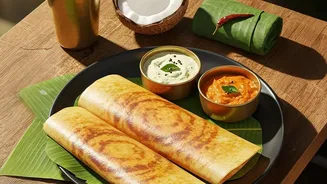


The dream of a paper-thin, golden-brown dosa with shatteringly crisp edges is universal. Yet, achieving it on a traditional cast-iron tawa can feel like a battle against sticking and sogginess. The secret isn't a flood of oil, but technique.
The Foundation: A Well-Seasoned Tawa
Before you
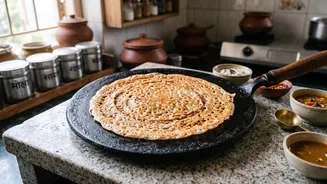
even think about the batter, your success hinges on the tawa's surface. Cast iron, unlike non-stick pans, requires a 'seasoning'—a layer of polymerised oil baked into the metal. This natural, non-stick coating is built and maintained over time, and it's the single most important factor in preventing dosas from sticking. A new tawa must be seasoned before its first use. This involves washing and drying it completely, then applying a very thin layer of high-smoke-point oil (like sesame or vegetable oil) and heating it until it begins to smoke lightly. Allow it to cool, wipe away any excess, and repeat the process a few times. This creates a foundational patina that only improves with each use, giving you a slick surface that releases food easily.
Mastering the Heat
Temperature control is where most home cooks falter. A cast-iron tawa retains heat exceptionally well, but it also heats up slowly. You must preheat it on a medium flame for several minutes. If the tawa is too cold, the dosa will stick and turn pale; if it's scorching hot, the batter will seize upon contact, making it impossible to spread. The classic test is to sprinkle a few drops of water on the surface. If they sizzle, dance, and evaporate within seconds, your tawa is ready. If they disappear instantly with an aggressive hiss, it's too hot. In that case, reduce the flame and wait a moment or wipe it with a damp cloth to bring the temperature down slightly. Maintaining this consistent medium heat is crucial for that even, golden-brown colour.
The Art of Using Oil Sparingly
Here's where the headline comes to life. A well-seasoned tawa doesn't need much oil. In fact, too much oil will make the dosa greasy and can prevent the batter from spreading properly. The goal is to create a micro-layer of grease. The traditional method is to dip half an onion into a small bowl of oil and rub it across the hot tawa before pouring the batter. This not only applies a minimal, even coating but also imparts a subtle, aromatic flavour. You only need to do this before the first dosa or every few dosas. Once the batter is spread, a few drops of oil or ghee drizzled around the edges is all you need. This helps the edges to crisp up and lift away from the pan when ready.
Batter Consistency and Technique
Even with a perfect tawa, the batter plays a huge role. It should be smooth, well-fermented, and have a pourable but not watery consistency—often described as being like a thin cream. If the batter is too thick, it won't spread thinly enough to become crisp. If it’s too watery, it will lack structure. When you're ready to cook, pour a ladleful of batter into the centre of the hot tawa. Using the back of the ladle, immediately begin spreading it outwards in a continuous spiral motion with light pressure. The key is to be quick and confident, creating as thin a layer as possible. Do not go back over areas you have already spread. Let the dosa cook undisturbed until the edges start to turn golden and lift slightly from the pan—this is your cue that it's ready to be folded or flipped.