





Reading the Unhappy Leaves: Early Warning Signs
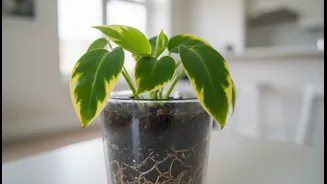
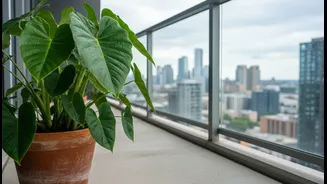
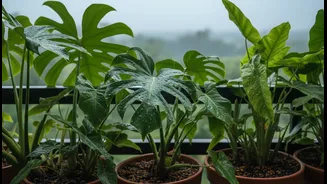
Root rot often mimics the look of a thirsty plant, which can be confusing. The most common sign is a plant that wilts even when the soil is damp. This happens because the decaying roots can no longer absorb water and nutrients effectively. Look for lower
leaves turning yellow or brown, stunted growth, or a general lack of vigour during the growing season. In some cases, you might notice a musty or sour smell coming from the soil, which is a clear sign of decay. If you see these signs, it's time to investigate the roots themselves.
Confirming the Diagnosis Below the Soil
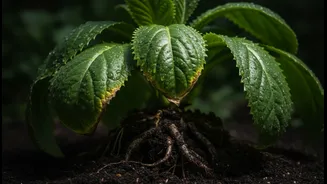
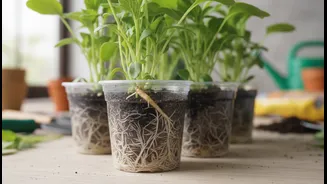
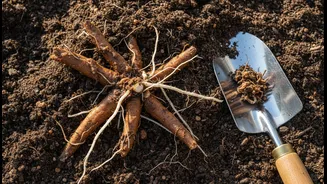
To be certain, you need to gently remove the plant from its pot. Healthy roots should be firm and appear white or light tan. Rotted roots, on the other hand, will be dark brown or black, feel soft and mushy, and might even fall apart when you touch them. They may also have a distinctly unpleasant, swampy smell. Carefully shake off as much of the old soil as possible to get a clear view of the entire root system. This step is crucial for assessing the extent of the damage.
The Pruning Process: A Step-by-Step Guide
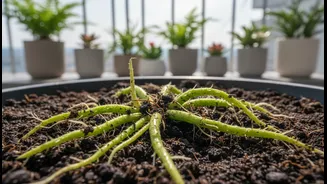
Once you have identified the rotten parts, it’s time for some plant surgery. First, gently wash the entire root ball under lukewarm water to remove any remaining soil and fungal spores. Using a pair of clean, sterilized scissors or pruning shears, carefully cut away all the mushy, brown, and black roots. It is vital to make your cuts slightly above the rotted section, into the healthy, white part of the root, to ensure you've removed all traces of decay. Be thorough, as leaving any diseased tissue behind can allow the rot to spread again. Sterilize your cutting tool between snips to avoid cross-contamination.
Repotting for a Fresh and Healthy Start
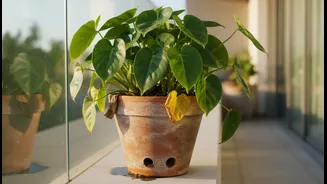
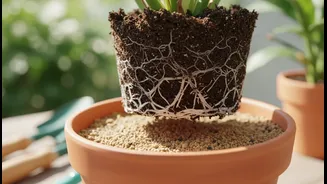
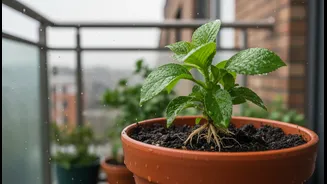
After pruning, your plant needs a clean environment to recover. Do not reuse the old soil, as it can contain the very pathogens that caused the rot in the first place. Select a new pot that has ample drainage holes. If you must reuse the old pot, scrub it thoroughly with soap and water to disinfect it. Choose a fresh, well-draining potting mix. You can improve aeration and drainage by adding materials like perlite or orchid bark. If you removed a significant portion of the roots, you may need to downsize to a smaller pot to prevent the soil from holding too much moisture, which could trigger rot again. Place the plant in its new home, fill with fresh soil, and pat it down gently.
Post-Pruning Care and Long-Term Prevention
After the stressful procedure, your plant needs time to recover. Water the freshly repotted plant lightly, just enough to moisten the soil. Avoid the temptation to overwater, as the reduced root system can't handle much moisture yet. Place the plant in an area with bright, indirect light to help it recover without the stress of intense sun. Hold off on fertilizing for at least a few weeks to a month, as this can burn the newly forming roots. The best way to prevent root rot from returning is to master your watering habits. Always check the soil before watering; a good rule of thumb is to water only when the top one to two inches feel dry to the touch.