




Your Essential Vintage Toolkit
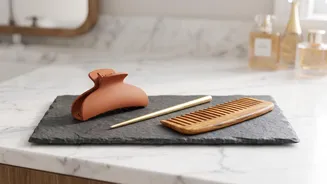
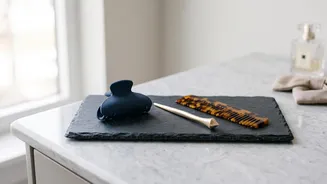
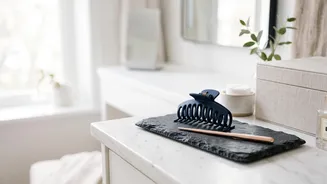
Before diving into specific styles, let's assemble a simple, modern toolkit. You likely have most of these items already. The key to vintage styling isn't expensive, era-specific equipment, but smart technique. You'll need a fine-tooth comb for precise
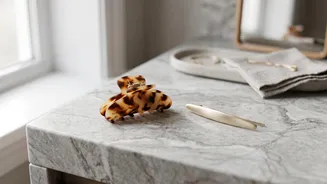
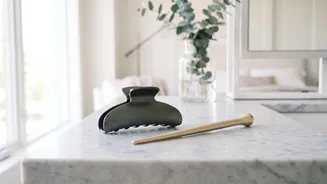
parting and smoothing, a teasing comb or brush for building volume, and plenty of bobby pins that match your hair colour. Alligator clips or sectioning clips are invaluable for control. For heat styling, a standard 1-inch curling iron is incredibly versatile. Finally, a strong-hold hairspray and perhaps a light mousse or setting lotion will ensure your creation lasts.
The 1920s: Modern Finger Waves
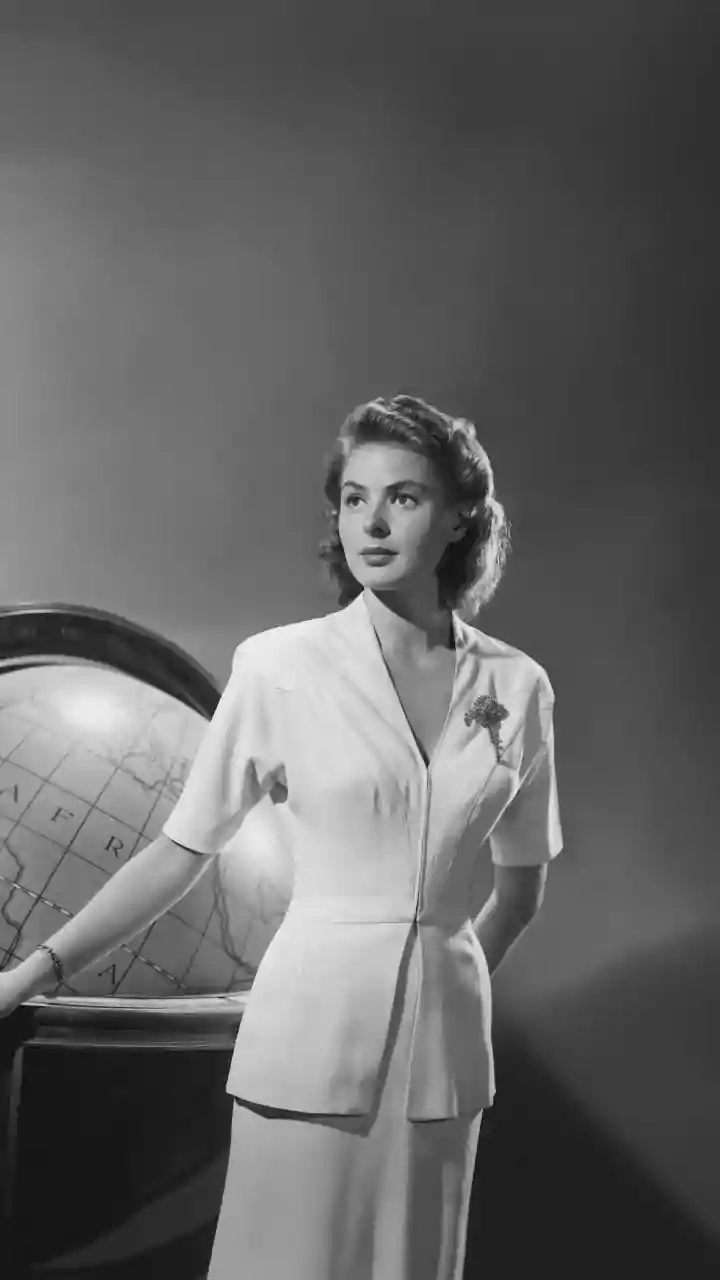
The iconic look of the Roaring Twenties is the finger wave, a series of sculptural S-shaped waves set close to the head. Traditionally done on wet, short hair with lotion and a comb, this can be time-consuming. A modern, more accessible approach uses a curling iron on dry hair. Start by parting your hair deeply to one side. Take a one-inch vertical section of hair near your face. Clamp the curling iron horizontally near the root and turn it a half-turn toward your head. A few inches down, reverse the direction. Continue this alternating pattern down the hair shaft to create an 'S' shape. Repeat with sections around your face for a touch of 1920s flair without committing your whole head. A key tip is to use a comb to hold the hair in the 'S' shape as it cools before spraying.
The 1940s: Iconic Victory Rolls
Victory rolls are perhaps the most recognizable hairstyle of the 1940s, named in the spirit of the Allied victory in World War II. This style involves sweeping and rolling sections of hair away from the face, creating a distinctive voluminous look on top of the head. While they look complex, they are based on a simple rolling technique. To start, section off a two-to-three-inch piece of hair at your temple on one side. Gently backcomb the base of the section to create a cushion of volume. Smooth the top layer of the hair over this cushion. Now, take the end of the hair and begin rolling it inwards toward your scalp, creating a tube or 'roll' shape. Once you reach your head, secure the roll discreetly with bobby pins from the inside and back. Repeat on the other side for a classic symmetrical look. A strong hairspray is essential to keep them in place.
The 1960s: A Softer Beehive
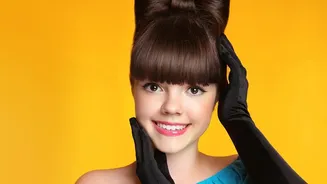
The 1960s were all about height, and the beehive was queen. Popularized by stars like Audrey Hepburn and Aretha Franklin, this look is defined by its dramatic volume at the crown. A full-on beehive can be intimidating, but a softer, modern version is easy to achieve. First, separate the front section of your hair, from ear to ear, and clip it away. Take the hair at the crown of your head and begin backcombing it in small sections, spraying each section lightly at the roots. This creates the internal structure for the volume. Once you have a substantial teased cushion, gently smooth the very top layer of hair over it to hide the backcombing. Gather the smoothed hair and pin it at the back of your crown, creating the 'bump'. You can then unclip the front sections and either sweep them back to blend or leave them down to frame your face.
Finishing and Polishing Your Style
Achieving a 'polished' look is all in the details. After your main style is pinned in place, use the fine-toothed end of your comb and a little hairspray to tame any flyaways. If you have fine hair, a texturizing spray or dry shampoo applied before you start can provide extra grip and make styles hold better. Don't be afraid to accessorize; a simple ribbon, a vintage-style clip, or a silk scarf can elevate your look and help conceal any imperfections. The most important element, however, is practice. Like any new skill, these hairstyles become easier and faster with each attempt. Experiment on a quiet evening and don't aim for perfection on your first try.