





As cooler weather arrives, your balcony can become a source of fresh, peppery mustard greens. Growing sarson in pots is surprisingly simple, rewarding you with nutritious leaves for your favourite winter dishes right at your doorstep.
Why November Is Perfect for Sarson
Mustard greens, or
'sarson', are a cool-season crop, making November an ideal time to start planting in most parts of India. These plants thrive in the milder temperatures of late autumn and winter, which prevents them from 'bolting' (flowering prematurely) and turning bitter. A light frost can even make the leaves taste sweeter. Balcony gardening in containers makes it accessible for anyone to grow this nutritional powerhouse, famous for its high vitamin K content, iron, and calcium. With a fast growth cycle, you can go from seed to your first harvest in as little as four to six weeks.
Choosing the Right Pot and Soil
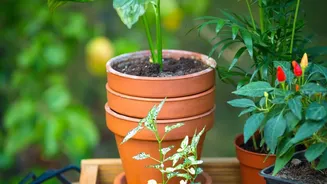
Success starts with the right foundation. Mustard greens are relatively shallow-rooted, but giving them adequate space is key. Select a container that is at least 8 to 10 inches deep and about 12 inches wide. This size can comfortably house three to four plants and prevents the soil from drying out too quickly. Ensure the pot has plenty of drainage holes to prevent waterlogging, which can lead to root rot. For the growing medium, use a high-quality, well-draining potting mix, not heavy garden soil which compacts easily in containers. To give your greens a strong start, enrich the mix with organic matter like compost at a ratio of about one part compost to three parts potting mix.
Sowing Seeds for a Bountiful Harvest
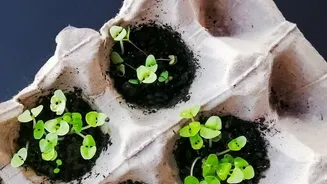
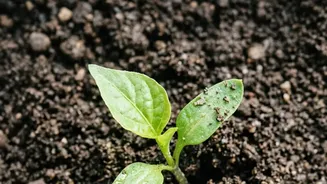
Planting mustard seeds is a straightforward process. Moisten your prepared soil mix before sowing. Sprinkle the seeds thinly across the surface and cover them lightly with about a quarter-inch of soil. You don’t need to bury them deep. Gently firm the soil and keep it consistently moist until the seeds germinate, which usually happens within a few days. Once the seedlings have developed a couple of sets of true leaves, it's time to thin them out. For mature, large leaves, thin the seedlings so they stand about four to six inches apart. This prevents overcrowding and allows each plant to grow strong and healthy.
Sunlight and Watering Essentials
Place your pots in a spot on your balcony that receives at least four to six hours of sunlight per day. While they love sun, mustard greens can tolerate some partial shade. Consistent watering is crucial, as container soil dries out much faster than garden beds. Check the soil daily by pushing your finger an inch deep. If it feels dry, it's time to water. Water deeply until you see it running from the drainage holes, but avoid letting the pot sit in a saucer of water. Consistent moisture helps keep the leaves tender and prevents them from developing a bitter taste.
Caring for Your Plants
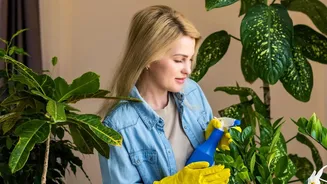
Mustard greens are relatively low maintenance, but they are susceptible to a few common pests like aphids and flea beetles. Aphids can often be managed by spraying them off with a strong jet of water or using a simple neem oil solution. Flea beetles chew small, 'shot hole' patterns in the leaves. Because you are growing in containers, pest problems are often less severe and can sometimes be managed by simply hand picking any visible pests like caterpillars. To keep your plants producing lush leaves, you can feed them with a balanced organic liquid fertiliser, like a compost tea, every three to four weeks.
Harvesting Your Homegrown Greens
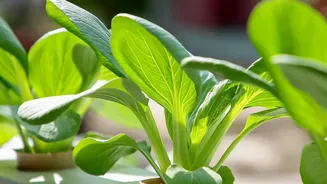
One of the best parts of growing mustard is the continuous harvest. You can start picking tender baby leaves for salads in as little as three to four weeks. For larger leaves perfect for cooking sarson ka saag, wait until they are about six to eight inches long, which takes around six weeks. Harvest using the 'cut and come again' method : simply snip or snap off the outer leaves at the base of the plant, leaving the central growing point intact. This encourages the plant to keep producing new leaves, extending your harvest season for many weeks.