


More Than Just Greenery
In the concrete confines of city life, a patch of green is a visual relief. But a balcony vegetable garden offers so much more. It's a functional upgrade that pays you back in flavour and freshness. The taste of a homegrown tomato, ripened on the vine,
is leagues ahead of its store-bought counterpart. It’s also a step towards sustainability, reducing your food miles to mere metres and cutting down on plastic packaging. Beyond the plate, the simple act of nurturing a plant from seed to harvest is a proven stress-buster, offering a daily dose of mindfulness and a tangible connection to nature.
Choosing Your First Crops
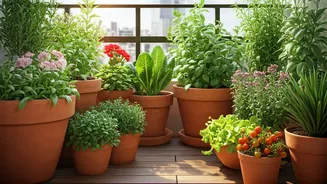
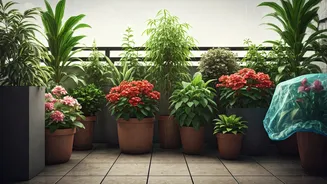
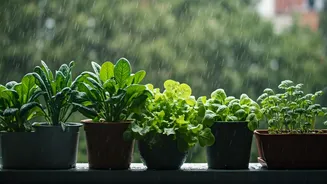
The key to a successful balcony garden is starting with plants that offer a high chance of success. For Indian climates, several vegetables and herbs are perfectly suited for container living. Think about what you use most in your kitchen. Herbs like coriander (dhania), mint (pudina), and curry leaves (kadi patta) are incredibly easy to grow and highly rewarding. For vegetables, start with cherry tomatoes, which are less fussy than their larger cousins. Varieties of chilli (mirchi), brinjal (baingan), and lady's finger (bhindi) also thrive in pots with enough sunlight. Leafy greens like spinach (palak) grow quickly, giving you a fast and satisfying harvest.
The Right Pot and Place
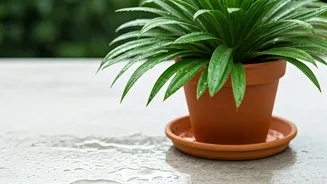
Your container is your plant's entire world, so choosing the right one is crucial. The number one rule is drainage. Ensure any pot you use has holes at the bottom to prevent waterlogging, which is a common cause of plant failure. Terracotta pots are a classic choice; they are porous and allow roots to breathe, but they also dry out faster in hot weather. Plastic pots are lighter and retain moisture longer but can get very hot. The size of the pot matters, too. A 10-12 inch pot is a good starting point for most vegetables like tomatoes or brinjals, while herbs can thrive in smaller 6-8 inch containers. Most vegetables need at least 4-6 hours of direct sunlight, so observe your balcony to find the sunniest spot.
Building a Foundation of Good Soil
You can't just scoop up dirt from the ground and expect good results. Soil for pots needs to be light, well-draining, and rich in nutrients. The easiest way to start is with a pre-mixed potting mix available at any local nursery or online. These are specifically designed for containers. For a simple DIY mix, combine equal parts red soil (or garden soil), cocopeat (which helps retain moisture), and vermicompost or well-rotted cow dung manure (which provides nutrients). This trio creates a balanced environment that supports healthy root growth and provides the fuel your plants need to produce vegetables.
The Rhythm of Care
Once your plants are in their new homes, a simple care routine is all you need. The most common question is about watering. The best method is the 'finger test': stick your finger about an inch into the soil. If it feels dry, it's time to water. If it feels moist, wait another day. Water deeply until you see it running out of the drainage holes. For feeding, a liquid fertiliser or a handful of vermicompost added to the topsoil every 3-4 weeks will keep your plants productive. Keep an eye out for common pests like aphids. Often, a simple spray of neem oil solution (a natural, organic pesticide) is enough to keep them at bay.