
Flour Selection Matters
The kind of flour you select plays a crucial role in determining the softness of your chapatis. Whole wheat flour, or atta, is the traditional and recommended
choice. Opt for finely ground atta, as coarser varieties might result in slightly drier chapatis. Additionally, ensure the flour is fresh; older flour can lose its moisture and affect the final texture. Experiment with different brands of atta to find the one that yields the softest results. Some people also mix small amounts of other flours, like a little bit of maida, into the atta for increased softness, but this can slightly affect the overall healthiness of the chapati.
Proper Kneading Techniques
The way you knead the dough directly influences how soft the chapatis will be. Start by adding water gradually to the flour, mixing it gently. Too much water at once can make the dough sticky and difficult to manage. Use lukewarm water, as it helps the gluten in the flour develop properly, leading to softer chapatis. Knead the dough for at least 10-15 minutes, until it becomes smooth and elastic. This process allows the gluten to develop, which is key to a soft texture. Avoid over-kneading, which can make the chapatis tough. The dough should be soft but not sticky, and it should hold its shape when you press it.
Resting The Dough
Resting the dough is a critical step often overlooked. After kneading, cover the dough with a damp cloth or plastic wrap and let it rest for at least 30 minutes, or even longer. This allows the gluten to relax and the moisture to distribute evenly throughout the dough. As a result, the chapatis will be softer and easier to roll out. Longer resting times, such as an hour or two, can further improve the texture. Avoid skipping this step, as it significantly contributes to the final softness of your chapatis. During the resting period, the dough will also become more pliable, making it easier to work with.
Rolling The Chapatis
Rolling the chapatis to the right thickness is a key factor. Roll the dough out evenly to about 1/8 inch thickness. Uneven thickness can lead to some parts of the chapati being overcooked while others remain undercooked, affecting overall softness. Use a lightly floured surface and a rolling pin. Avoid using too much flour, as it can dry out the chapatis. A gentle hand and a light touch when rolling are essential for maintaining the softness. Ensure the chapatis are round to cook evenly. If the edges are too thin, they will become crispy. Practice makes perfect when it comes to rolling; don't be discouraged if your first attempts aren't perfect.
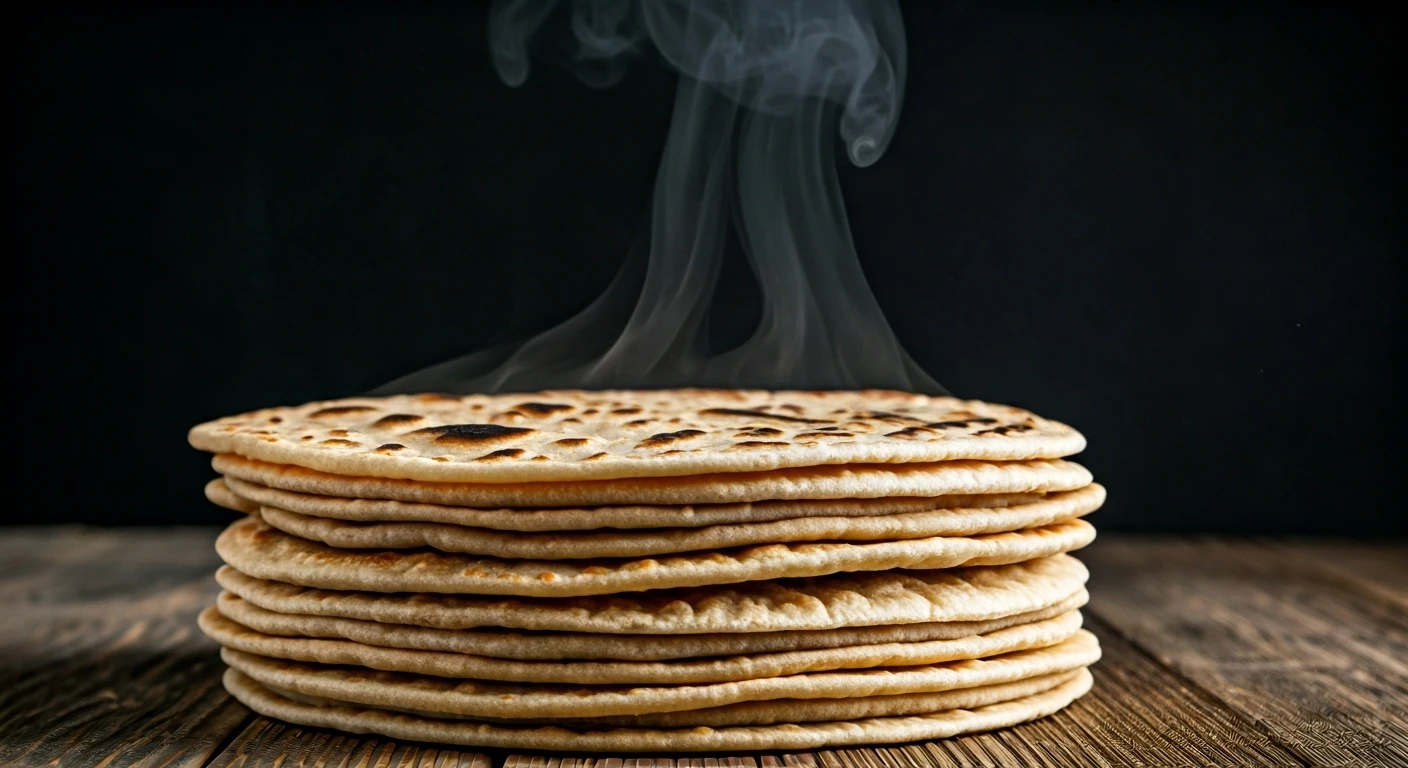
Cooking On The Tawa
The cooking process on a hot tawa (griddle) is where the magic happens. Heat your tawa to a medium-high temperature. Start by cooking the chapati on one side for about 30 seconds, until small bubbles appear. Flip it over and cook for another 30 seconds. Then, using a clean cloth or a spatula, press gently around the edges of the chapati to encourage it to puff up. This indicates the air pockets are expanding, and it is cooking properly. If the chapati does not puff up, it may be an indicator that the dough was not rested or rolled correctly. Finally, flip the chapati over again and cook for a few seconds until golden brown spots appear on both sides. The right temperature and cooking time are crucial for achieving soft chapatis.
The Final Touch
Once cooked, immediately remove the chapati from the tawa. Apply a thin layer of ghee or butter on both sides while they are still hot. This adds moisture and enhances the softness. Alternatively, you can brush the chapatis with oil after cooking. Stacking the chapatis in a covered container or a warm casserole helps to keep them soft and moist. Wrapping them in a clean, dry cotton cloth after cooking also helps to trap the steam, further softening them. Serve the chapatis immediately, as they are best enjoyed fresh. If you have leftovers, reheat them gently on the tawa or in a microwave for a few seconds to restore their softness.