
Flour Power Begins
The foundation of any great chapati lies in the flour you choose. Ideally, opt for whole wheat flour (atta), specifically the type labeled for making chapatis.
Look for flour with a good protein content, as this helps the gluten develop, leading to softer, more pliable chapatis. Check the package for milling specifications, preferring stone-ground flour if possible, because it often retains more of the wheat's natural oils and nutrients. Fresh flour makes a big difference; try to use it within a reasonable time frame to ensure optimal texture and flavor. Poor quality flour may cause your chapatis to be dry and not soft, which defeats the entire purpose. You should feel the softness of flour before choosing it to ensure the fluffiness of chapatis.
Water is Key
The hydration of your dough significantly impacts chapati softness. Start by using lukewarm water. It helps activate the gluten in the flour and results in a smoother dough. Add the water gradually, mixing until a soft, slightly sticky dough forms. Be careful not to add too much water, as this can make the dough difficult to handle and the chapatis tough. The ideal dough should be elastic, not dry or crumbly. The amount of water needed varies depending on the flour and environmental conditions, so observe the dough and adjust as necessary to get the right consistency. Always use clean and drinkable water to prepare dough and ensure hygiene.
Kneading Techniques
The kneading process is where the magic happens. Knead the dough vigorously for at least 8-10 minutes. This helps develop the gluten, making the chapatis soft and prevent cracking. Knead on a lightly floured surface, using the heel of your hand to push the dough forward, fold it over, and repeat. If the dough is too sticky, add a little more flour, but avoid overdoing it. The dough should be smooth and elastic after kneading, indicating that the gluten is properly developed. Let the dough rest, covered, for at least 30 minutes, or even longer. This allows the gluten to relax further, resulting in softer chapatis. This is very important as without this, the chapatis won't be as soft and may feel hard.
Resting the Dough
Allowing the dough to rest after kneading is essential for soft chapatis. Cover the kneaded dough with a damp cloth or plastic wrap to prevent it from drying out. Place the dough in a warm spot, away from drafts. Resting for at least 30 minutes allows the gluten to relax, and the moisture to distribute evenly, leading to softer chapatis. For even better results, you can let the dough rest for up to an hour, or even longer. This extended resting period enhances the dough's elasticity and makes it easier to roll out. If you're making chapatis ahead of time, the dough can be refrigerated for a few hours, just ensure you bring it to room temperature before rolling and cooking.
Rolling with Care
When rolling out the chapatis, use a light hand and a rolling pin. Dust the surface lightly with flour to prevent sticking, but avoid using too much flour, as this can dry out the chapatis. Roll the dough evenly, aiming for a circular shape. The thickness of the chapati is critical. Aim for a thickness of about 2-3mm, but don't worry too much if they aren't perfectly uniform. Rolling too thick may result in uncooked center parts. If the chapati gets stuck while rolling, gently lift it and add a bit more flour before continuing. Practice makes perfect, so keep rolling until you get your desired shape.
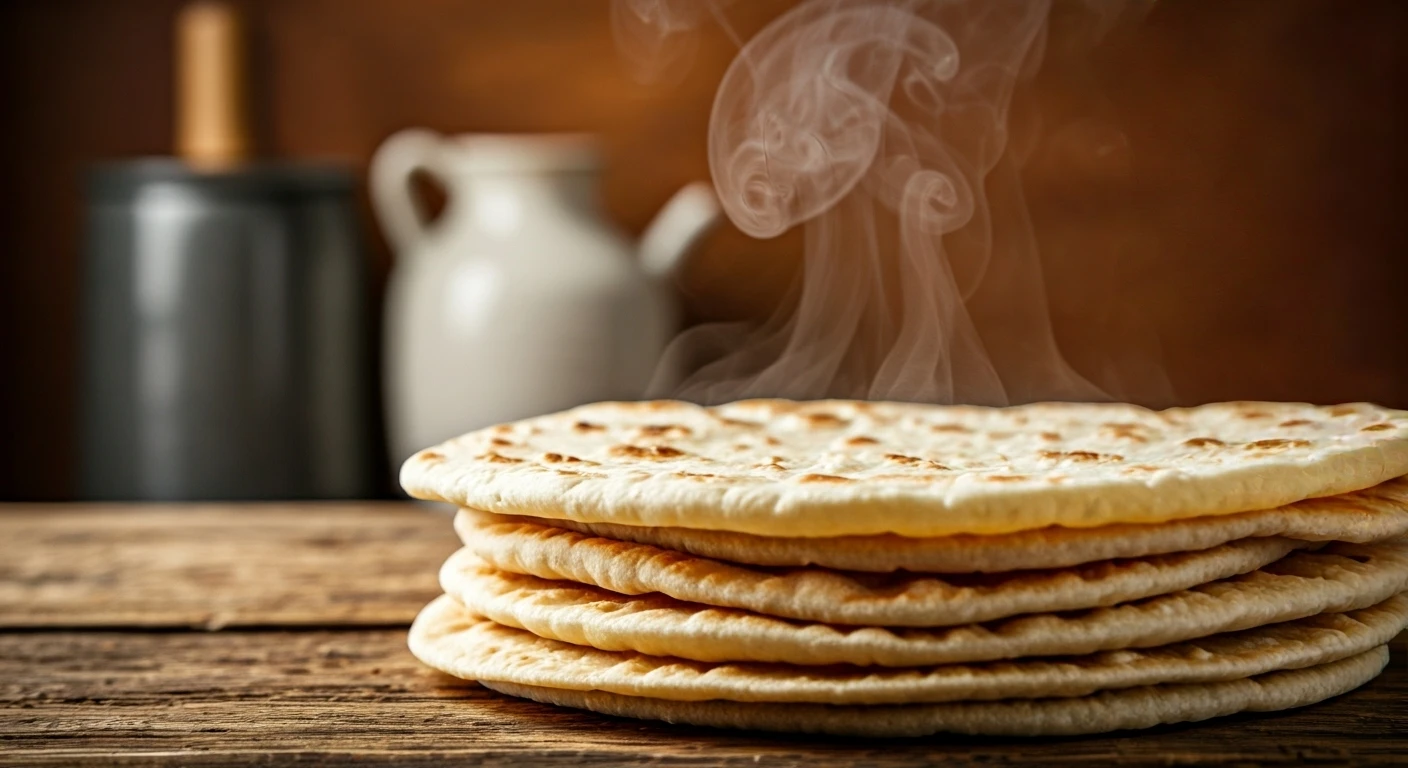
Cooking Methods Matter
The cooking method is critical for achieving soft chapatis. Use a hot, flat griddle (tava) for cooking. Heat the griddle over medium-high heat. Place the rolled-out chapati on the hot griddle. Cook each side for about 30-60 seconds or until small bubbles appear. Flip the chapati and cook the other side. Then, using tongs or a cloth, gently press the edges of the chapati so it puffs up. This is where steam gets trapped, making it soft. If you prefer, you can transfer the puffed chapati directly to a gas burner flame for a few seconds to achieve a light char. Once cooked, immediately transfer the chapati to a container and keep it covered to retain moisture and softness.
Applying Ghee/Butter
Adding ghee or butter can further enhance the softness and flavor of the chapatis. Once the chapatis are cooked, immediately brush them with melted ghee or butter. This not only adds flavor but also keeps them moist and prevents them from drying out. You can also add the ghee or butter while the chapatis are still on the hot griddle. This method allows the ghee to be absorbed and helps in fluffing them up. Be generous with the ghee or butter if you want extra soft and flavorful chapatis. If you want to keep it healthy, you can use olive oil as an alternative, however, the flavor will be slightly different, and the result may be a little less soft.
Storage Solutions
Proper storage is key to keeping chapatis soft. Once cooked, stack the chapatis on top of each other and wrap them in a clean, dry cloth or in a foil. This helps retain moisture and keeps them soft for several hours. Store the wrapped chapatis in an insulated container or a warm place to prevent them from cooling down too quickly. If you want to store them for longer periods, you can keep the cooked chapatis in the refrigerator for up to a few days. Reheat them on the griddle or in a microwave before serving to restore their softness. Remember, even well-stored chapatis tend to lose some of their softness over time, so try to consume them fresh for the best experience.