
Gather Ingredients First
Before you start making those delightful chocolate popsicles, it's essential to gather all the necessary ingredients. You'll need items like cocoa powder,
sugar, milk (or a dairy-free alternative), and a pinch of salt to enhance the flavors. Consider adding a touch of vanilla extract for an extra layer of complexity. Ensure you have popsicle molds and sticks readily available, as these are crucial for shaping your icy treats. Having everything prepped and ready prevents interruptions, letting you focus solely on the fun part of making the popsicles. This streamlines the process and ensures you have everything within arm’s reach.
Mix Cocoa, Sugar
Begin by combining the cocoa powder and sugar in a saucepan. Use a whisk to make sure these dry ingredients are well combined. This ensures the cocoa is evenly distributed, preventing clumps later on, and the sugar is integrated, which helps achieve the right sweetness level. The proportion of cocoa powder and sugar is essential; play around with the ratios to suit your sweetness preference. For those opting for a less sweet experience, gradually reduce the sugar amount and taste as you go. This step prepares the base for the rich chocolate flavor in your popsicles.
Pour in Milk
Gradually introduce the milk (or your chosen alternative) into the cocoa and sugar mixture. Start with a small amount and whisk constantly to form a smooth paste before pouring in the rest. This prevents lumps and ensures a consistent texture. If you're using dairy milk, the fat content will contribute to a creamier final product. For dairy-free options, experiment with almond, soy, or coconut milk, each lending a unique flavor profile. The milk serves as the liquid base that will hold all the flavors together and set into a refreshing frozen treat.
Heat the Mixture
Gently heat the mixture over medium heat, while continuously stirring to avoid burning the bottom. The objective is to melt the sugar and infuse the milk with the cocoa flavor, creating a unified blend. Keep stirring regularly to avoid the formation of scorching at the base, or that could affect the taste. Once the mixture begins to simmer or when the sugar dissolves, it's time to remove it from the heat. Be careful not to boil it, because that might change its texture, making it thicker than expected. This process activates the cocoa’s flavor, deepening it and intensifying the richness.
Add Vanilla, Salt
Once the mixture has been taken off the heat, now add the vanilla extract and a pinch of salt. These additions will enhance the overall flavor profile of your popsicles. Vanilla adds a subtle, aromatic sweetness that complements the chocolate, while salt helps balance the sweetness and brings out the other flavors. Use a good-quality vanilla extract for the best result. Stir the mixture to ensure the vanilla and salt are evenly distributed throughout. The added salt does not make the popsicles taste salty; it provides balance, which adds another dimension to the taste experience.
Fill the Molds
Allow the mixture to cool down slightly before you start filling the popsicle molds. This step makes sure the mixture won't melt the molds, preserving their form. Carefully pour the chocolate mixture into the molds, leaving a small amount of space at the top for expansion during freezing. You can use a small pitcher or a funnel to make filling easier, avoiding any spills. Ensure all molds are evenly filled for uniform-sized popsicles. Inserting the popsicle sticks now, while the mixture is still liquid, ensures they are well secured in the frozen treat, making it easy to eat.
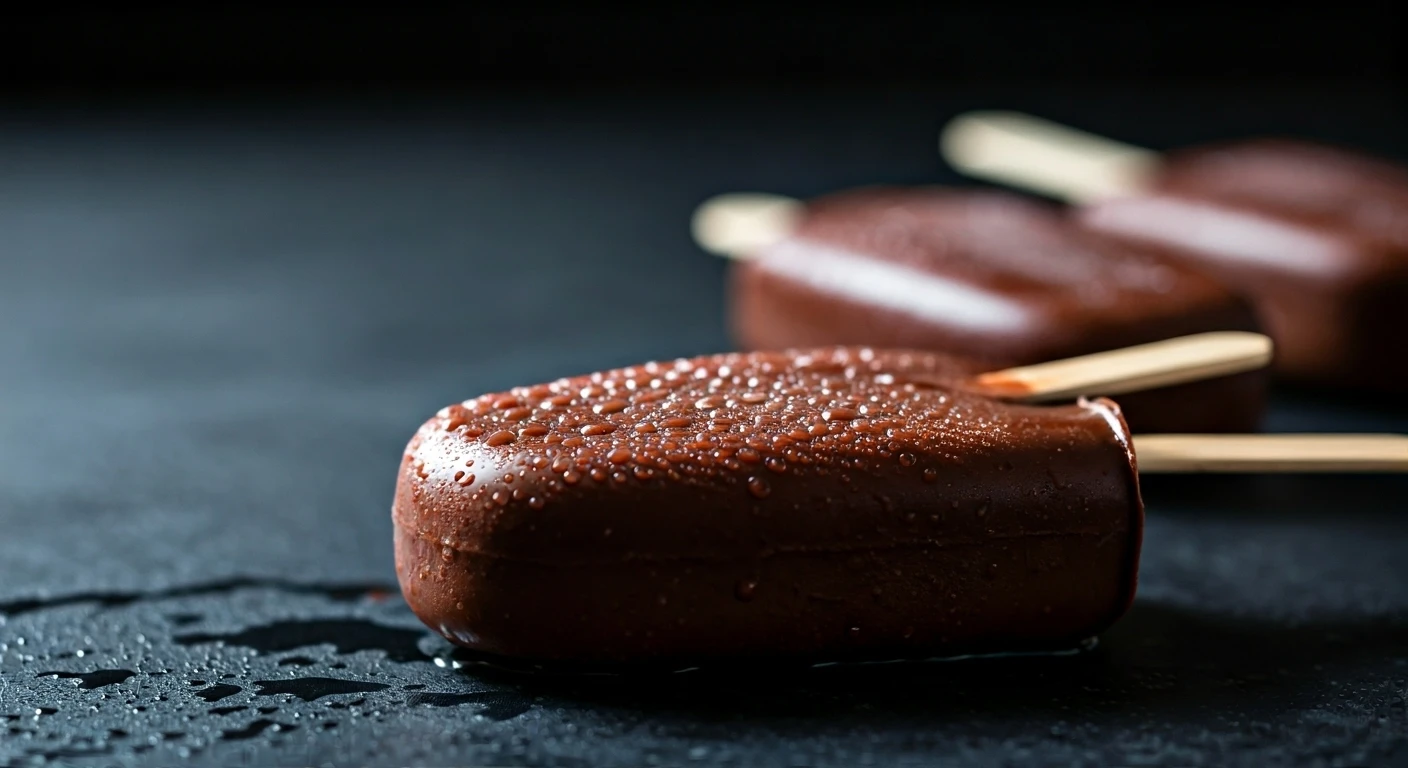
Freeze for Hours
Place the filled popsicle molds into the freezer. Allow them to freeze for several hours, usually at least four or preferably overnight. This allows the mixture to completely solidify into popsicles. The freezing time can vary depending on your freezer's temperature and the size of your molds. Once the popsicles are fully frozen, they should be firm to the touch. To remove them from the molds, you might need to run the molds under warm water for a few seconds. This loosens the popsicles, making them easy to slide out and ready to be enjoyed. Now, savor your homemade chocolate popsicles.