
Milk: The Foundation
The initial phase of crafting these chocolate popsicles involves the most basic step: heating the milk. This is where the journey of our frozen treat begins.
Take your milk and gently warm it. There's no requirement to bring it to a rolling boil; rather, a gentle warmth is all that's necessary for our endeavor. This preliminary step is crucial; as you move on to the later steps, the milk will act as a carrier of flavor. Ensure even distribution of heat throughout the milk to provide a perfect base for the subsequent steps to create the perfect taste of the popsicle.
Sugar and Cocoa
Next, you'll mix cocoa and sugar. In a separate bowl, this is where the magic starts to happen, where chocolatey goodness is born. It is important to measure out the correct amounts of cocoa powder and sugar. Ensure the dry ingredients are thoroughly blended. This step guarantees that the chocolate flavor integrates seamlessly into every popsicle bite. The careful combination of cocoa and sugar ensures the perfect balance, resulting in a rich, delectable treat. This blending of cocoa and sugar is a key building block towards a chocolate-flavored popsicle.
Combine with Milk
After ensuring the cocoa and sugar have been properly mixed, it's time to get them combined with the previously warmed milk. Gradually add the cocoa and sugar blend to the warm milk. This is a gradual integration process, which is important for preventing clumps from forming. The constant stirring is key to ensure the cocoa and sugar dissolve fully into the milk, forming a smooth, even mixture. This step is essential for achieving the creamy texture you desire in your chocolate popsicles, making it an enjoyable experience.
Add Chocolate, Vanilla
Enhance the richness of the mixture by adding melted chocolate and vanilla extract. These two components will truly elevate the taste of the popsicles. The melted chocolate will add a deeper chocolate flavor. A small amount of vanilla extract will add an extra layer of flavor complexity, creating a more well-rounded taste. When the chocolate and vanilla are added to the mix, stir them in thoroughly. This allows them to blend seamlessly into the milk and cocoa mixture, giving you the perfect texture and the ultimate enjoyment.
Pour Into Molds
Once the mixture has been carefully prepared, pour the mixture into the popsicle molds. The molds will shape the mixture into the perfect popsicle forms. Make sure the molds are filled, but not overfilled. This will help ensure the popsicles freeze properly. If you want to insert sticks, do so now, centering them in each mold. Placing the sticks properly will give the popsicles a handle for easy enjoyment later. At this stage, you are putting the final touch on the mixture before the freezing process begins.
Freezing Process Begins
After you have completed the previous steps, place the filled molds into the freezer. The amount of time needed for freezing can vary depending on your freezer's temperature and the size of the molds. It is important that the mixture freezes completely solid before you remove the popsicles from their molds. This ensures they hold their shape and can be enjoyed without melting too quickly. Regular checking is necessary to see if the popsicles are ready to be enjoyed.
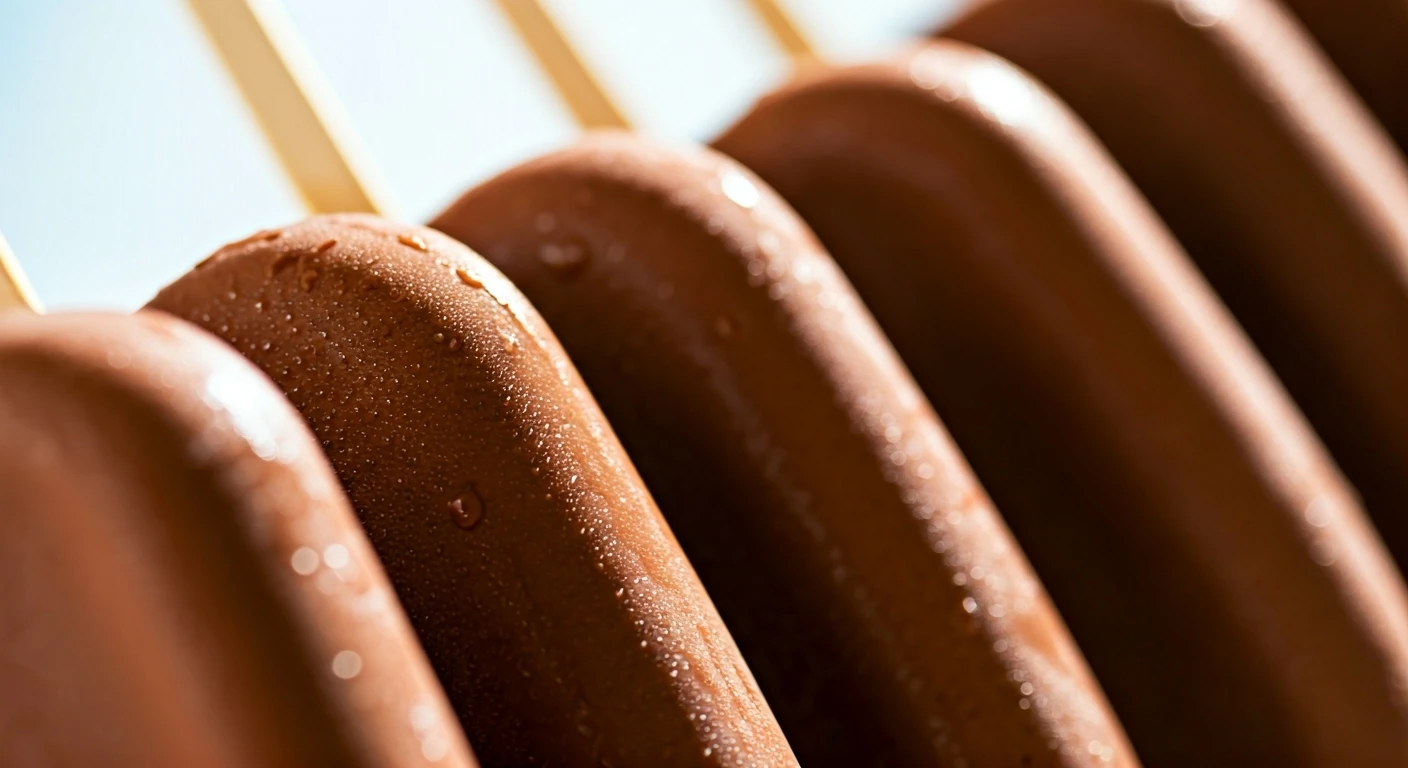
Unmold and Enjoy!
The final step is to take the frozen popsicles and remove them from their molds. Run the molds under warm water for a few seconds to help loosen the popsicles. This allows them to slide out easily without breaking. Gently pull each popsicle from its mold, and now you can hold your homemade chocolate popsicles. Enjoy your delicious, homemade chocolate popsicles as the final step of this fantastic recipe. Congratulations, you have created a delightful, refreshing treat!