
Heat the Milk
The initial step in crafting homemade chocolate popsicles involves heating the milk. Begin by placing the milk in a saucepan. It is not necessary to bring
the milk to a full boil. Instead, focus on gently warming it over low to medium heat. This warming process is critical for successfully combining all the ingredients. This preliminary step helps to properly meld the cocoa and sugar for a smoother end result.
Mix Cocoa, Sugar
After the milk has been gently warmed, the next phase of the process necessitates the blend of cocoa powder and sugar. These two components are the core of the popsicles' flavor profile. The cocoa powder gives the chocolatey flavor, while sugar contributes sweetness. The key is to mix these ingredients together thoroughly in a bowl before integrating them with the warmed milk. This pre-mixing stage guarantees the ingredients dissolve more readily and do not form lumps.
Combine with Milk
Once the cocoa and sugar have been meticulously mixed, it's time to integrate them into the warmed milk. Slowly pour the cocoa and sugar mixture into the saucepan containing the heated milk. Maintain low to medium heat while stirring continually. This methodical approach guarantees that the cocoa and sugar dissolve completely within the milk. The goal is to achieve a consistently smooth, combined mixture, without any visible clumps. Continuous stirring prevents the mixture from sticking to the bottom of the saucepan.
Add Chocolate, Vanilla
At this stage, melted chocolate and vanilla extract are introduced into the mixture. The addition of melted chocolate enhances the chocolate flavor, providing a more complex and rich taste. Vanilla extract, on the other hand, complements and intensifies the other flavors. Ensure the melted chocolate is fully incorporated into the mixture, while the vanilla should be stirred in evenly. The inclusion of vanilla extract provides a balanced sweetness and depth to the overall profile of the chocolate popsicles.
Pour into Molds
The mixture, now brimming with chocolate flavor, must be poured into popsicle molds. Using a ladle or a measuring cup makes the transfer simpler. Fill each mold carefully, leaving a little space at the top. This space is essential for the expansion that occurs during the freezing process. Ensure the molds are filled uniformly to ensure uniform freezing. This step sets the stage for the final product.
Freeze the Popsicles
Once the molds are filled, they should be placed into the freezer. It is crucial to provide enough freezing time to transform the liquid mixture into solid popsicles. The freezing time may vary, contingent on the temperature of the freezer and the mold size. Ideally, it takes several hours, or even overnight, to achieve the right consistency. It is vital to avoid disturbing the molds during the freezing process. This disturbance could affect the final structure of the popsicles, ensuring a smooth texture.
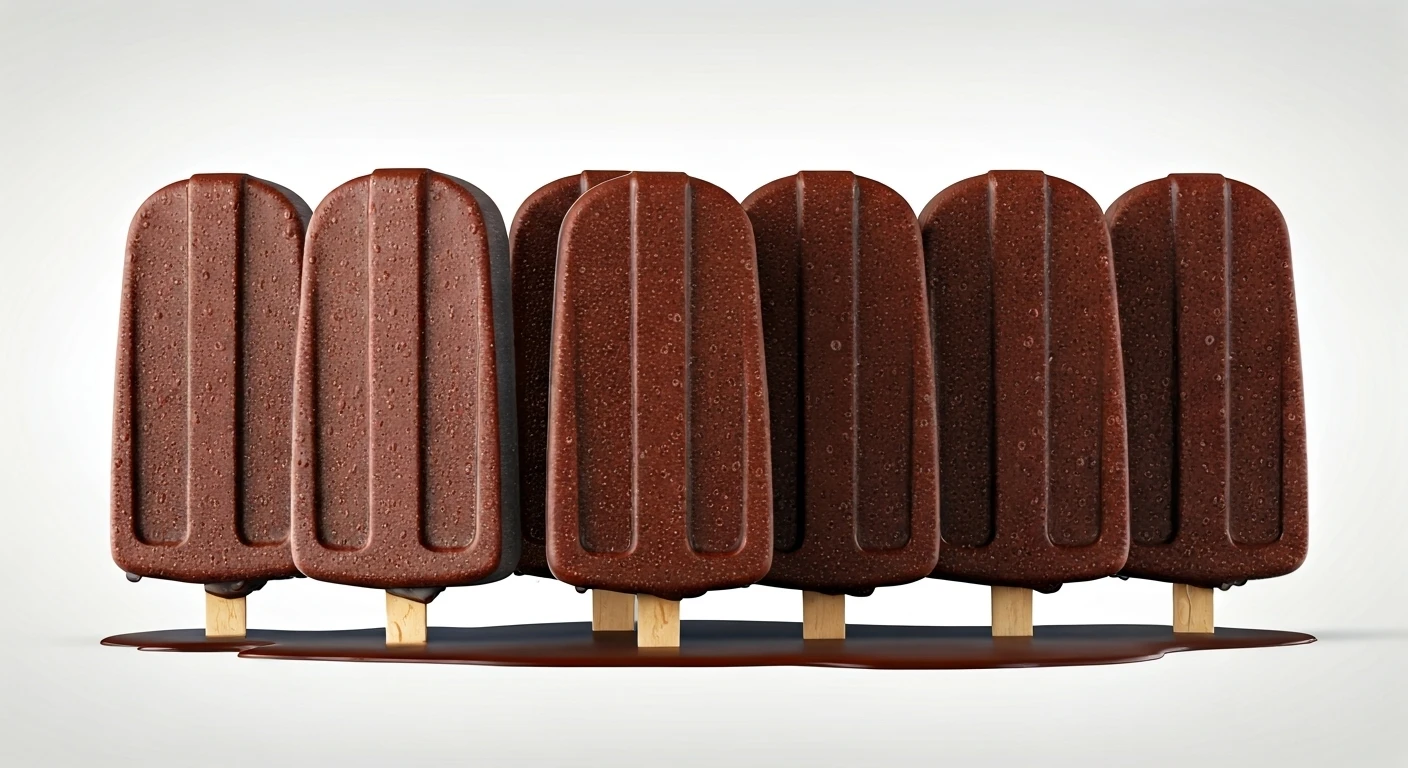
Unmold & Enjoy!
Once the popsicles are completely frozen, the final step involves removing them from the molds. Submerging the molds momentarily in warm water can assist with the removal process. The heat softens the outer layer just enough to ease separation. Once removed, the popsicles are ready to be consumed and enjoyed. This step is the culmination of your efforts; the perfect ending to your homemade chocolate treat. Savor the flavor!