


Gather Ingredients Wisely
The first step involves gathering all the necessary ingredients. You'll need good quality chocolate, which can be dark, milk, or a combination, according
to your preference. Then, assemble the other components such as milk or cream, which will add richness and creaminess to the popsicles. Sugar is essential for sweetness, and a touch of vanilla extract can enhance the flavor profile. You can also consider adding optional ingredients, like a pinch of salt to balance the sweetness or a swirl of peanut butter for extra flavor complexity. Ensuring that you have all the required components ready will make the subsequent processes smoother. A well-prepared workstation guarantees the overall convenience of the popsicle-making endeavor.
Melt Chocolate Elegantly
Next, melt the chocolate over gentle heat. This can be done in a double boiler, or in the microwave, using short intervals to prevent burning. If using a double boiler, place the chocolate in the top pot, and ensure the water in the bottom pot simmers gently, not boiling vigorously. Stir the chocolate until it becomes smooth and glossy. If using the microwave, heat the chocolate in 30-second intervals, stirring in between each interval to avoid overheating and ensure an even melt. The smooth consistency of the melted chocolate is crucial for the final texture and appearance of your popsicles. Take care to ensure all the chocolate melts without forming lumps or burning.
Blend Creamy Liquids
Once the chocolate is melted, proceed with mixing the liquid ingredients. In a separate bowl, blend milk or cream with sugar and vanilla extract. Adjust the amount of sugar to your liking, tasting as you go. Stir until the sugar is completely dissolved. At this stage, consider any additional elements that would fit well into the flavor profile. If you choose to add a pinch of salt, it will balance the sweetness of the popsicles; or if you want to include peanut butter, you can now gently swirl a dollop of peanut butter into the mixture for a delightful blend of flavors. The smoothness of the blend is necessary, so make sure the sugar has fully dissolved.
Combine & Stir Thoroughly
Now, gently combine the melted chocolate with the milk mixture. Pour the chocolate into the milk and sugar blend, stirring thoroughly. Ensure that the chocolate and liquid mix well to form a homogenous blend. Stir continuously to make sure everything is combined perfectly, and that there are no streaks of unmelted chocolate or sugar crystals remaining. This step is fundamental for the creation of a smooth and uniform texture. Keep stirring to ensure an even distribution of flavor and color throughout the mixture, preparing it for the freezing process that will transform it into a popsicle.
Pour Into Molds
After the mixture is well combined, pour it into popsicle molds. Fill each mold to the top, leaving a little space at the top. If you’re using molds without built-in handles, place the sticks into the molds at this stage. Be careful to avoid spills. If you want to get creative, you can add small pieces of chocolate chips or other toppings to the bottom of the molds before pouring the mixture, or you can sprinkle some toppings after pouring, to give a surprise in every popsicle. The neatness of this step is key, to ensure a visually pleasing final product, ready for the freezer, as the placement of the sticks affects the appearance.
Freeze for Perfection
Next, place the filled molds in the freezer. Allow the popsicles to freeze for at least 4-6 hours, or preferably overnight, until they are completely solid. For molds with sticks, make sure the sticks remain centered as the popsicles freeze. The freezing process transforms the liquid mixture into a solid treat. The exact freezing time may vary depending on your freezer's temperature, but it's crucial to wait until the popsicles are fully frozen to ensure that they keep their shape and are easy to remove from the molds. Regularly checking the popsicles will help you determine when they're ready to be enjoyed.
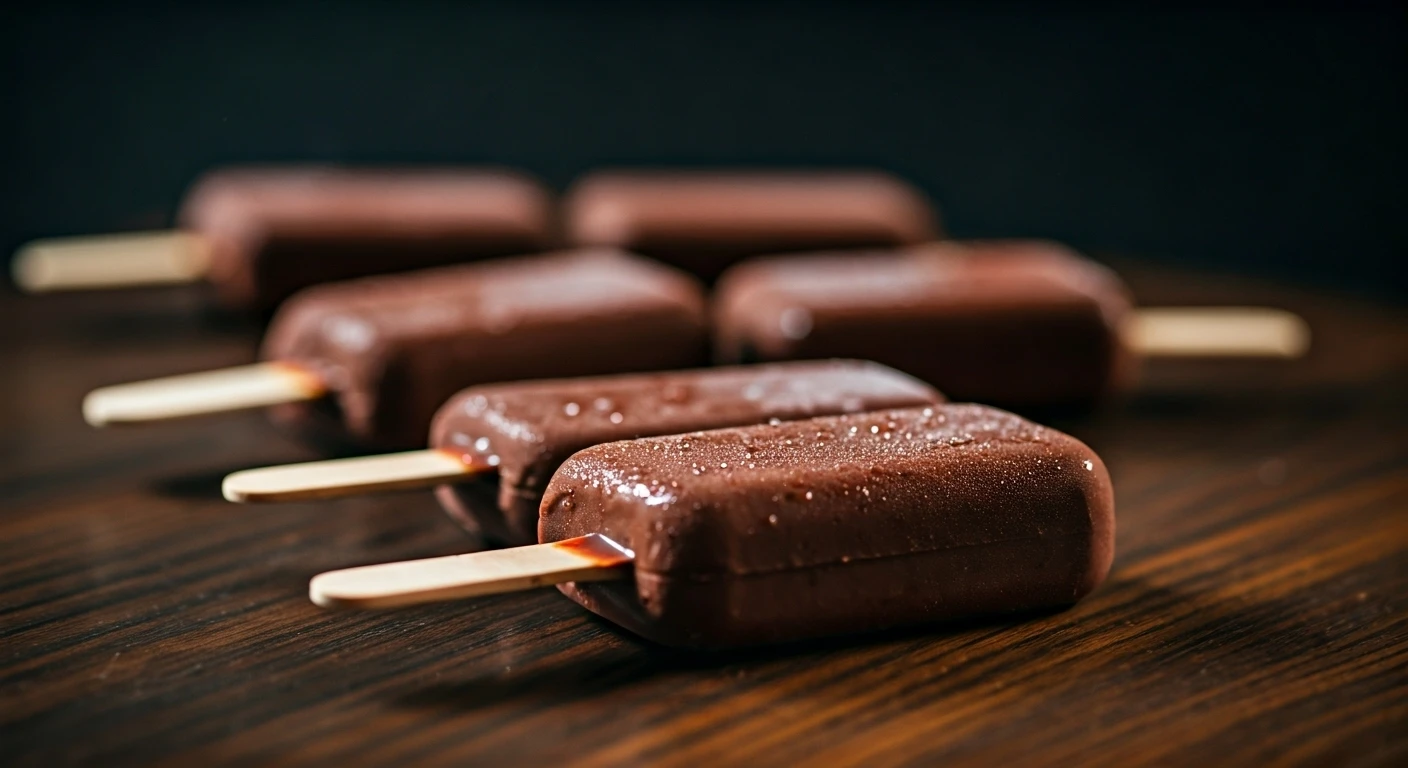
Enjoy the Sweetness
Once the popsicles are fully frozen, it’s time to enjoy! To remove the popsicles from the molds, you can run warm water over the molds for a few seconds to loosen them. Gently pull out each popsicle. If they are difficult to remove, allow the molds to sit for a slightly longer duration under running water. Serve immediately. Enjoy the sweet taste of your homemade chocolate popsicles! This is the final step, the culmination of your efforts, delivering an exciting and refreshing treat. Remember, each batch is a chance to improve your recipe, so feel free to experiment with different chocolates and additions to customize your perfect popsicle.