Discover the secrets of contouring! Learn step by step how to sculpt like a pro. Dive in to unleash your inner artist
Hey readers! Ever looked at your favourite Bollywood actress or influencer and wondered
how they manage to get that perfectly sculpted face? Chances are, they're using the magic of contouring!
Contouring, simply put, is using makeup to create shadows and highlights on your face, giving it more dimension and definition. It's like playing with light and shadows to enhance your existing features. Don't worry, it's not as complicated as it looks.
With a little practice, you too can master the art of contouring and achieve a stunning, sculpted look. So, put your makeup brushes ready, and let's dive in! We'll break down the process step by step, making it super easy for you to follow along. Get ready to unleash your inner makeup artist!
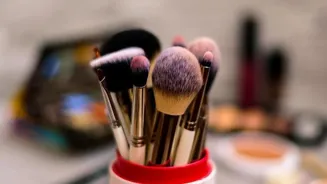
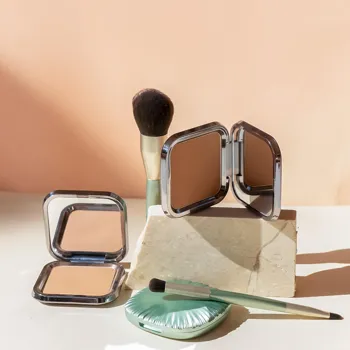
Contouring basics: shadows with dark shades, light with highlights; right tools crucial
First things first, before we even think about picking up a contour brush, we need to understand the basics. Contouring is all about creating the illusion of shadows. You use darker shades to create depth in areas you want to recede, like under your cheekbones or along your jawline.
Highlighting, on the other hand, brings light to areas you want to emphasize, such as the bridge of your nose or the tops of your cheekbones. The key to flawless contouring lies in choosing the right products.
For contouring, you will need a contour product that is two or three shades darker than your natural skin tone. It is best to look for cool-toned brown shades. These colours help to mimic natural shadows on the face.
Warm, orange-toned bronzers can sometimes end up looking muddy and unnatural when used for contouring. For highlighting, pick a highlighter that is one or two shades lighter than your skin tone. It can be matte or shimmery, depending on your preference.
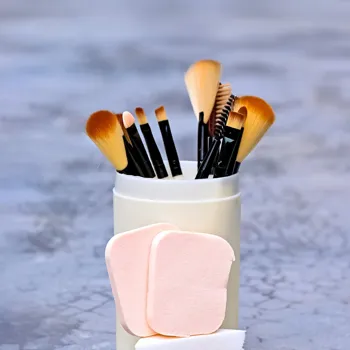
You should purchase matte highlights for subtle looks and shimmery textures for glamorous evenings out. You'll also need a good quality contour brush, a blending brush, and a highlighter brush. Remember, the right tools make all the difference.
Prep skin, apply contour to enhance facial features for makeup
Now that we have got the products and the tools, let's get started on the application. Start by prepping your skin with your regular moisturizer and primer. This will create a smooth canvas for your makeup and help it last longer.
Once your base is ready, it is time to locate the areas of your face where the contour goes. To find your cheekbones, suck in your cheeks like you're making a fish face. Feel for the hollows beneath your cheekbones. This is where you'll apply your contour.
Use a contour brush to apply the contour product in a line along these hollows, starting from your ear and blending inward towards the corner of your mouth, stopping before you reach the apple of your cheek. Next, contour your forehead along your hairline.
This will make your forehead appear smaller and more balanced with the rest of your face. Apply the contour product along your hairline, blending downwards towards your temples.
If you are hoping for a more chiseled jawline, contour along your jawline, starting from your ear and blending towards your chin. Be sure to blend the contour well, so that there are no harsh lines. Finally, contour the sides of your nose to make it appear slimmer and more defined.
Apply the contour product along the sides of your nose, starting from the inner corner of your eyebrow and blending down towards the tip of your nose.
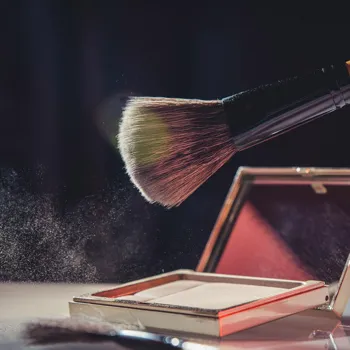
Blending is key for natural contour: use brush, circular motions, set with powder, check in natural light
Blending is extremely important here. It is the secret to a natural-looking contour. Use a clean blending brush to blend the contour product seamlessly into your skin. Blend in circular motions, making sure to soften any harsh lines.
If you are using a powder contour, it is helpful to set the contour with a translucent powder. This will help it last longer and prevent it from smudging. If you are using a cream contour, you can set it with a powder foundation or a pressed powder.
Always make sure you check your blending in natural light. What looks good in your bathroom mirror may not look the same in daylight. So, step outside and take a look at your makeup in natural light to make sure everything is blended properly.
It is always helpful to use a makeup wipe or a cotton swab dipped in makeup remover to clean up any mistakes.
Add highlighter to high points of face for a glowing look
Highlighter is our next step! After we have successfully contouring the face, we need to add highlighter. Highlighter catches the light and brings attention to the high points of your face.
Apply highlighter to the tops of your cheekbones, down the bridge of your nose, on your Cupid's bow (the dip in the center of your upper lip), and on the inner corners of your eyes. Use a light hand when applying highlighter to avoid looking too shiny.
You can also apply a touch of highlighter to the center of your forehead and on your chin, but be careful not to overdo it. The purpose of highlighter is to make the high points of your face pop.
Use a fan brush which will disperse the highlighter lightly, or a small tapered brush for more precision. If you want a softer look, you can dampen your brush with a makeup setting spray before applying the highlighter. This will give your skin a dewy glow.
Contouring is personal preference; experiment to find what works
Contouring is not a one-size-fits-all technique. The best way to master the art of contouring is to practice and experiment with different techniques. With these skills in your tool box, you can easily adjust your tactics to better accentuate your features.
Try contouring different areas of your face to see what looks best on you. Some people prefer to contour their forehead, while others prefer to contour their jawline. Some people prefer to use cream contour, while the others using powder contour.
There is no right or wrong way to contour, it’s all a matter of personal preference. Don't be afraid to experiment with different shades and textures of contour products. What works for one person may not work for another.
Master the art of contouring with patience and practice
And there you have it! A step-by-step guide to mastering the art of contouring. Remember, practice makes perfect, so don't get discouraged if you don't get it right away. Keep experimenting and having fun with it!
With a little patience and practice, you'll be contouring your way to a perfectly sculpted face in no time. So, go ahead, pick up those brushes, and begin your contouring journey now. We wish you the best of luck! Remember to share your tips and tricks in the comments below.
We are eager to hear from you!
AI Generated Content. Glance/InMobi shall have no liability for the content