Unlock the secrets of contouring and sculpt your face like a pro! Dive into this guide for easy tips and techniques
Contouring, what to say? It's the makeup world's open secret to sculpted cheekbones, a slimmer
nose, and an overall more defined face. But for many beginners, the world of contouring can seem intimidating, filled with confusing terminology and complicated techniques.
Don't worry, we've got you covered! This guide will break down the basics of contouring, making it easy for anyone to achieve a flawlessly sculpted look.
Contouring: creating shadows and highlights for face reshaping
Before we dive into the products and techniques, let's understand the core principle of contouring: creating shadows and highlights. Contour is all about using makeup shades darker than your skin tone to create shadows in areas where you want to create depth or make them recede.
Highlighting, on the other hand, involves using lighter shades to bring forward certain features and add dimension. Think of it as playing with light and shadows to reshape your face.
The whole idea here is to make your natural features pop and give an impression that you have a great bone structure. This is all without needing any surgical procedures. It's like an artist using paints to shape a sculpture, except you are the sculpture!
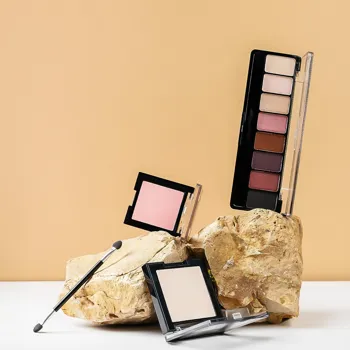
Choosing the right contour products based on skin type is crucial
Choosing the right products is the first step to mastering contouring. You have quite a few options available - cream contours, powder contours, and even contour sticks. Each has its advantages and is best for different skin types.
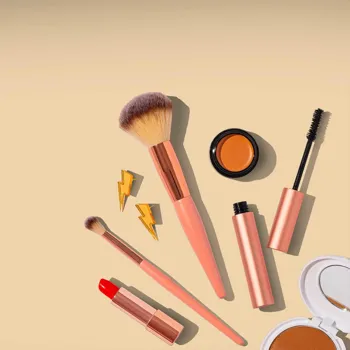
Cream contours are ideal for dry or normal skin as they provide a dewy finish and blend seamlessly. Powder contours are better suited for oily skin as they help in controlling shine and provide a mattifying effect. Contour sticks are perfect for on-the-go application and offer great precision.
The important thing is to pick a contour shade that is two to three shades darker than your natural skin tone and has a cool (greyish) undertone. Avoid shades that are too warm or orange, as they can look muddy on the skin.
For highlighting, choose a shade that's one or two shades lighter than your skin tone with a subtle shimmer or a matte finish, depending on your preference.
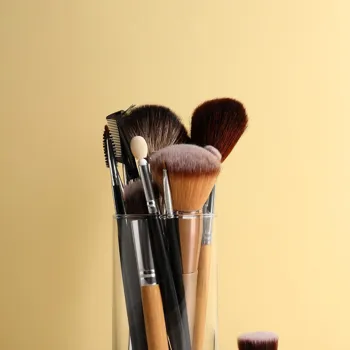
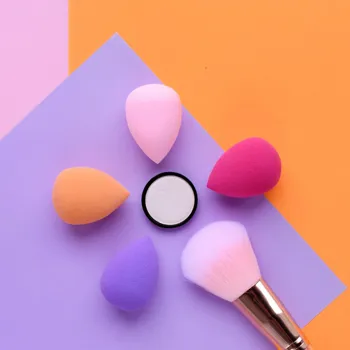
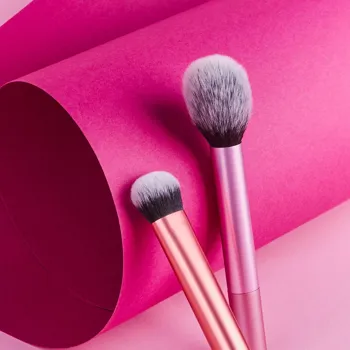
Use the right tools for contouring and highlighting products
Once you have your products sorted, you'll need the right tools for application and blending. For cream contours, a dense, angled brush or a blending sponge works best. The brush allows for targeted application while the sponge helps in seamlessly blending the product into the skin.
For powder contours, a fluffy angled brush is ideal. It helps in diffusing the product and creating a softer, more natural look. You can also use a smaller brush for contouring the nose. For highlighting, a fan brush or a small tapered brush works well for precise application.
Remember, blending is key to a flawless contour, so invest in good quality brushes and sponges. Clean your brushes regularly to prevent the buildup of product and bacteria, which can lead to breakouts.
Blend contour seamlessly with base makeup for natural sculpting effect
Now, let's get to the actual contouring process. Start by applying your regular base makeup, including foundation and concealer. This creates a smooth canvas for contouring. Next, take your chosen contour product and apply it to the areas you want to sculpt.
Common areas to contour include the hollows of your cheeks (suck in your cheeks to find them), the temples of your forehead, along the jawline, and down the sides of your nose. Remember to apply the product sparingly at first, you can always build up the intensity as needed.
Once you've applied the contour, it's time to blend, blend, blend! Use your chosen brush or sponge to blend the contour seamlessly into your foundation. The goal is to create a soft, diffused shadow, not hard, visible lines.
Pay attention to the edges of the contour and make sure they blend into your skin.
Contour and highlight for enhanced facial features
After contouring, it's time to highlight the areas you want to bring forward. Common areas to highlight include the high points of your cheekbones, the bridge of your nose, the cupid's bow (the dip above your upper lip), and the centre of your forehead.
Apply your chosen highlighter to these areas with a light hand. Again, blending is crucial! Use a small brush or your fingertip to blend the highlighter seamlessly into your skin. Remember, the goal is to create a subtle glow, not a disco ball effect.
You can also add a touch of highlighter to the inner corners of your eyes to brighten them up. With contouring and highlighting, your face get enhanced.
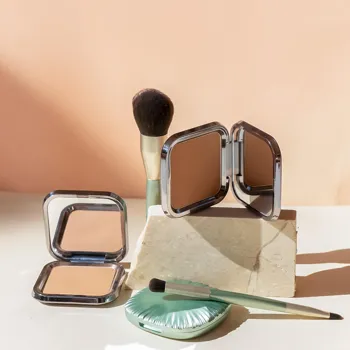
Assess, adjust, set with powder, spray, done!
Once you've finished contouring and highlighting, take a step back and assess your work. Add more contour or highlight if needed, but remember to do it sparingly. Finally, set your makeup with a translucent powder to lock everything in place and prevent it from creasing or fading.
Use a large, fluffy brush to apply the powder all over your face, focusing on areas that tend to get oily. You can also use a setting spray to further lock in your makeup and give it a dewy finish. And that's it! You've successfully contoured your face.
Practice makes perfect, so don't be discouraged if you don't get it right the first time. Keep experimenting with different techniques and products until you find what works best for you.
Contouring enhances natural beauty by defining facial structure
Contouring is more than just following trends; it's about understanding your unique facial structure and using makeup to enhance your natural beauty.
Contouring tips for different face shapes
Different face shapes benefit from slightly different contouring placements. For example, those with round faces may want to focus on contouring the sides of their face and under their cheekbones to create more definition.
Experiment with cream and powder makeup to find your preference
Don't be afraid to experiment with cream and powder products to see which you like best. Some people prefer the blendability of creams, while others find powders easier to control.
Blending is crucial for natural-looking makeup
Even with a great product, blending is KEY. The goal is to create a natural-looking shadow, not harsh lines.
Contouring is an art, have fun experimenting
Remember, contouring is an art, not a science. Have fun with it and don't be afraid to experiment until you find what works best for you.