Discover the magic of contouring! Learn how to sculpt your face effortlessly with our ultimate guide. Unleash your inner artist and transform your look
Gone are the days of simple foundation and blush!
These days, everyone's talking about contouring, that magical makeup technique that can seemingly sculpt your face, making cheekbones appear sharper, noses slimmer, and jawlines more defined.
But for a beginner, the world of contouring can seem daunting. All those brushes, creams, and powders – where does one even begin? Don't worry, we've got you covered!
Think of this as your ultimate guide to mastering the art of contouring, with tips specifically tailored for the Indian skin tone and climate.
We'll break down the basics, from choosing the right products to understanding your face shape, so you can achieve a naturally sculpted look without looking like you've caked on the makeup. So, grab your brushes and let's get started! This is where we will help you transform yourself.
Understanding face shape key for flattering contour & highlight placement
First things first, understanding your face shape is crucial. Are you round, oval, square, heart-shaped, or diamond-shaped? Knowing this will help you determine where to apply your contour and highlight for the most flattering results.
For example, if you have a round face, you'll want to focus on contouring along the sides of your forehead and under your cheekbones to create definition. If you have a square face, softening the angles of your jawline with contour will be key.
There are plenty of online resources and tutorials that can help you identify your face shape – a quick Google search will do the trick! Once you know your face shape, you'll have a much better idea of where to place your contour for a naturally sculpted effect.
You can also simply stand on the mirror and analyse you face for sometime.
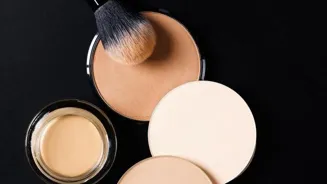
Choose cool-toned contour shades for Indian skin. Prefer powder over cream for beginners
Now, let's talk about product selection. For Indian skin tones, it's essential to choose contour shades that are cool-toned and a few shades darker than your natural skin tone. Avoid anything too warm or orange, as this can look muddy on the skin.
Brands like Maybelline, Lakme, and Nykaa offer a variety of affordable contour powders and creams that are perfect for beginners. If you're just starting out, a powder contour is generally easier to blend and control than a cream contour.
For highlighting, opt for a shade that's slightly lighter than your skin tone with a subtle shimmer. A matte highlighter can also work well for a more natural look. Also, it is better to try different products from different brands and see which is better and sustainable in the long run.
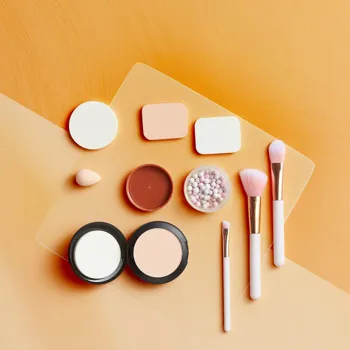
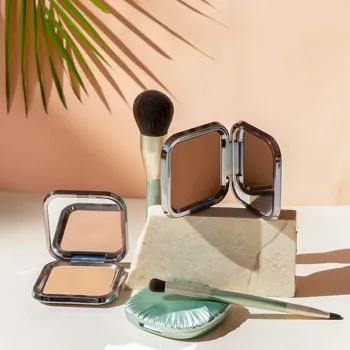
Using the right brushes is crucial for flawless makeup application
Next up: brushes! The right brushes can make all the difference in achieving a seamless contour. For powder contour, a small, angled brush is ideal for precise application. A fluffy blending brush will help you soften the edges and create a natural-looking shadow.

For cream contour, a dense, synthetic brush is best for blending the product into the skin. You can also use a damp beauty sponge for a softer, more diffused finish.
Investing in a good set of brushes is definitely worth it, as they'll last you a long time and make your makeup application much easier. Just remember to clean your brushes regularly to prevent bacteria buildup and ensure optimal performance. It does affect your skin which is not ideal at all.
Contouring technique tips for a sculpted look with makeup
Now, let's get to the actual contouring technique. Start by applying your foundation and concealer as usual. Then, using your angled brush, apply your contour powder or cream along the hollows of your cheeks, starting from your ear and blending towards the corner of your mouth.
Be sure to blend, blend, blend! Harsh lines are a contouring no-no. Next, contour along your temples and hairline to create the illusion of a smaller forehead. If you want to slim your nose, apply a thin line of contour down the sides of your nose, blending carefully.
Finally, contour along your jawline to define your jaw and create a more sculpted look. It make take sometime, so watch some tutorials.
Highlight high points for a luminous glow, set with powder
For highlighting, apply your chosen highlighter to the high points of your face, such as your cheekbones, the bridge of your nose, your brow bone, and your Cupid's bow. This will help to accentuate your features and create a luminous glow. Remember, less is more when it comes to highlighting.
You want to enhance your natural features, not look like a disco ball. Once you've applied your contour and highlight, set everything in place with a translucent powder to prevent creasing and ensure that your makeup lasts all day.
Practice makes perfect when it comes to contouring, so don't be discouraged if you don't get it right the first time! Keep experimenting with different techniques and products until you find what works best for you.
You can start by taking photos or video to see how the contour is looking on your face.
Guide to mastering contouring: adapt techniques, try products, have fun!
Remember to adapt the techniques to suit your face shape and features and you need to try different products from different brands. With practice and patience, you'll be contouring like a pro in no time!
And don’t forget: makeup is all about having fun and expressing yourself, so have the time of your life, and don't take it too seriously. So, there it is! Your ultimate guide to mastering the art of contouring.
We hope these tips have been helpful and that you're feeling inspired to try it out for yourself. Remember to start slow, experiment with different products and techniques, and most importantly, have fun!
With a little practice, you'll be able to achieve a naturally sculpted look that enhances your features and boosts your confidence. And yes, it is perfectly normal if you do not get it right in first few tries.