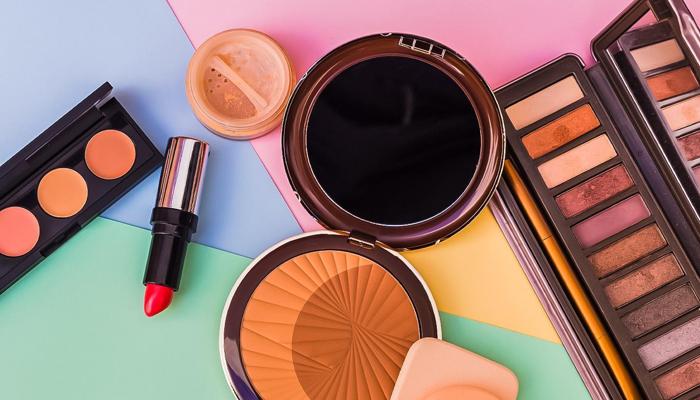
Unlock the secrets of color-correcting makeup! Learn how to create a flawless base with ease and transform your look
Hey there, makeup enthusiasts! Ever wondered how those flawless faces you see online
achieve such a naturally even skin tone? The secret, often, lies in the magic of color correction. It’s not about masking, but about neutralizing the unwelcome shadows and discoloration which might be bothering you.

Think of it like this: you’re using colours to cancel each other out, creating a perfect canvas before you even apply your foundation. Colour correcting can really transform your makeup game, bringing a smoothness and brightness you’ve only dreamed of.
It may seem intimidating, but trust us, it is a lot simpler than you think. Prepare to unlock a whole new dimension to your flawless look!
Color correcting: understand color wheel for balance
Color correcting is all about understanding the colour wheel. Remember those art classes where you learned about complementary colours? It’s exactly the same principle! Colors opposite each other on the wheel cancel each other out.
So, if you're struggling with redness in your cheeks from rosacea or acne, you'd use a green color corrector. Green neutralizes red, diminishing the irritating colour and giving you a more balanced base.
If you have dark circles under your eyes that are bluish or purplish, an orange or peach corrector will be your new best friend. Consider orange for darker skin tones and peach for fair skin because we want to make sure we do not create an ashy tone under the eyes. The colour theory is the key!
Different color correctors address specific skin concerns
Now, let's talk about the different colours and what they address. Green, as we've mentioned, is your go-to for redness. Think blemishes, rosacea, or even sunburn. Peach or orange tackles those pesky dark circles, especially for those with deeper skin tones.
For lighter skin tones, a pink or salmon shade often works wonders. Yellow color correctors are perfect for brightening dullness and neutralizing purple undertones. This is particularly useful around mouth, where shadows can cause a tired appearance.
Finally, purple or lilac correctors combat yellowness and brighten complexions that are looking a bit sallow. Choosing the right colour requires inspecting your skin under natural lighting.
Correct application of color correctors: Less is more!
Now that you know which colours target which concerns, it’s time to apply them correctly. The trick is to go light-handed. You do not need to slather your face in green or orange. Less is more! Use a small brush or your finger to dab the colour corrector only onto the areas that need it.

If you’re using a green corrector on a pimple, just apply it directly to the blemish, not the surrounding skin. If you are using a peach corrector under your eyes, blend it from the inner corner outwards, focusing on the darkest areas.
Remember, the goal is to neutralize, not completely erase the discolouration. Overdoing it will show through your foundation and leave you looking a bit strange.
Proper blending is key for flawless color correction in makeup
Now for the crucial step: blending! Proper blending is what separates a color-correcting pro from a color-correcting newbie. Use a damp makeup sponge or a soft brush to gently blend the edges of the colour corrector into your skin.
The aim is to create a smooth transition between the corrected area and your natural skin tone. Avoid rubbing or dragging; instead, use a stippling or dabbing motion. And very importantly, remember to set your colour correction with a lightweight powder before applying foundation.
This will stop the corrector from moving around and interfering with your foundation. This small trick will keep your look intact for a long time.
Foundation application tips for flawless complexion after color correction
After you've perfected your colour correction, it's time for the main event: foundation! Choose a foundation that matches your skin tone and provides the coverage you desire. Apply it as you normally would, being careful not to disturb the colour correction underneath.

Use a light hand and build up the coverage gradually. Consider using a damp sponge for a more natural and flawless application. Once your foundation is in place, follow with your usual concealer, powder, bronzer, blush, and highlighter.
And there you have it: a flawless, even complexion thanks to the power of colour correction! It sounds like a journey, but just like anything, with a little practice, you will achieve perfection. So go on, give it a try.
AI Generated Content. Glance/InMobi shall have no liability for the content