Discover the secrets to achieving salon-worthy nails at home! From prep to polish, learn tips & tricks in this Desi girl's guide. Dive in for the ultimate nail art journey!
Let's be honest, ladies! Who
doesn't love the feeling of stepping out of a salon with perfectly manicured nails? But those salon visits can burn a hole in your pocket faster than you can say "French manicure!" The good news is, achieving that same polished look at home is totally doable.
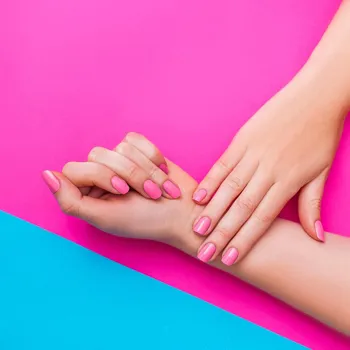
With a little patience, the right tools, and some insider tips and tricks, you can rock salon-worthy nails without breaking the bank. And trust me, the satisfaction of doing it yourself is simply unmatched! So, ditch the salon appointment anxiety and get ready to unleash your inner nail artist.
Proper nail prep is crucial for a flawless manicure
Before you even think about that gorgeous shade of nail polish, proper prep is absolutely essential. Think of it as priming a canvas before painting - a smooth, clean surface is crucial for a long-lasting and beautiful outcome.
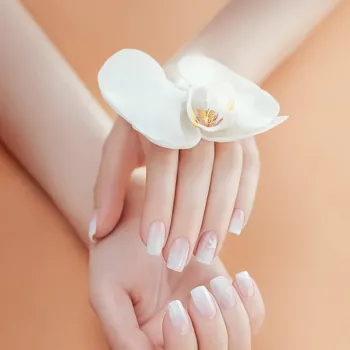
Start by removing any old nail polish with a gentle, acetone-free remover. Acetone, while effective, can be quite harsh and drying on your nails, leading to brittleness and breakage. Once your nails are bare, give them a good soak in warm, soapy water for a few minutes.
This will soften your cuticles and make them easier to manage. Now, grab your trusty nail clipper and trim your nails to your desired length and shape. Remember to clip straight across to prevent ingrown nails, and then gently round out the edges with a file.
Speaking of filing, always file in one direction to avoid weakening your nails. Once you're happy with the shape, it's time to tackle those cuticles. Push them back gently with a cuticle pusher, being careful not to cut them unless absolutely necessary.
Apply a cuticle oil to nourish and hydrate the skin around your nails. This will not only keep your cuticles looking healthy but also promote nail growth. Finish off the prep by buffing your nails to create a smooth, even surface.
This will help your nail polish adhere better and give you a more professional-looking finish.
Nail preparation essential for smooth finish & shape precision
This whole process of preparing your nails is the most important things you can do before you paint them. It is what gives that smooth finish. It's also important that you get the right shape of nails that you want. Oval, Square, Almond or Round, all needs a bit practice to achieve a salon-ish look.
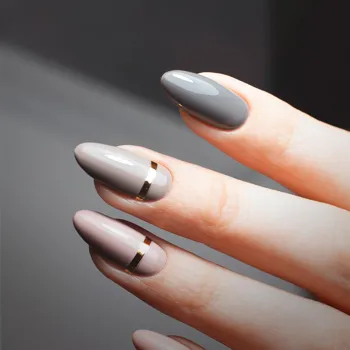
Choose nail polish based on skin tone, style, and finish for confident nails
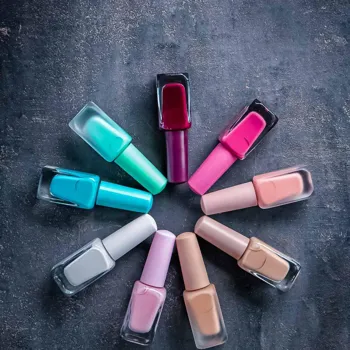
Now that your nails are prepped to perfection, it's time for the fun part: choosing your nail polish! With so many colours, finishes, and formulas available, it can be overwhelming to know where to start. When it comes to choosing a colour, consider your skin tone and personal style.
While there are no hard and fast rules, certain colours tend to look better on certain skin tones. For example, fair skin tones often look great with pastel shades, while deeper skin tones can rock bold, vibrant colours.
But ultimately, the best colour is the one that makes you feel confident and beautiful! As for the finish, you have options like glossy, matte, shimmer, and glitter. Again, it's all about personal preference.
Glossy polishes are classic and elegant, while matte polishes offer a more modern and edgy look. Shimmer and glitter polishes are perfect for adding a touch of sparkle to your nails. When it comes to formula, look for polishes that are long-lasting, chip-resistant, and easy to apply.
And always, always use a base coat and top coat. A base coat will protect your nails from staining and help your polish adhere better, while a top coat will seal in the colour and add shine.
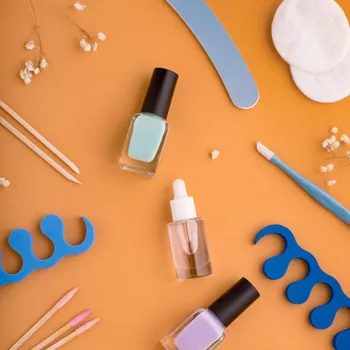
In terms of tools, you'll need a good quality nail clipper, a nail file, a cuticle pusher, cuticle oil, a buffer, a nail polish remover, cotton pads, and a small brush for correcting mistakes.
Choosing the right nail polish shade is crucial for skin tone
Getting the right shade of nail polish is also important. It is important you choose this appropriately. If dark skinned, go for bright and dark colors and if fair then softer colors and shades will work. The color will look the best if the shade is carefully picked.
Achieve flawless nail polish application with simple techniques
Applying nail polish flawlessly takes practice, but with a few simple techniques, you can achieve a streak-free, professional-looking finish. Start by shaking your nail polish bottle gently to mix the pigments. Avoid shaking it too vigorously, as this can create air bubbles.
Apply a thin layer of base coat to your nails, making sure to cover the entire surface. Let the base coat dry completely before moving on to the colour. When applying the colour, start with a thin layer in the center of your nail, near the cuticle.
Then, brush towards the tip of your nail, following the curve of your nail bed. Apply two or three thin coats of colour, allowing each coat to dry completely before applying the next. This will help prevent streaks and ensure even coverage.
If you accidentally get nail polish on your skin, don't panic! Dip a small brush in nail polish remover and carefully clean up the edges. Once your colour is dry, apply a generous layer of top coat. This will seal in the colour, add shine, and help your manicure last longer.
To prevent smudging, let your nails dry completely before doing anything that could potentially ruin them. You can use a quick-drying top coat or a nail polish dryer to speed up the process.
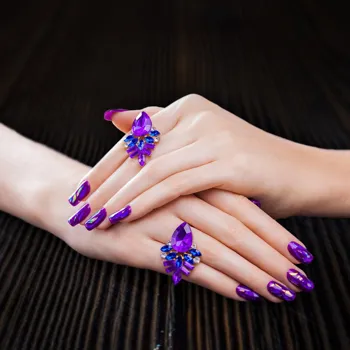
Process of applying nail color with tips for quick drying
This is the process when you are actually seeing the color appear on your nails. After all the base work is done the colors are fun. Getting the right texture on the nail is important too. If its not drying well and feels tick use a rapid dry nail spray or even rapid drying nail drops.
Extend the life of your manicure with proper care
Even the most perfectly applied manicure will eventually start to chip or fade. But with a little maintenance, you can extend the life of your salon-worthy nails. Reapply top coat every two to three days to protect your colour and add shine.
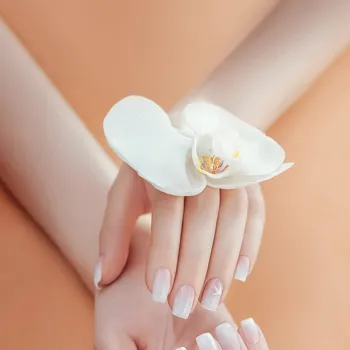
Keep your hands and nails moisturized by applying lotion or hand cream regularly. This will prevent them from drying out and cracking. Avoid using your nails as tools to open cans or scrape off stickers. This can damage your nails and cause your manicure to chip.
When doing household chores, wear gloves to protect your nails from harsh chemicals and water. If you notice any small chips or imperfections, don't pick at them! This will only make them worse. Instead, use a small brush to touch up the area with nail polish.
If your nails start to look dull or faded, you can revive them with a quick coat of glitter nail polish. This will add a touch of sparkle and hide any imperfections.
Caring for nails like skincare routine for healthy look
Maintaining the manicure is also very important. Its like washing your face and applying moisturizer to make yourself look healthy. It shows you are caring. To keep up the glow also clean your hands and nails and regularly apply oil.

Master at-home manicures with creative nail art designs and embellishments for personalized style
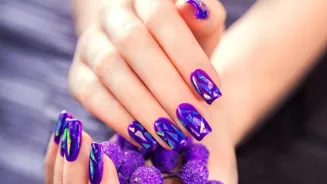
Once you've mastered the basics of at-home manicures, it's time to get creative and add some designs and embellishments. There are endless possibilities when it comes to nail art, from simple stripes and dots to intricate floral patterns and geometric designs.
Start with easy techniques like using nail striping tape to create clean lines or dotting tools to create perfect circles. As you get more comfortable, you can experiment with more advanced techniques like water marbling, stamping, and freehand painting.
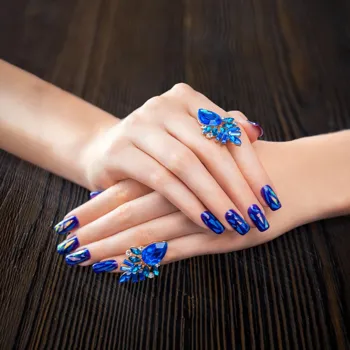
Embellishments like rhinestones, glitter, and nail stickers can also add a touch of glamour to your nails. Just be sure to use a strong adhesive to keep them in place. There are tons of tutorials and inspiration online, so don't be afraid to experiment and try new things.
The most important thing is to have fun and express your personal style!
Nail art with colors, designs, glitter, stones, and extensions
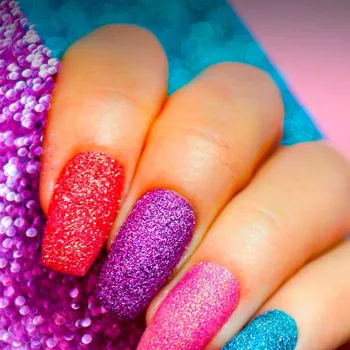
When you are having fun with the colors, you can also incorporate designs into them. Some people like to use glitter or other tiny stones on the nails so they glisten when you move your hands. There are nail extensions also avaiable which you can use.
To ensure your at-home manicure lasts as long as possible, here are a few final tips and tricks
Always apply thin coats of nail polish to prevent streaks and ensure even coverage. Let each coat dry completely before applying the next. Avoid applying nail polish to your skin as much as possible. If you do, clean it up immediately with a small brush and nail polish remover.
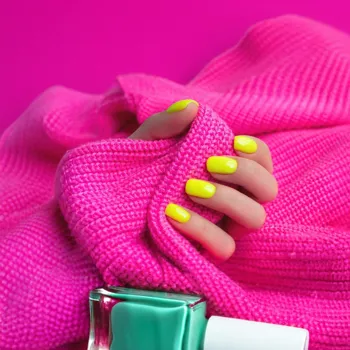
Store your nail polishes in a cool, dark place to prevent them from drying out or thickening. Clean your nail tools regularly to prevent the spread of bacteria. Drink plenty of water to keep your nails hydrated and healthy. Eat a balanced diet rich in vitamins and minerals to promote nail growth.
And finally, be patient! Achieving salon-worthy nails at home takes practice, but with dedication and perseverance, you can master the art of the perfect manicure. Happy painting, ladies! Remember, your nails are a reflection of your personality, so have fun and express yourself!
Proper hand care with stylish nail art boosts confidence
Taking good care of your hands is a sign of taking care of yourself. Keep your nails neat and trimmed often. Remember that you are a fabulous lady. Let the nail art show this feature of yours. Let your creative side dominate and feel free in creating beautiful nails.
These nails will also make you look and feel fabulous.
AI Generated Content. Glance/InMobi shall have no liability for the content