Discover 5 Essential Steps for a flawless makeup base! Your ultimate guide to looking fab awaits. Unlock the secrets now!
Let's be honest, who doesn't want that "lit-from-within" glow? A flawless makeup
base is like the foundation of a beautiful building – it's crucial for everything else to look its best. But achieving that perfect base can feel like navigating a crowded Mumbai local train – overwhelming!
Worry not, because we're here to break it down into five easy-peasy steps. Follow these, and you'll be turning heads faster than you can say "Bollywood glam!"
Healthy skin is key for flawless makeup application; cleanse, exfoliate, tone, and moisturize
Before even thinking about foundation, remember this mantra: healthy skin is happy skin. And happy skin makes for a stunning makeup base. Think of your skin as a canvas; you wouldn't paint on a dirty, uneven surface, would you? The same logic applies here.

Start with a gentle cleanser suited for your skin type to remove any dirt, oil, or remnants of yesterday's kohl. Next comes exfoliation, but don't go overboard! Once or twice a week is enough to slough off dead skin cells that can make your makeup look patchy and dull.
Follow this with a good toner to balance your skin's pH levels and minimize pores. Pro tip: Look for toners with ingredients like rose water or aloe vera for extra hydration. Finally, the most important step – moisturizer! Even if you have oily skin, never skip moisturizer.
Choose a lightweight, non-comedogenic formula that won't clog your pores. Let the moisturizer fully absorb before moving on to the next step. Trust us, well-hydrated skin is the secret to a smooth, radiant base. The whole aim is to have skin that is ready to be primed and ready to work with.
Without a great start, it’ll be harder to achieve the evenest of looks. This is the foundation. Without prepping the foundations we are already adding a layer of difficulty to the application.
Primer creates smooth base for flawless makeup application
Primer is like that best friend who always has your back. It creates a smooth, even surface for your foundation to glide on, extends the wear time of your makeup, and can even address specific skin concerns. Think of it as the "glue" that holds everything together.

There are primers for every skin type and concern. If you have oily skin, look for a mattifying primer that will control shine. If you have dry skin, opt for a hydrating primer that will add moisture. For those with enlarged pores, a pore-filling primer can work wonders.
Apply a pea-sized amount of primer all over your face, focusing on areas where you tend to get oily or have enlarged pores. Let it sit for a minute or two before applying your foundation. This allows the primer to fully absorb and create a smooth, even base.
Don't underestimate the power of primer – it's a game-changer in achieving a flawless makeup base. When you pick a primer, it is an advantage to have a product that can fill open pores, so that the makeup doesn’t fall into the pores.
This ensures that the makeup ends up staying exactly where you place it to be. Moreover, it creates a barrier between your skin and the makeup, preventing damage from the various chemicals.
Choosing the right foundation for your skin tone and type
Finding the right foundation is like finding the perfect pair of jeans – it can take some time and effort, but it's worth it in the end. The key is to find a shade that matches your skin tone perfectly. Test the foundation on your jawline in natural light to see if it blends seamlessly.

Don't test it on your hand, as the skin tone there is often different from your face. Consider your skin type when choosing a foundation. If you have oily skin, opt for a matte or oil-free formula. If you have dry skin, choose a hydrating or dewy foundation.
For combination skin, a balanced formula that controls shine in the T-zone and hydrates the drier areas is ideal. Apply the foundation with a damp beauty blender or a foundation brush, starting from the center of your face and blending outwards. Use light, tapping motions to avoid streaks.
Build up the coverage gradually, focusing on areas that need more attention. Remember, less is more! You can always add more foundation, but it's difficult to remove excess without making your makeup look cakey.
A lot of times people feel the need to match it against their arm, but this is incorrect.
Concealer tips: Brighten under eyes, match blemishes, set with powder for flawless finish
Concealer is your secret weapon for camouflaging dark circles, blemishes, and other imperfections. Choose a concealer that is one or two shades lighter than your foundation to brighten the under-eye area. For blemishes, opt for a concealer that matches your foundation shade.
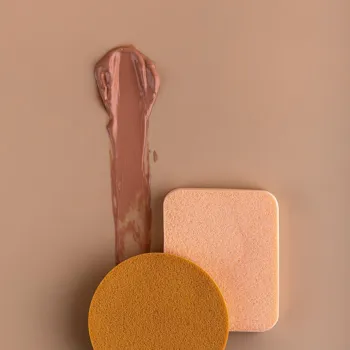
Apply the concealer in an upside-down triangle shape under your eyes to brighten the area and conceal dark circles. Blend it well with a damp beauty blender or your finger. For blemishes, dab the concealer directly onto the spot and blend the edges.
Set your concealer with a light dusting of translucent powder to prevent creasing and extend its wear time. If you have redness or discoloration, you can use a color-correcting concealer before applying your foundation.
Green concealer neutralizes redness, peach concealer brightens dark circles, and yellow concealer corrects dullness. Apply the color-correcting concealer sparingly to the affected areas and blend well before applying your foundation.
Choosing to use an orange concealer helps you correct the dark circles better, as well as hide any dark spots by just cancelling it out. This allows you to have a canvas to start with. You can also use a different shade for highlighting to give your face some contrast.
Setting makeup is crucial for lasting wear; use powder, "bake" under-eyes, then spray
Setting your makeup is like applying a topcoat to your nail polish – it seals everything in and prevents it from smudging or fading. Use a translucent setting powder with a big fluffy brush all over your face, focusing on areas that tend to get oily, such as the T-zone.
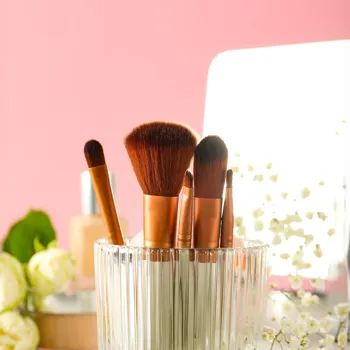
For extra staying power, you can "bake" your under-eye area by applying a generous amount of setting powder and letting it sit for a few minutes before dusting it off. This helps to lock in your concealer and prevent creasing.
Finish with a setting spray to melt all the layers of makeup together and create a seamless, natural-looking finish. Choose a setting spray based on your skin type. If you have oily skin, opt for a mattifying setting spray. If you have dry skin, choose a hydrating setting spray.
Setting spray is your best friend. You shouldn’t leave the house without it. No matter how great your makeup is, the setting spray is what helps you have peace of mind about it staying set in place. It is also the part that helps the powders melt into your skin.
Achieve flawless makeup base with 5 steps, experiment, express, have fun!
There you have it – five essential steps to achieving a flawless makeup base. Remember, practice makes perfect, so don't be discouraged if you don't get it right away. Experiment with different products and techniques to find what works best for you. And most importantly, have fun!
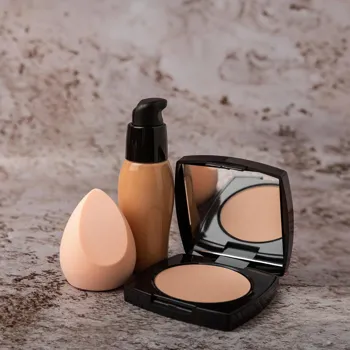
Makeup should be a way to express yourself and enhance your natural beauty. Now go forth and conquer the world with your radiant, flawless complexion!
If you are wearing matte makeup, finish the whole base off giving yourself a good spritz with a dewy setting spray helps the makeup blend in better with your natural oils in your skin without making you too shiny.
AI Generated Content. Glance/InMobi shall have no liability for the content


