Master the art of contouring and highlighting! Dive into this ultimate guide for beginners. Learn face shapes, products, techniques, and more. Unleash your inner artist and sculpt a flawless look! Read
on for a radiant transformation
Contouring and highlighting, babes! It might sound like rocket science, looking at all those Instagram makeup artists with their perfectly sculpted faces. But trust me, it's not as difficult as it seems.
With the right products and techniques, you can easily learn to enhance your features and create a more defined, radiant look. Think of it as playing with light and shadow to trick the eye – like magic, but with makeup!
This guide breaks down the basics, so you can confidently start your contouring and highlighting journey. We'll cover everything from understanding your face shape to choosing the right products for your skin tone. Get ready to unleash your inner artist and create a flawless, sculpted look!
Know your face shape before contouring for best results
First things first, before you even think about buying contour or highlight, you need to figure out your face shape. Is it round, oval, square, heart-shaped, or something else entirely? Stand in front of a mirror and really examine your face.
Pay attention to the width of your forehead, cheekbones, and jawline. Knowing your face shape is crucial because it will determine where you need to apply the contour and highlight for the most flattering results.
For example, if you have a round face, you'll want to contour along the sides of your face to create the illusion of a slimmer appearance. If you have a square face, you might want to soften your jawline with contour.
There are tons of online resources that can help you determine your face shape, so do a little research before diving in. Remember, understanding your face is the key to successful contouring!
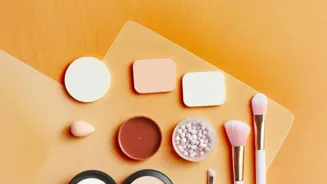
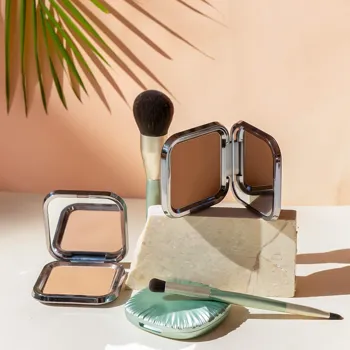
Choose between powder or cream for contour, and pick the right shades for a flawless finish
Now comes the fun part: choosing your weapons… I mean, your products! For contour, you have a couple of options: powder or cream. Powder contour is great for beginners because it's easier to blend and build up the intensity gradually.
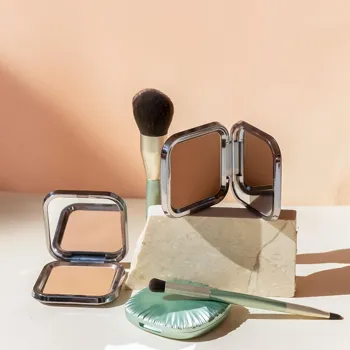
Cream contour, on the other hand, is more pigmented and long-lasting, but it requires a bit more skill to blend seamlessly. Start with powder if you're new to this. As for shades, look for a contour color that's two to three shades darker than your natural skin tone.
It should also have cool undertones, as warm undertones can make your contour look orange-y. Highlighting also comes in powder and cream formulas. Choose a highlighter that's one to two shades lighter than your skin tone, and with a finish that you like.
Some people prefer a subtle sheen, while others love a blinding glow. There are also different highlighter undertones as well. Go for gold if you have a warm skin tone, and champagne for cool.
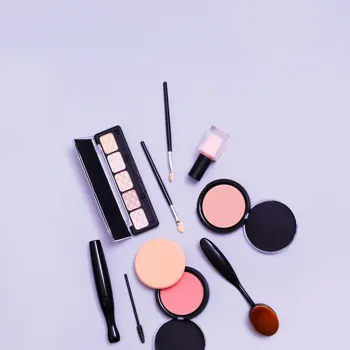
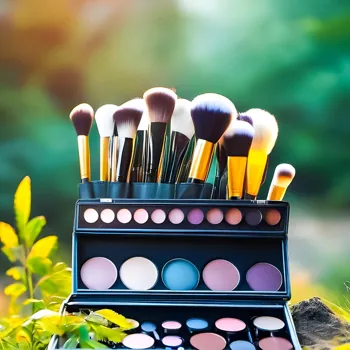
Practice with various brushes for contouring and highlighting
Time to practice with the tools. You'll need a few good brushes to get started. For contour, an angled brush is perfect for defining your cheekbones and jawline. A smaller, tapered brush is great for contouring your nose.
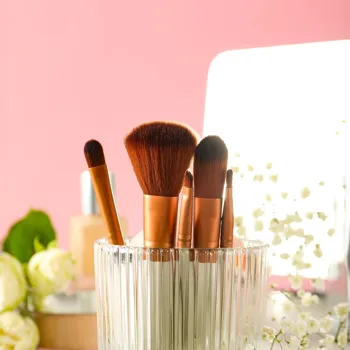
For highlighting, a fan brush is ideal for applying highlighter to your cheekbones, brow bone, and cupid's bow. You can also use a smaller, pointed brush for highlighting the inner corners of your eyes.
Remember to clean your brushes regularly to prevent bacteria buildup and ensure smooth application. Dirty brushes will give you a muddy look. Invest in good quality brushes – they really do make a difference! Don't be afraid to experiment with different brushes to find what works best for you.
There aren't any rules in makeup, really.
Contour and highlight like a pro: key steps for flawless makeup
Now, the moment you've been waiting for! Let's get down to the actual contouring and highlighting. Start by applying your foundation and concealer as usual. Then, using your angled contour brush, apply the contour powder (or cream) to the hollows of your cheeks.
To find the hollows, suck in your cheeks. The line that appears is where you should apply the contour. Blend, blend, blend! Use a circular motion to blend the contour upwards towards your hairline. Next, contour your jawline to create a more defined look.
Apply the contour along the edge of your jawline, starting from your ears and blending towards your chin. If you want to contour your nose, use a smaller, tapered brush to apply the contour along the sides of your nose, starting from your eyebrows and blending downwards.
Remember to blend everything well! Harsh lines are a no-no.
Apply highlighter strategically for a radiant glow. Blend seamlessly for a flawless finish
Moving on to highlighting. Using your fan brush, apply highlighter to the high points of your face: your cheekbones, brow bone, cupid's bow, and the inner corners of your eyes. A little goes a long way, so start with a small amount and build up the intensity as needed.
For a more natural look, use a light hand. For a more dramatic look, apply a few more layers. You can also apply a touch of highlighter to the bridge of your nose to make it appear longer and thinner. Remember to blend the highlighter seamlessly into your skin.
The goal is to create a radiant, glowing look, not a glittery mess. Final touch is to blend it all seamlessly! Use a big fluffy brush to blend, blend and blend! That is the secret behind a flawless look. And you're done!
Persistence in practice leads to improvement
Practise makes perfect. Don’t get disheartened if you don’t get it right the first time. Keep practising, try different techniques, and you'll eventually find what works best for you.
AI Generated Content. Glance/InMobi shall have no liability for the content