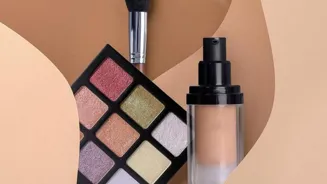
Unlock the secrets to flawless contouring for every face shape! Learn the techniques and products to sculpt like a pro. Read more!
In the world of makeup, contouring is like magic. It’s the art of using
light and shadow to sculpt your face, enhancing your features and creating a more defined look. Think of it as a gentle chisel, helping you bring out your cheekbones, slim your nose, or soften a strong jawline.
But with so many techniques and products out there, mastering the art of contouring can feel a bit overwhelming. Don't worry, we're here to break it down for you, step by step, so you can achieve a flawless contour every time.
This guide will give you the tips and tricks you need to confidently pick up your brush and sculpt like a pro, no matter your face shape. Remember, makeup is about confidence and experimenting, so embrace the process and have fun!
First things first, let's talk about the basics.
Contouring is all about creating shadows. You use darker shades to create depth where you want to thin or recede, and lighter shades (highlight) to bring forward areas you want to accentuate.
The key is to find the right balance and blend everything seamlessly for a natural, not overly dramatic, effect. Think of it as creating an optical illusion – you're not actually changing the shape of your face, but you're using makeup to make it appear that way.
A good contour can make a big difference, giving your face a more sculpted and refined appearance. So grab your brushes and let's get started on this exciting journey!
Now, let's talk about face shapes. Understanding your face shape is crucial for applying contour correctly.
The most common face shapes are round, oval, square, heart, and oblong. Each shape has its own unique characteristics, and the contouring techniques will differ accordingly.
For instance, if you have a round face, you'll want to focus on creating definition along your cheekbones and jawline to add angles, while someone with an oblong face might want to shorten the length of their face by contouring along the hairline and chin.
Don't worry if you're not sure what your face shape is – a quick online search can help you determine it. Once you know your face shape, you can tailor your contouring technique to enhance your best features.
This will ensure that your contour looks natural and flattering, rather than harsh or unnatural.
For a round face, the goal is to create angles. Start by finding your cheekbones. The easiest way to do this is to make a fish face – suck in your cheeks and feel for the hollows.
Apply your contour shade just below your cheekbones, blending upwards towards your hairline. This will create the illusion of higher, more defined cheekbones. Then, apply contour along your jawline to add definition and make your face appear slimmer.
Be sure to blend everything well to avoid harsh lines. Finally, add a touch of highlight to the center of your forehead, the bridge of your nose, and the center of your chin to add dimension. Remember that the goal is to add artificial shadows with makeup, just like an artist make on a canvas.
Blend well, and you are good to go.
If you have an oval face, consider yourself lucky! This face shape is considered the most balanced, so you don't need to do too much contouring. Simply apply a light contour shade just below your cheekbones to enhance your natural structure.
You can also add a touch of contour to your temples to soften the forehead. Avoid contouring the jawline, as this can make your face appear too narrow. Blend everything well for a subtle, natural effect.
Focus on highlighting the high points of your face, such as your cheekbones, brow bone, and the bridge of your nose, to enhance your features. Oval shapes are the generally considered standard shapes around the world.
For those with a square face, your aim is to soften the angles.
Apply contour along the corners of your forehead and along your jawline to round out the harsh lines. Blend well to create a softer, more feminine look. Avoid contouring directly under your cheekbones, as this can accentuate the squareness of your face.
Instead, focus on highlighting the center of your face to draw attention away from the sharp angles. A touch of blush on the apples of your cheeks can also help to soften your features. Square shaped faces need subtle blending to give it a more rounded look.
For heart-shaped faces, the goal is to balance the wider forehead with a narrower chin. Apply contour along the temples and the edges of your forehead to minimize the width. You can also add a touch of contour to the tip of your chin to balance the heart shape.
Avoid contouring directly under your cheekbones, as this can make your chin appear even narrower. Instead, focus on highlighting the center of your forehead, the bridge of your nose, and the apples of your cheeks to draw attention to the center of your face.
Adding a pop of color to the cheeks can definitely do the trick to catch the attention on the heart shapes.
An oblong face shape is longer than it is wide. Contour along the hairline and the bottom of your chin to shorten the length of your face.
Apply contour horizontally just below your cheekbones to add width. This technique will visually balance your face shape. You also want to highlight the center of the forehead and the center of your chin. This draws the attention upward and the oblong shape can be highlighted.
Contouring the face is very important to highlight certain aspects of it.
No matter your face shape, the key to a flawless contour is blending, blending, blending! Use a fluffy brush to blend the contour shade into your skin, making sure there are no harsh lines.
The goal is to create a seamless transition between the contour and your foundation. Remember, practice makes perfect, so don't be discouraged if your contour doesn't look perfect the first time. Keep experimenting with different techniques and products until you find what works best for you.
Also, always make sure you have the right lighting when you are doing this makeup. The best one is sunlight. If you are in the room, simulate sunlight to see what the blending looks like. That way it looks more natural when you go out.
Choosing the Right Products
Now that you understand the techniques, let's talk about products. There are two main types of contour products: powder and cream. Powder contour is great for beginners because it's easier to blend and control.
Cream contour, on the other hand, provides a more pigmented and long-lasting effect, but it requires more skill to blend seamlessly.
When choosing a contour shade, look for a color that's two to three shades darker than your skin tone.
Avoid shades that are too warm or too orange, as these can look unnatural. Instead, opt for cool-toned browns or grays that mimic the natural shadows of your face. Experiment with different brands and formulas to find what works best for your skin type and preferences.
For highlighting, choose a shade that's one to two shades lighter than your skin tone. You can opt for a matte highlight for a natural look or a shimmery highlight for a more radiant glow.
Apply your highlight to the high points of your face, such as your cheekbones, brow bone, and the bridge of your nose.
Pro Tips for a Pro Finish
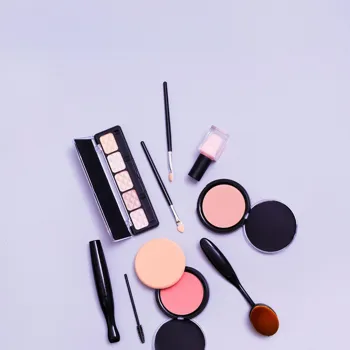
Use the right brushes
Invest in quality brushes for contouring and highlighting. A angled contour brush is perfect for sculpting the cheekbones, while a small blending brush is ideal for softening the lines around the nose.
Start with a light hand
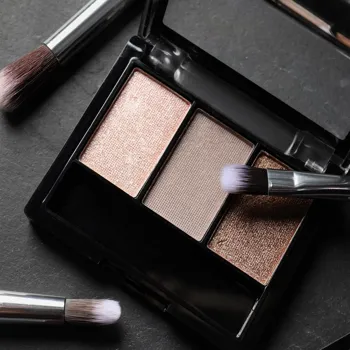
It's always easier to add more product than to remove it. Start with a light layer of contour and build up the intensity gradually.
Don't forget to set your makeup
After contouring and highlighting, set your makeup with a translucent powder to keep everything in place all day. Setting the makeup is important.
Practice makes perfect
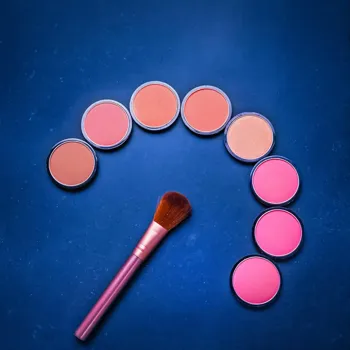
Don't be afraid to experiment and try different techniques until you find what works best for you. The more you practice, the better you'll become at contouring.
Conclusion
Contouring is a powerful makeup technique that can enhance your features and create a more defined look. Understanding your face shape and using the right products and techniques are essential for achieving a flawless contour. So go ahead, grab your brushes and start sculpting!
With a little practice, you'll be contouring like a pro in no time. So go out there and practice and test until you feel comfortable with your contouring and blending skills! Good luck!
AI Generated Content. Glance/InMobi shall have no liability for the content