


Gather Ingredients
The initial step involves collecting the essential components. You'll require specific ingredients for the creation of these chocolate popsicles. These
typically include items like heavy cream, cocoa powder, sugar, vanilla extract, and milk. Ensure all the needed ingredients are readily available before initiating the popsicle-making process. Having all the required elements assembled beforehand facilitates a smoother preparation experience and allows you to focus on the fun part – making the popsicles.
Combine Ingredients
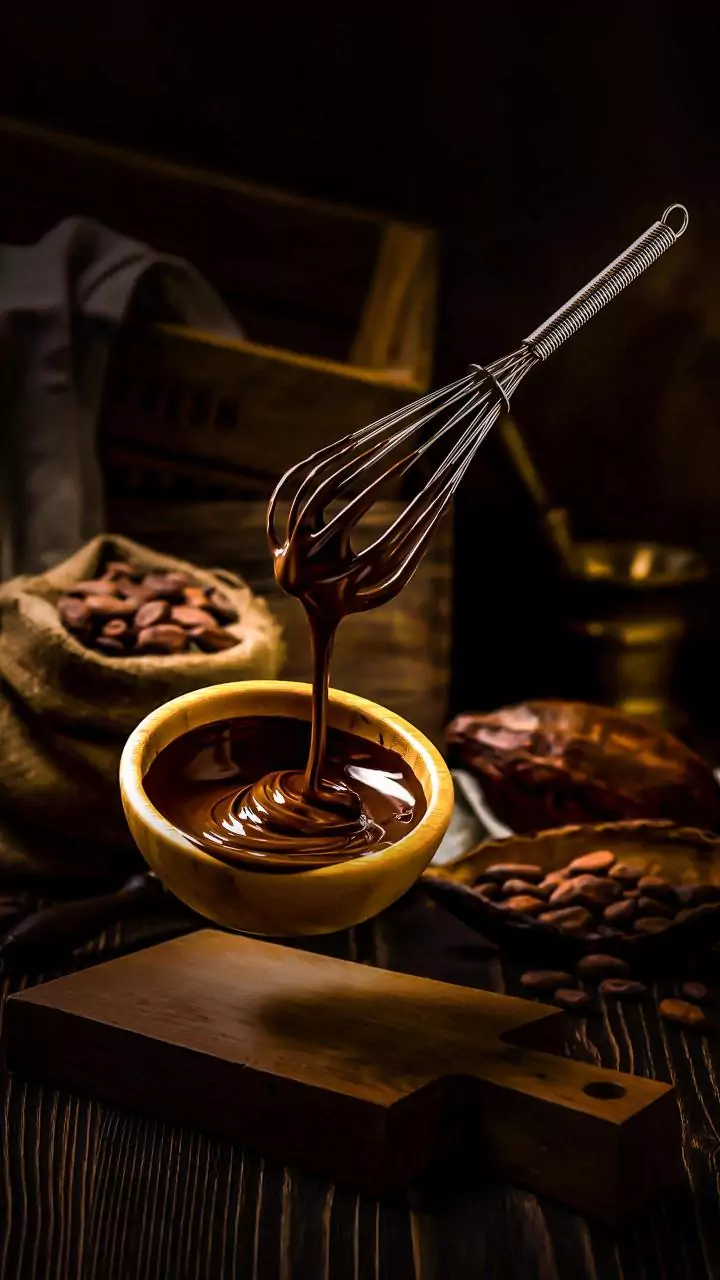
After assembling your ingredients, the next step is to combine them in a saucepan. Begin by whisking together the sugar and cocoa powder to eliminate any lumps, followed by adding the milk and heavy cream. Continuously whisk the mixture to ensure everything is well blended. This preliminary mixing ensures a smooth and consistent base for your popsicles, providing a homogenous blend that will ultimately enhance the final product's texture and flavor. Consistent stirring also prevents ingredients from clumping together, which is vital for a silky, satisfying popsicle.
Heat Gently
Place the saucepan on the stove over medium heat. Gently warm the mixture while continuing to whisk. This step is important to dissolve the sugar and fully incorporate the cocoa powder. Bring the mixture to a simmer, but avoid boiling it. This simmering process helps the flavors to meld, creating a richer, more intense chocolate taste. Be careful not to overheat the mixture as this could potentially cause it to burn or scorch, altering the taste of the popsicles.
Add Vanilla Extract
Once the chocolate mixture has reached the desired warmth, remove the saucepan from the heat. This is the time to introduce the vanilla extract. Add the vanilla extract to the warm mixture and stir well. Vanilla extract complements the chocolate flavor, adding depth and aromatic complexity, ultimately enriching the flavor profile of your popsicles. Properly incorporating the extract at this stage will ensure it blends seamlessly with the other ingredients.
Cool the Mixture
Allowing the chocolate mixture to cool down is crucial before pouring it into the popsicle molds. This allows the flavors to further develop and ensures that the popsicles freeze properly. Transfer the mixture to a bowl and place it in the refrigerator for about an hour, or until it's completely cool. Cooling the mixture ensures the popsicles freeze evenly and prevents the formation of ice crystals, which can negatively affect the texture and overall enjoyment of your frozen treats. This process prepares the base for its transformation into perfect popsicles.
Pour into Molds
Once the mixture has cooled, carefully pour it into your popsicle molds. Fill the molds, leaving a little space at the top to allow for expansion during freezing. Ensure there are no spills to maintain the shape and integrity of the popsicles. This precise filling is essential for determining the shape and size of your finished product. Having a full and balanced shape is critical for the final aesthetics and consumer enjoyment of the chocolate popsicles.
Freeze & Enjoy!
After filling the molds, insert the popsicle sticks into each one. Place the molds in the freezer and allow them to freeze for at least 4-6 hours, or preferably overnight. Once the popsicles are completely frozen, remove them from the molds and enjoy your delicious homemade treats. Patience is key: fully frozen popsicles are more enjoyable and maintain their shape better. The culmination of your efforts will present you with a refreshing chocolate popsicle that you can indulge in.


![[WATCH] T20 World Cup 2026: Gautam Gambhir hosts dinner for Team India players ahead of Namibia clash](https://g-mob.glance-cdn.com/public/fc/image/7gXS1xdhs5Q0.webp)