
Gather Your Supplies
Before you begin, gather everything you'll need. This includes the key ingredients, like chocolate (dark, milk, or a mix), a sweetener such as sugar or honey,
and a liquid base like milk, cream, or a plant-based alternative. You'll also want a few essential tools: a saucepan for melting the chocolate, a whisk for mixing the ingredients, popsicle molds, and popsicle sticks. Ensure you have all items ready to avoid interruptions during preparation. Consider any additional ingredients you would like to include such as vanilla extract for added flavor.
Melt the Chocolate
The first step involves melting your chosen chocolate. Place the chocolate in a saucepan over low heat, stirring continuously to prevent burning. Alternatively, you can use a double boiler for more gentle melting. Once the chocolate is completely melted and smooth, remove it from the heat. If using chocolate chips, continue stirring until the chocolate becomes completely smooth and liquid. This ensures it mixes well with the other ingredients, setting the stage for a rich flavor.
Sweeten the Mix
Once the chocolate is melted, add your sweetener of choice. Granulated sugar is a common choice, but honey, maple syrup, or even a sugar substitute work well. Start with a smaller amount of sweetener and adjust the quantity to taste. Whisk the sweetener into the melted chocolate until it's fully dissolved and the mixture is uniform. This step is crucial for balancing the chocolate's bitterness and creating a pleasing flavor profile.
Add the Liquid
Next, incorporate your liquid base. Milk, cream, or plant-based milk (like almond or coconut) are all excellent choices. Pour the liquid into the melted chocolate and sweetener mixture. Whisk vigorously to blend the liquid with the chocolate and other ingredients, until completely smooth and well-combined. This will create a creamy texture when frozen and affect the final flavor of your popsicle. For a richer taste, use heavy cream.
Flavor Enhancements
This step offers opportunities for customization. Add any extra ingredients to enhance the flavor. Vanilla extract is a classic addition, bringing a warm and aromatic depth. You can also incorporate a pinch of salt to elevate the overall taste and complement the chocolate. Consider adding small pieces of fruit, nuts, or even sprinkles into the mixture for texture and visual appeal. Now you have the possibility to create unique popsicle flavors to personalize the recipe.
Fill the Molds
Carefully pour the chocolate mixture into your popsicle molds. Fill each mold almost to the top, leaving a small amount of space for expansion during freezing. Avoid overfilling to prevent spills. If you are including add-ins, distribute them evenly among the molds. Tap the molds gently on the counter to release any trapped air bubbles and ensure a smooth texture. Then, put the lids on the molds, being sure that you insert your popsicle sticks into each mold correctly.
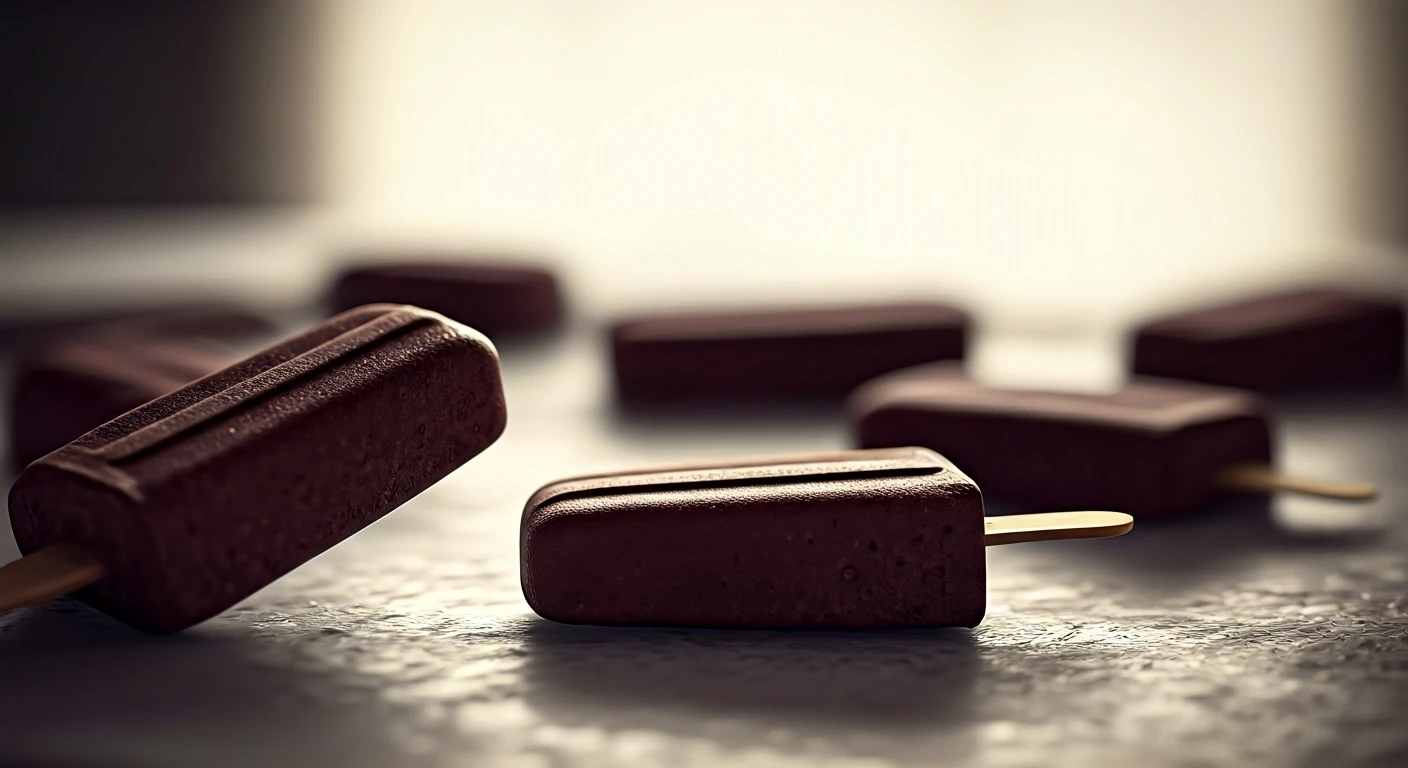
Freeze and Enjoy
Finally, place the filled molds in the freezer. Allow the popsicles to freeze for at least 4 to 6 hours, or preferably overnight, until completely solid. Once frozen, carefully remove the popsicles from the molds. To do this, run the molds under warm water for a few seconds to help loosen them. Enjoy your homemade chocolate popsicles! You can store any extras in the freezer for a refreshing treat whenever you want.