


Find the Housing
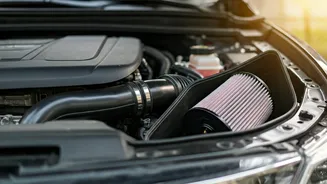
Begin by opening your car's hood to access the engine compartment. Your next task is to locate the air filter's housing, which is where it resides. In
older models, this is typically a circular or oval metal container situated at the upper rear section of the engine bay. For more contemporary vehicles, you'll usually find a rectangular or square box crafted from black plastic, serving the same purpose. Identifying this component is the first crucial step in the maintenance process.
Access the Filter
Once you've pinpointed the air filter housing, the next step involves opening it to get to the filter itself. This usually requires undoing either wing nuts or releasing spring clips found along the sides of the assembly. Carefully unfasten these securing mechanisms to lift off the cover. With the lid removed, you can now easily extract the old air filter from its designated slot within the housing.
Inspect and Clean
With the air filter removed, take this opportunity to thoroughly examine the housing and any connected ducts or hoses. Look for any signs of damage, such as cracks, signs of wear, or burn marks. If you discover any issues, these parts will need to be replaced to prevent air leaks. You can use a small car vacuum cleaner to meticulously clean out any accumulated dirt or debris from within the housing. It's important to be gentle during this cleaning phase to avoid damaging any plastic components, which could inadvertently lead to air leaks.
Replace Old Filter
After cleaning the housing, assess the condition of the air filter you removed. If it appears excessively dirty and is beyond the point of effective cleaning, it is time to replace it with a new one. Once the housing is clean and you have your new filter ready, carefully position the new filter into its rightful place within the housing. Reattach the lid securely, ensuring it clicks or fastens back into position. Finally, close the car's bonnet, completing the air filter replacement process.