


By now I think Buffalo Rumblings regulars know you can expect quirky things from me. From recipes to weird articles like: “Which heavy metal band would each Buffalo Bills player be,” to crappy joke illustrations… which I haven’t done in awhile. Well recently a friend and I decided it would be fun to make Bills-themed Star Wars helmets and as usual I’ve decided to take things several steps too far, and now you’re all going to have to deal with my nonsense as the project unwinds.
Note: As of this article
beginning, I am NOWHERE near through the project. Heck, I’m barely started. In other words, things will be written based on when I accomplish milestones in the project and therefore may be chaotic. You’ve been warned.
The Spark of Inspiration
Believe it or not, I have at least one friend. Recently he started exploring the idea of creating a Bills-themed Boba Fett helmet because… well it’s awesome and that’s pretty self-explanatory. To clarify, this is not to join the ranks of Superfandom. There are already Star Wars-themed Superfans out there and you might remember I’ve already started wearing a ridiculous costume to games.
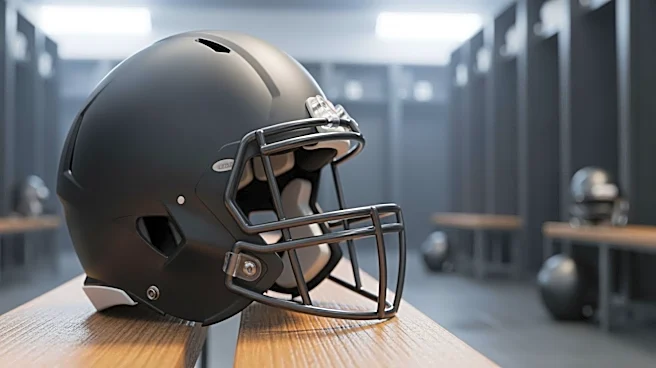
Rather than bore everyone with all the details, let’s just say the conversation escalated into helmet shape and style preferences, including some conversation on design elements I’ll share below. Everything started with a look at the Black Series helmets, which provide cosplay-ready fits right out of the box. Full credit to the nameless friend for making the purchase, but without further ado we decided on…

He chose the Boba Fett “Prototype” variant, which gives all the Fett fun in a ready-to-go for Bills fans white shell. As much as I love the Fett/Mando/Death Watch shape, there’s something about the Nite Owl helmet most famously worn by Bo Katan Kryze that captivated me. Seeing as how mine would be undergoing major modifications, he looked for the right shape at the best price.
Sorry Sabine Wren fans, her helmet is currently the cheapie that no one is really looking for.
The Design
Like I said, I’m in the very early stages of this and I’m about to reveal the intended look with some rough sketches. If you cut ahead of me and use my design before I get a chance to wrap this up know that you’re a d*** and I hate you. I’m willing to take that risk though for the sake of a good article so here I am laying my secret designs bare.
Did I mention that I tend to take things way, way, waaaaaaay too far when I get into project mode? Here’s evidence of that. You’ll see a few choices below but one of the first considerations I had to make was deciding between a “pristine” look and a “battle damaged” look. The decisions I made in the design stage would factor into every material choice, the techniques to be used, etc.
In the end, I chose “found/inherited armor made personal.” What the **** does that even mean? It means it’s not intended to look battle worn, nor is it intended to look flawless. You’ll see what I mean shortly. First, I bet you’re dying to know what I plan to do to make it look “Billsy” so here’s the first of two elements I plan to do.

Yeah, it’s super rough, but it’s the final paint that matters and this conveys the idea. The upgraded motion line from the charging buffalo logo will be painted on to look like the always cool “scar over the eye.” That can’t be it though, right. Yeah, it’s not. The next article in this series will talk about materials testing and has the reveal for what’s going on the side of the helmet (left-hand side, the right side has the rangefinder).
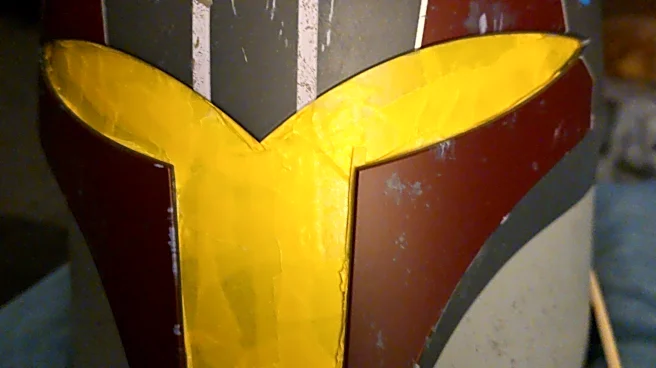
For this one, I’ll leave it with a teaser that work is starting, but underway. If there’s one thing that has me worried to no end, it’s getting paint on the visor. Full disassembly proved problematic and I had to tape it up rather than remove it. The worst part? I won’t know if I was successful for a long time.

I think it’s taped up well enough, and the yellow looks cool but fingers crossed.