





If you’re following me on this journey of turning cat litter buckets into a reasonable cosplay approximation of Mandalorian armor inspired by the Buffalo Bills, you’ve likely seen how the breastplate shape has come into its own. Mandalorians need more armor than just their chest though, so let’s build spaulders and tassets!
What are those, you ask? Well, you’re in luck if you read on below!
Spaulders and Tassets huh?
Yep. At least I think I have the terms correct, but there are a lot of words for armor types and I’m not an expert
by any means. Spaulders, per the internet, are shoulder plates. While the Armorer in The Mandalorian refers to Din Djarin’s shoulder armor as pauldrons, I’m not convinced. And mine for sure are not.
Pauldrops typically are larger and provide more coverage, including accounting for the armpit. The shoulder armor in most Star Wars sets don’t provide that same coverage and to me look like the smaller spaulders.
Why the boring language lesson? I keep saying I’ve been overthinking things and my armor isn’t haphazard. I formerly was a pretty avid martial artist and have some firearm experience, so if I’m designing armor for me, it’s going to work for me. That means getting details right, including mobility and use cases. Let’s get a first glimpse at my spaulders and tassets.

This is my left shoulder spaulder. I’ve marked a line down the center and I’m holding it over something with a long flat edge (dehumidifier if you’re interested). Once the center line is heated, I was able to bend it down the line, creating something like a crease rather than just a smooth curve. Either would work, but I liked how the crease looked.

The piece with rivets and layers at the top is for my right thigh and I think this would be best called a “tasset.” You can see the spaulder from above thanks to the line. We’ll come back to that one in a moment as there’s another piece that needs to be attached to it. The two simpler pieces are the other tasset (left leg) and spaulder (right shoulder).
Don’t worry, I will be making vambraces to cover my forearms, but those will be a different story entirely when it comes to build and I’m saving those for later. How much thought went into this armor? Let’s discuss the term “haute-piece.”

This is the left spaulder, that if you looked closely had a second piece laying on it in the picture we just looked at. Here I am inserting a support piece to reinforce the attachment of it to the main piece of the spaulder. It kinda looks like a little wing jutting off the side. What’s the point of that?
That’s a haute-piece. Imagine a weapon like a sword or lightsaber hitting my shoulder. Let’s say it hit me right in the “with glade” logo. Let’s further imagine that the blow was not perfectly perpendicular to the armor. Perhaps my arm was raised a bit. What would happen in that instance?
Well, the lightsaber might glance off the smooth spaulder and… into my neck. I’d prefer not to go out like Jango Fett. Yes, I know Mace Windu’s lightsaber didn’t hit the spaulder first, but the point still remains. Lightsaber + neck = bad time. The haute-piece catches the blade before it slides up.
Only my left side has a haute-piece, which is again deliberate. For reasons I’ll go into more details on later, my right and left side are built differently for different situations. As a potential spoiler, the strongest melee attacks will generally come at your left side as most people are right-handed. Therefore, left side haute-piece.


Once I had the basic shape of everything, it was time to refine a little. Little things can aesthetically make a big difference. Here’s one line that changed with final shaping. This is the right thigh’s tasset, the upper segment. You can see the before and after final shaping to get my lines right. The other pic is the pile of plastic shavings that collectively came off these to get them right.
Y’all wanna see some paint?
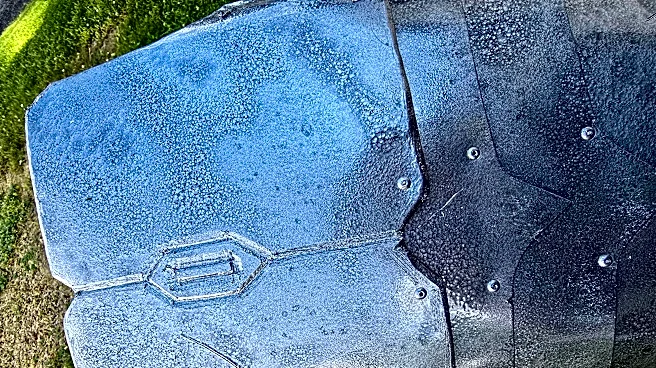
With the final shape coming into form and plenty of nice painting weather, I was eager to get the first coats on. I know this edition of the Buffalo Beskar project is focused on the other armor, but let’s get a closeup of the breastplate in “beskar pewter.”

Have I mentioned how much I love this paint? It was very tempting to just leave this, but we’re a Bills site, and this is a Bills project. Before you see what this looks like in metallic blue, let’s have a glimpse of the set in pewter.

And here’s the full set. The piece I’ve yet to mention (between the tassets, and below the breastplate) is a lightweight back plate that was needed so I could make this wearable. On the right side spaulder, you can see the way those will go on, but I’ll spare those details until later.
Right now, let’s take a look at the color coat for each of these. Each one will have “story” elements added in, but that’s not for this article to dive into. For now, I leave you with this…