


One can imagine a different reality in which young Jalen Brunson became a master artist because Rick, his dad, stood him in front of an easel rather than a basketball hoop.
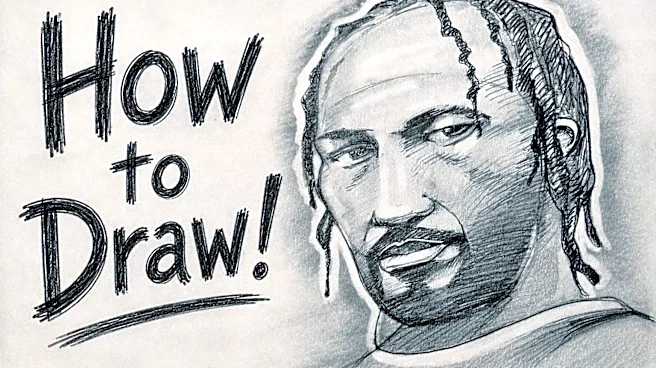
You might never play professional sports, but you can develop into a competent illustrator by mastering a few trusty tricks and practicing a bunch. Don’t believe me? Lemme show you how it’s done with a simple portrait of our favorite Knick, Captain Clutch himself.
Before we begin, an artist must decide on the activity to be depicted
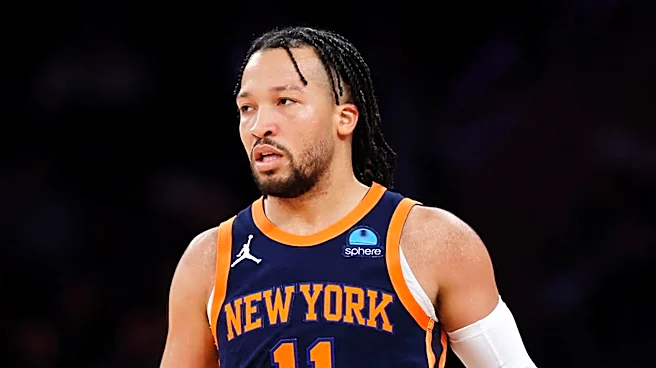
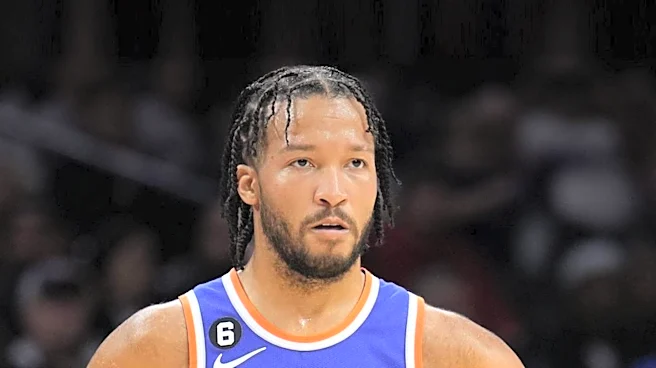
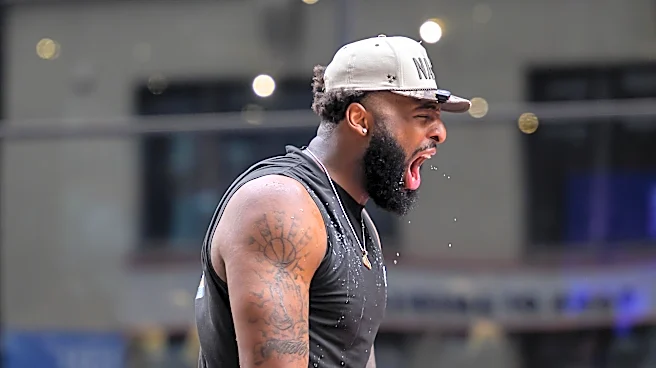
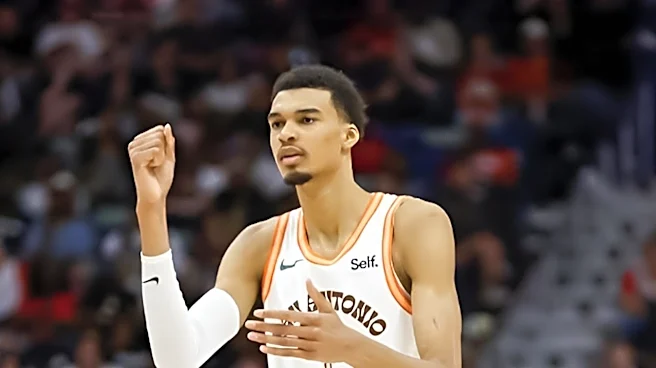
in the work. Even the portrait of a head has action (a smile, a squint, a frown, a vacant stare). For this exercise, we’ll try to capture the look on JB’s face when he stole Victor Wembanyama’s soul.
Here is the reference I used:

Step 1: Start with a Simple Head Shape

As a kid, I learned to draw superheroes using the Loomis method. That’s what I’ll demonstrate here. Yes, some people do sit down and draw beautifully without guidelines. Those people are no-good show-offs.
Lightly sketch a loose circle or oval. It needn’t be perfect—this is just a construction shape to establish the overall size and tilt of the head. Keep your pencil pressure light to allow for adjustments later. Since it’s Jalen’s melon, make it a healthy-sized circle.
Add Construction Guidelines: Draw a vertical centerline to establish the direction the head is facing, then add a gently curved horizontal eye line that wraps around the form. Lightly indicate the eyes, nose, and mouth. These placeholders will keep the facial proportions accurate. If you can’t do even this, you are unwelcome on my Pictionary team.
Define the Jaw and Chin: Using the guidelines, carve the face out of the original circle. Sketch the cheek, jawline, and chin, tapering them into a natural head shape. The drawing is beginning to transition from simple geometry into a recognizable face. Pretty cool, huh? Feeling like a wizard yet?
Step 2: Define the facial features.

Eyes and Eyebrows: On the horizontal eye guideline, sketch almond-shaped eyes. Jalen has sharp, intense eyes with thick, expressive eyebrows that angle slightly downward toward the nose. Shade the eyebrows with quick, directional strokes. We’re trying to capture a killer’s stare combined with the anguish of a parent’s conditional love.
Nose: Use the vertical centerline to place the nose. Draw the bridge coming down from between the eyes and add the nostrils and base of the nose around the lower guideline. If you make a mistake, relax—just erase and try again. My favorite erasers are white plastic, kneaded, and Mitchell Robinson. Forgive the mistiness of my eyes as I reflect on the greatest offensive rebounder ever.
Mouth: Position the mouth below the nose. Start with the upper lip, then the lower lip. Keep the mouth relatively straight but with natural curvature. Note how the philtrum columns form a subtle heart at the top center of his upper lip. Hubba hubba. Betcha this fella is a good kisser…Captain Clutch? More like Captain Cuddles!
Refine the Jaw and Chin: Strengthen the jawline and chin area, making it more squared and defined compared to the initial circle. The reference photo is too dark, so being exact is impossible here. Do your best and we’ll fix it later, or ball up the paper in disgust, having failed at yet another attempted hobby.
Step 3: Add depth and shading to the features.

Eyes: Darken the pupils and irises. Add shading to the upper eyelids and the area around the eyes to give them a more realistic, intense appearance. Try to make them communicate something cold-blooded, like, “Yes, Leon, it is time for Thibs to go.”
Eyebrows and Nose: Strengthen the eyebrows with heavier shading. Consult Rick Brunson’s thick dome for familial reference. Refine the nose by adding shadows along the sides and under the tip.
Mouth and Chin: Begin building the shadow under the lower lip and along the chin/jaw. Add more definition and shading to the lips and the area around the mouth. Right about now, my messy work will make you realize I’m a rank amateur. Keep this observation to yourself.
Overall Face: Lightly shade the sides of the face and under the cheekbones to start establishing form and dimension. Note the contours of the face—Jalen has a strong jaw and defined cheek structure. He will turn 30 in August and already has the beginnings of a world-weary face. Greatness takes a toll.
Step 4: Draw the hair and add more shading.

Shading the Face: Build up darker shading on the cheekbones, jawline, and neck area. Use hatching or cross-hatching techniques to create volume and shadow. Cross-hatching is when you draw thin lines at one angle, then draw lines over those at a different angle. It’s a great way to make it look like you know what you’re doing.
Refine Features: Darken the eyes, eyebrows, nose, and mouth further. Add subtle lines for skin texture where appropriate. Go easy, or he’ll resemble a lizard.
Hair/Braids: Start with the hairline and add individual braids flowing from the top and sides of the head. Use quick, wavy lines for texture. Remember: thin braids, not thick dreads. This isn’t one of the Marleys.
Ear Details: Continue refining the visible ear with inner ear details and shadows. We’ll cover most of it with a braid, so don’t sweat perfection.
Step 5: Add the neck and shoulders.

Hair Details: Continue adding texture and volume to the braids, making them more three-dimensional with additional lines and shading. Squiggles are your friend here.
Neck and Shoulders: Extend the drawing downward to include the neck and the suggestion of his jersey. Jalen has a strong, athletic neck from years of leading men into battle—shade it to show muscle definition and shadow.
Refinement: Go over the entire portrait, darkening key lines, adding shadows, and zapping any construction lines. Enhance contrast in the eyes and mouth. Erase the guidelines. Add light shading around the head for completeness. If you’re growing bored, a) relax, we’re almost done, and b) you should find a different hobby.
Step 6: Shading and polishing.

Intensify Shading: Deepen the shadows across the face, neck, and hair. Focus on areas like under the cheekbones, jaw, and sides of the nose to create a strong three-dimensional form. Remember when you skeptically drew a circle with two eye spots and didn’t trust Uncle Russell? Look how far you’ve come!
Take a break to call the local art gallery and see if they’re accepting unsolicited submissions. Then, add more detailed hatching and lines to the braids for realism and volume.
Smudge like hell: Use the pads of your fingers to blend the pencil lines used for shading and extend the smudges beyond his head. It should look a bit smokey. No, you’re not destroying your masterpiece; you’ll understand in the next step.
Step 7: Finalize the portrait (clean up and polish).

Contrast & Depth: Deepen the darkest shadows (especially in the hair, under the jaw, and around the eyes) and lift highlights with your eraser. This is my favorite part, cuz it brings an airbrushed quality to a penciled drawing. And to think you get all this amazing Posting & Toasting content for free? I don’t see Katz or Bondy out here giving drawing tuts.
Hair & Texture: Refine the braids with additional detail and ensure the hair flows naturally. Tinker with the background shading to make your subject pop. Erase any lingering construction lines or smudges. Adjust proportions if needed. The goal is a recognizable likeness of Jalen Brunson that is at least superior to your kid’s crayon drawing on the fridge.
Voila! A penciled portrait of the captain.

If the comments section allows, share your drawings. In part two, we’ll ink.
Knicks in five.