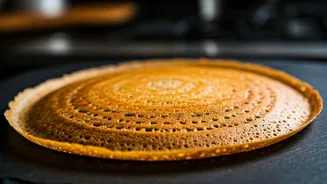


The Salt and Ice Hack
Creating that ideal, crispy dosa at home can be a culinary challenge, especially when the batter clings stubbornly to the tawa, leaving behind a frustrating
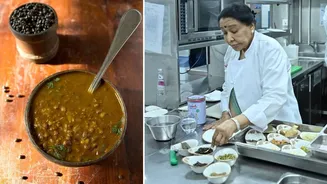
residue. While softer preparations like cheelas are more forgiving, the delicate, airy texture that defines a perfect dosa demands a different approach. Food creator Khushi Jain introduces a brilliant tawa trick designed to enhance your success rate significantly. The method begins with heating your tawa to a high temperature. Once it's sufficiently hot, generously sprinkle the surface with salt. Next, introduce an ice cube and use it to thoroughly rub the salted tawa. After discarding any excess water that melts, apply a thin layer of oil across the entire surface. For optimal distribution, use half of a chopped onion to spread the oil evenly, ensuring no dry spots remain. This pre-treatment prepares the tawa to release the dosa smoothly.
Batter Consistency is Key
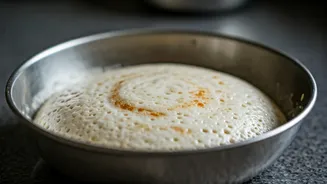
Beyond the tawa preparation, the consistency of your dosa batter plays an equally vital role in achieving that sought-after crispiness and preventing adhesion. A batter that is excessively runny will not possess the necessary binding agents to form a stable, crisp base. When the batter is too watery, it becomes difficult for it to set properly, leading to a constant struggle when trying to lift the dosa with a spatula. A good rule of thumb is to aim for a batter that is pourable, meaning it flows easily from a ladle but still retains its shape momentarily, rather than being a thick, clumpy mass. Proper fermentation is also crucial, contributing to a light and airy texture. Always ensure your batter is at room temperature before you begin making dosas. A batter that lightly coats the back of a spoon is generally the right consistency. If it appears too thick or gluggy, gradually add water, a tablespoon at a time. Conversely, if it's too thin, incorporate rice flour similarly until the desired pourable yet cohesive texture is achieved.
Perfecting the Dosa Pour
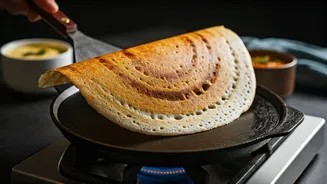
Once your tawa is prepped and your batter is at the ideal consistency, the next step is to ensure the batter is applied correctly to the hot surface. Pour your dosa batter onto the heated tawa and allow it to set on one side. Before you even think about using your spatula to detach the dosa, it’s essential to prepare it for a clean lift. Dip the spatula into water; it should be wet enough that it almost slides under the dosa with ease, indicating it won't stick. If you're adding fillings, this is the time to do so. Once the dosa is cooked to your preference, fold it in half and serve immediately while hot. This entire process, from the initial tawa treatment to the final pour and lift, works in synergy to ensure your homemade dosas are not only delicious but also beautifully crisp and perfectly non-stick.