

Start With a Clean, Curled Canvas
For mascara to do its best work, your lashes need to be prepped and ready. Make sure your lashes are clean and free of any leftover makeup or oils from your skin. Then, reach for an eyelash curler. Curling your lashes before applying mascara is one of the
most effective ways to open up your eyes. Uncurled lashes can cast shadows, making eyes appear smaller. For a natural-looking bend instead of a harsh crimp, experts suggest curling in stages: start with a gentle squeeze at the base of the lashes, move to the middle, and finish with a light squeeze at the tips. This simple step provides an instant lift that makes your eyes look wider and more awake before you even open your mascara tube.
Don't Pump the Wand
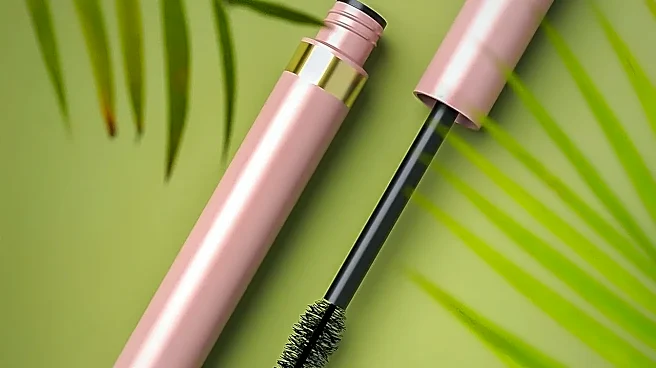
It’s a common habit, but repeatedly pumping the mascara wand in and out of the tube is a major mistake. This action forces air into the formula, causing it to dry out much faster. A dried-out mascara is thicker and more prone to clumping during application. Instead of pumping, gently swirl the wand inside the tube to pick up the product. When you pull the wand out, wipe any excess mascara off on the rim of the tube. This ensures you have just the right amount of product on the brush, which is the first step to achieving clean, separated lashes.
Master the Wiggle Technique
How you move the wand is everything. Instead of just swiping up, use the “wiggle” method. Place the mascara wand at the very base of your upper lashes and gently wiggle it back and forth horizontally. After coating the roots, pull the wand straight up through to the tips. This technique does two crucial things: it builds volume and density right at the lash line, which makes your lashes look fuller and can even create the illusion of eyeliner. It also helps to coat each lash individually from root to tip, providing better separation and definition.
Adjust Your Angle for Full Coverage
Your posture and gaze can make a surprising difference. When applying mascara to your top lashes, try tilting your head back slightly and looking down into a mirror. This angle moves your eyelid out of the way, allowing you to nestle the brush right into the lash line without getting product all over your skin. For the tricky inner-corner lashes, a cone-shaped wand can be particularly helpful, but you can also use the tip of any wand to carefully coat those smaller hairs. Some makeup artists even recommend bending the mascara wand to a 90-degree angle to get better leverage and reach every lash.
Focus on the Outer Corners
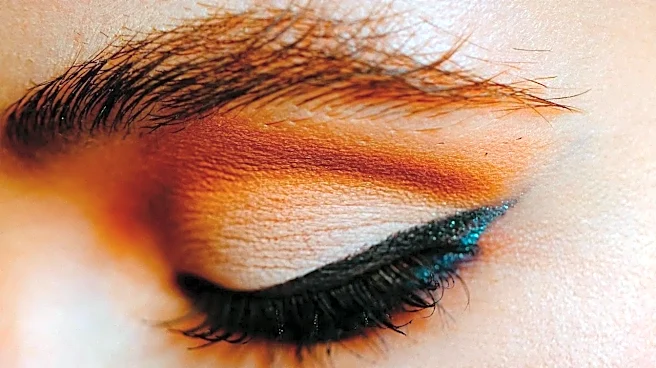
To create a wider, more elongated eye shape, pay special attention to the outer lashes. After your initial coat, apply an extra layer of mascara just to the lashes on the outer third of your eye. As you apply, sweep the wand outwards toward your temple rather than straight up. This pulls the lashes outward, creating a fanned-out, cat-eye effect that makes the eyes appear bigger and more lifted. For even more drama, you can layer a volumizing formula over a lengthening one, concentrating the volume on those outer corners.
Layer Lightly and Intentionally
Building up your mascara in thin, light layers gives you more control and prevents the dreaded clumpy look. Apply one coat to an eye, then move to the other eye to let the first layer set slightly before going back for a second. This helps build intensity without creating a heavy, sticky texture. If you do notice any clumps forming, you can use a clean spoolie brush to comb through your lashes and separate them while the mascara is still wet.
Don't Neglect the Bottom Lashes
Applying mascara to the lower lashes helps to open up and balance the eye, but it requires a delicate touch. To avoid smudging or an overly heavy look, use a lighter hand than you did on your top lashes. Hold the wand vertically and use the very tip of the brush to lightly paint each individual lash. This gives you more control and deposits less product, resulting in a defined but natural look. Some makeup artists suggest using a different mascara—one with a smaller brush or a more feathery formula—for the bottom lashes to keep them looking soft and separated.